Kapitel 9: Dummies und Vergessene Rätsel

Dummies und Vergessene Rätsel ist ein Kapitel aus der Geschichte von MiSide.

Plott Zusammenfassung

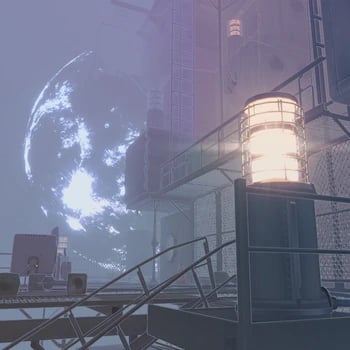
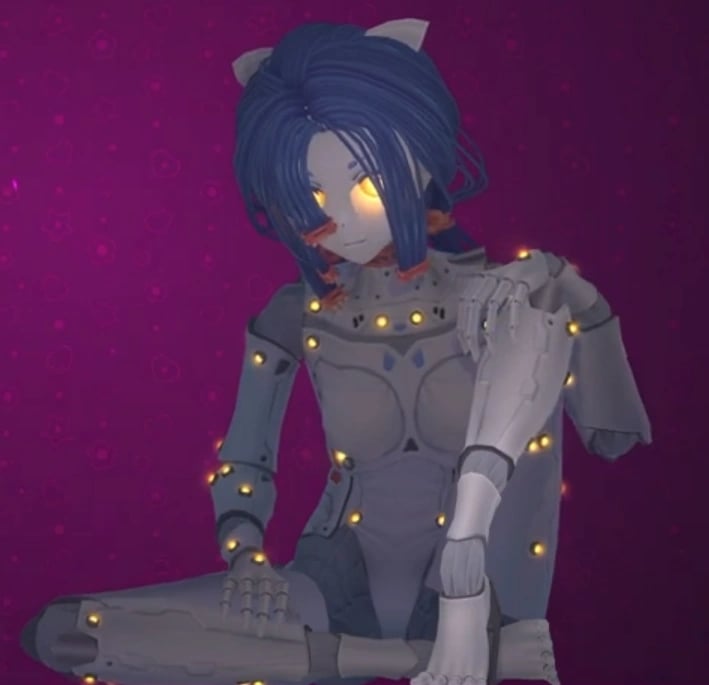
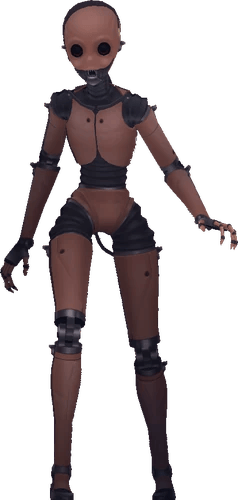
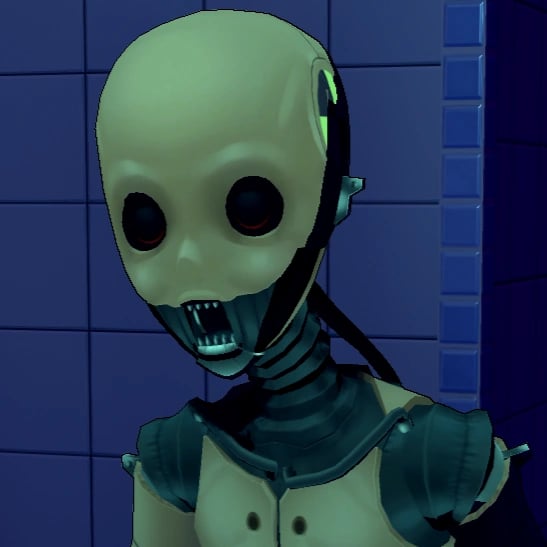
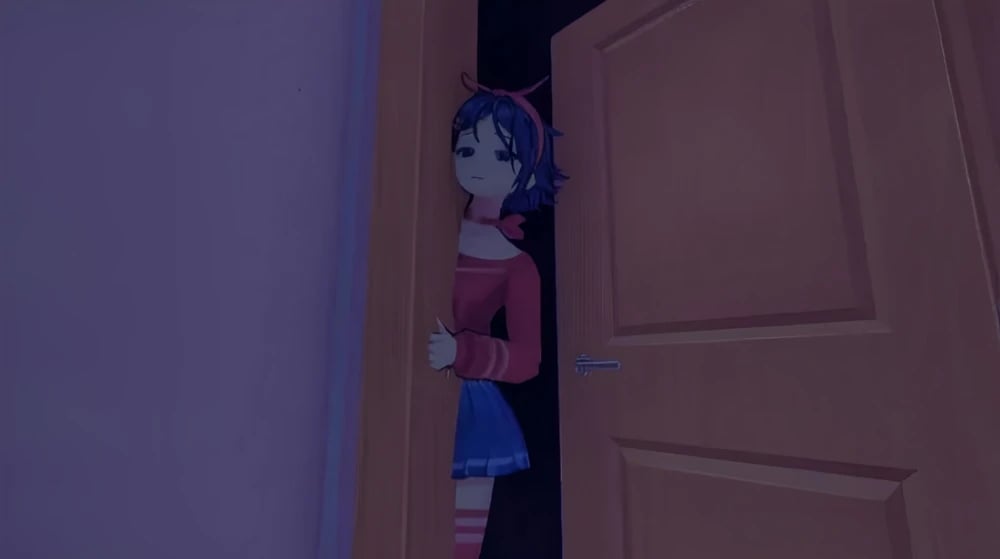
Durch die Tür tretend, wird der Spieler durch viele weitere Räume vorrücken, die verschiedenen Ebenen der Backrooms ähneln, während er von weiteren korrumpierten Mita-Modellen verfolgt wird, bis er schließlich eine weitere Tür erreicht und durch sie eintritt, die ihn in eine surreale und visuell atemberaubende offene Welt führt, wo er sieht, was wie der Mond aussieht. Diese Welt ähnelt einer sehr nebligen Version des Weltraums. In dieser Welt muss der Spieler ausschließlich auf Stegen und Geländern gehen und Rätsel lösen, um verschiedene geschlossene Metalltore zu öffnen. Nach dem Lösen des zweiten Rätsels und dem Betätigen eines Hebels, um ein Tor zu öffnen, wird ein Kühlschrank vom Himmel fallen und mit einem Krachen auf den Boden schlagen, nur knapp den Spieler verfehlend. Bei weiterer Untersuchung wird der Spieler Mita sehen, die auf einem Steg über ihm steht, die dann Unschuld vortäuscht und behauptet, sie habe nichts mit dem fallenden Kühlschrank zu tun, bevor sie den Spieler flirtend verspottet und ihm sagt, dass diese Gegend gefährlich ist und dass er weitergehen sollte.

Während der Spieler weitergeht, betritt er einen massiven, vakuumähnlichen Tunnel, in dem viele zufällige In-Game-Assets und Objekte an ihm vorbeifliegen. Als er hindurchgeht und den Ausgang des Tunnels erreicht, bleibt ein fliegender Stuhl stecken und dupliziert sich wiederholt auf glitchy Weise.

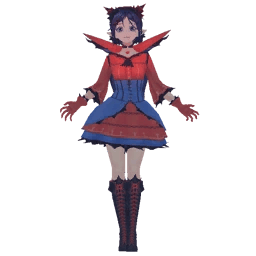
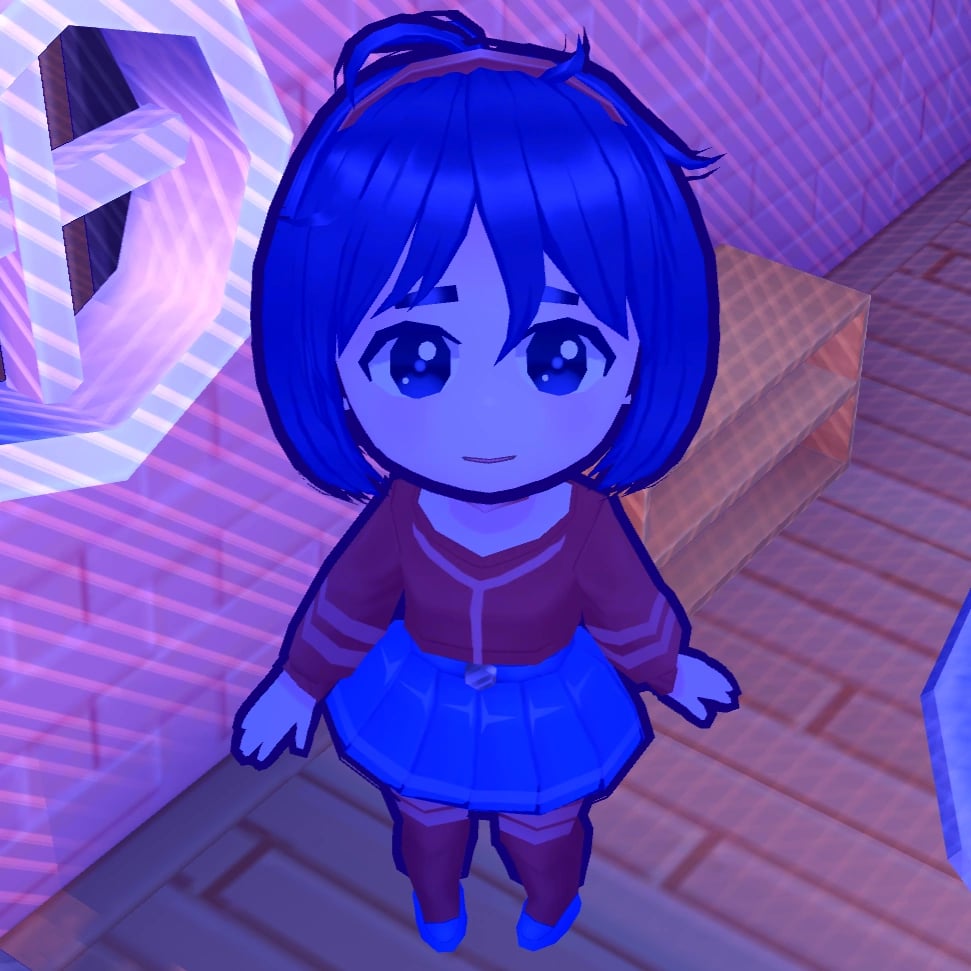
Beim Verlassen des Tunnels erreicht der Spieler einen Bahnhof, wo Chibi Mita aus dem Zug aussteigt und unhöflich den Spieler auffordert, Platz zu machen, bevor sie wegläuft. Nachdem der Spieler in den Zug eingestiegen ist, trifft er auf Mitaphone, den eingebauten Fahrer des Zuges, der dem Spieler sagt, dass er die auf dem Zug montierte Waffe benutzen soll, um fliegende Monster abzuschießen, während der Zug vorwärts fährt. Am Ziel angekommen, verabschiedet sich Mitaphone von dem Spieler, und dieser verlässt den Zug und findet eine Spielmaschine, die er optional spielen kann. Nachdem der Spieler ein Bild gefunden und untersucht hat, wird er in das Zimmer von Ghostly Mita geschickt.

Fortschritt

1. Sieh dich um.
2. Gehe zur Arcade-Maschine.
3. Überprüfe alle Mita-Modelle.
4. Gehe zurück nach unten.

Neueste Bilder

images

Mita Bilder

Mita (Crazy Mita) Normal image
Mita (Crazy Mita) Revealed image
mita image
School clothes.
School clothes.
Vampire costume.
Vampire costume.
Festive Santa dress.
A photo of Mita dancing.
A photo of Mita sitting down and looking over her shoulder.
A photo of Mita hugging the Player from behind.
A photo of Mita with a white bikini and a sly smile.
A photo of Mita in a red bathing suit looking over the water.
A photo of Mita holding up the peace sign while out in nature.
A photo of Mita out in nature.
A photo of Mita playing with a cat.
Mita Room
Mita Room
Mita’s legs stuck inside of the wall.
Mita’s primary outfit.
Mita’s revealed appearance.
Mita’s School Uniform (Blue).
Mita’s School Uniform (Black).
Mita’s School Uniform (White and Blue).
Mita’s vampire outfit.
Mita’s Santa outfit.
Kind Mita Normal image
mita image
mita image
mita image
Cool Mita (Cappie) Normal image
mita image
mita image
mita image
mita image
mita image
mita image
mita image
mita image
mita image
mita image
mita image
Tiny Mita (Broken Mita) Normal image
Picture of Mini Mita before she got her injuries.
mita image
mita image
mita image
mita image
mita image
Mini Mita and a large Glitch Beast chasing the player.
Short Haired Mita Normal image
Photo of Short-Haired Mita taking a selfie in the mirror looking kind of sleepy.
Photo of Short-Haired Mita looking confused at the camera man.
Photo of Short-Haired Mita loooking concernet at the camera with her arms crossed.
Drawing of Short-Haired Mita relaxing while sitting.
Drawing of Short-Haired Mita looking back over her shoulder.
Ghostly Mita Normal image
mita image
mita image
Sleepy Mita Normal image
mita image
mita image
mita image
mita image
mita image
mita image
mita image
mita image
mita image
2D Mita Normal image
Meditation CG.
Meditation CG.
Tic-tact-toe CG.
Tic-tact-toe CG.
Ring CG.
Ring CG.
Icon.
Icon.
2D Mita
2D Mita
Showing the ring.
Showing the ring.
Happy.
Happy.
Unhappy.
Unhappy.
Scared
Scared
Sad.
Sad.
Mila Normal image
Mila Normal image
mita image
mita image
mita image
mita image
mita image
mita image
mita image
mita image
mita image
mita image
mita image
mita image
Creepy Mita (Ugly Mita) Normal image
mita image
mita image
Core Mita Normal image
mita image
mita image
Chibi Mita Normal image
mita image
mita image
Dummy Mita Normal image
Dummy Mita Revealed image
mita image
mita image
mita image
Mitaphone Normal image
Braided Hair Mita (Unused Mita) Normal image
Long-legged Mita Normal image
mita image
mita image
mita image
Forgetful Bully Mita Normal image
Giant Mita Normal image
Gian Mita before breaking the corridor.
Giant Mita looking at the player.