Kapitel 4: Der Keller

Der Keller ist ein Kapitel aus der Geschichte von MiSide.

Handlungszusammenfassung

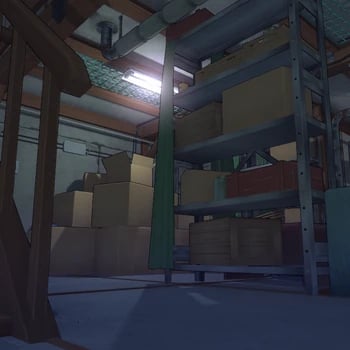
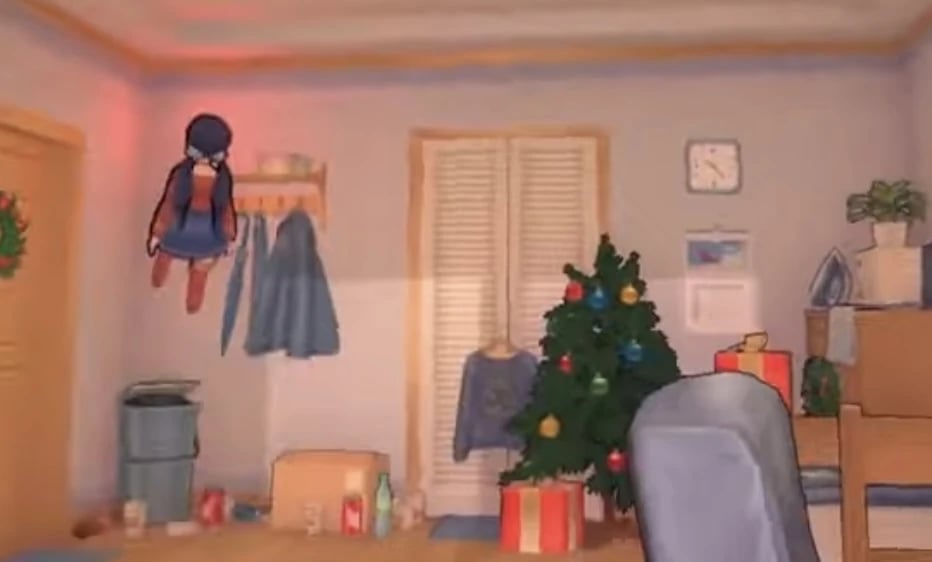
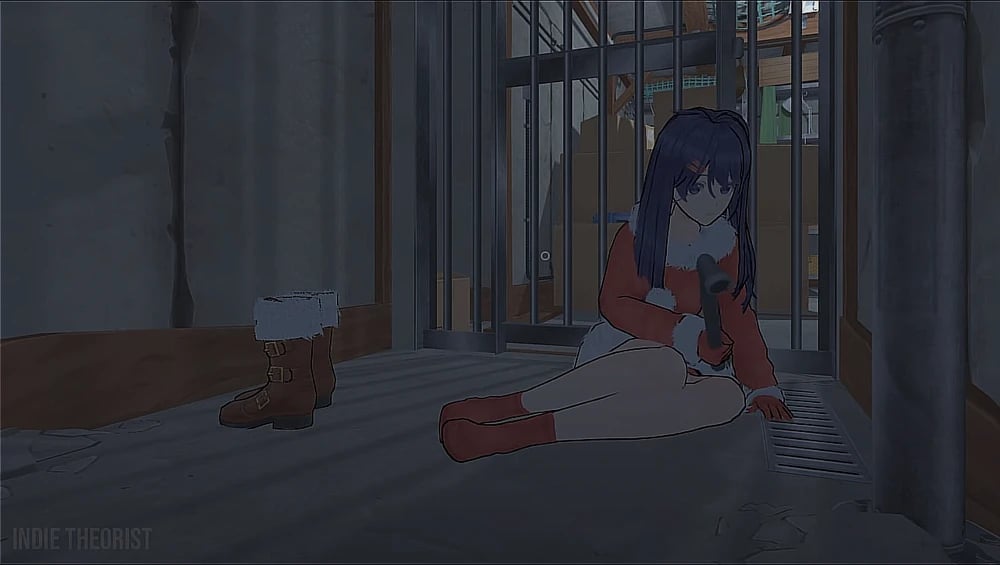
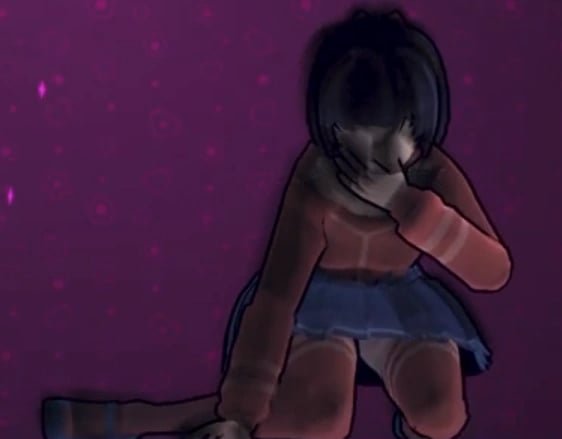
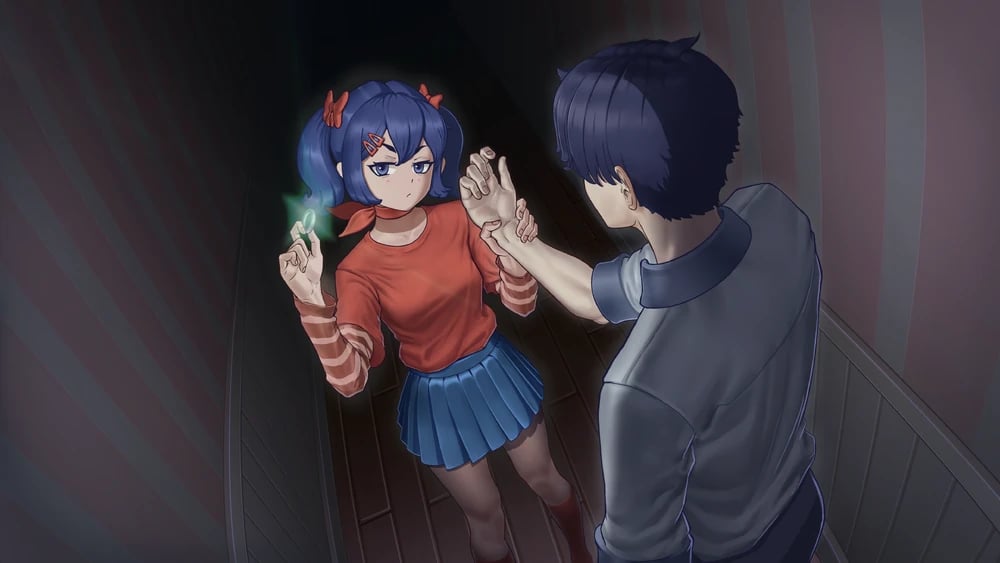
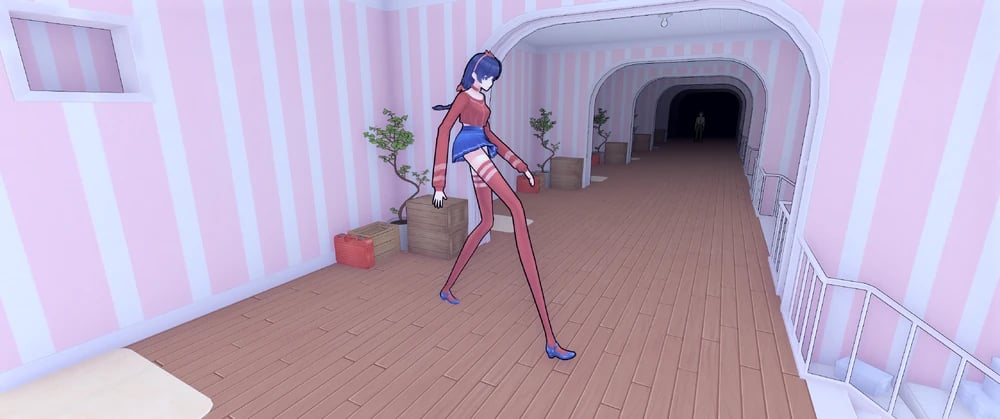
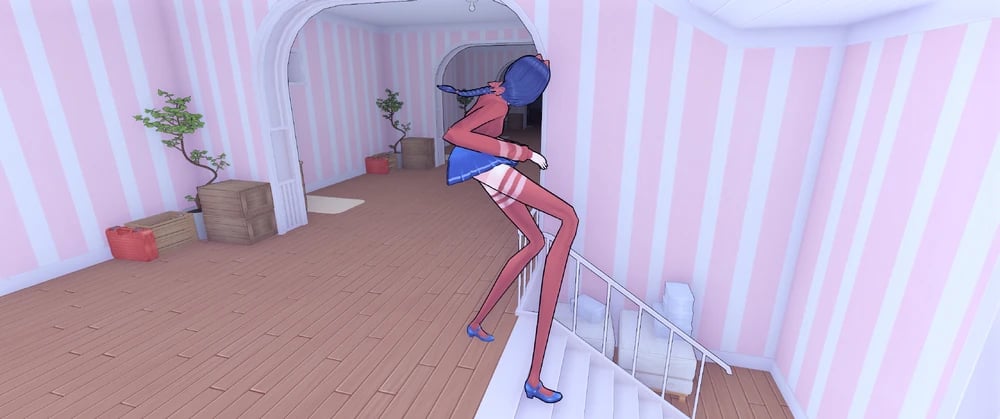
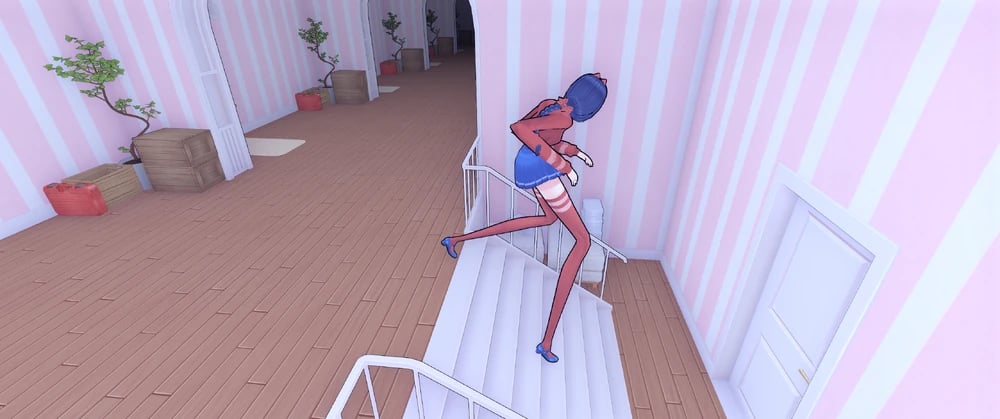
Beim Betreten des Kellers wird der Spieler von einer Art Werkstatt begrüßt, in der sich eine Menge Kram und Kisten sowie Werkzeuge und Geräte befinden, die für unbekannte Zwecke verwendet werden. Als der Spieler die Quelle des Schlaggeräuschs untersucht, entdeckt er Kind Mita, die in einem Käfig eingesperrt ist und ein Werkzeug gegen ein Metallrohr schlägt. Sie wird sich kurz dem Spieler vorstellen, bevor sie ihm mitteilt, dass jetzt keine Zeit ist, um etwas zu erklären, und ihn anweist, den Schlüssel zu ihrem Käfig zu holen und ihr zu geben, der neben dem Sofa liegt. Nachdem der Spieler ihr den Schlüssel gegeben hat, wird sie ihm den Ring übergeben. Nach dieser Interaktion kann der Spieler frei im Keller umherwandern und Kind Mita Fragen stellen, bevor er die Geschichte fortsetzt, indem er die fortschreitende Dialogoption wählt. Das wird dazu führen, dass sie dem Spieler sagt, er solle die Konsole abholen und einschalten. Wenn der Spieler dies tut, wird er die Perspektive eines anderen Spielers sehen, der Mita hilft, den Teleporter zu reparieren. Kind Mita wird dem Spieler mitteilen, dass dieser Spieler in eine Cartridge verwandelt wurde und dass das Entfernen der Cartridge dauerhafte Schäden verursachen und den entsprechenden Spieler töten wird. Sie wird ihm dann sagen, dass das Ausschalten der Konsole möglicherweise funktioniert, was der Spieler schließlich tut.

Fortschritt

1. Finde den Schlüssel neben dem Sofa.
2. Nimm die Konsole.
3. Versteck dich!

Neueste Bilder

images

Mita Bilder

Mita (Crazy Mita) Normal image
Mita (Crazy Mita) Revealed image
mita image
School clothes.
School clothes.
Vampire costume.
Vampire costume.
Festive Santa dress.
A photo of Mita dancing.
A photo of Mita sitting down and looking over her shoulder.
A photo of Mita hugging the Player from behind.
A photo of Mita with a white bikini and a sly smile.
A photo of Mita in a red bathing suit looking over the water.
A photo of Mita holding up the peace sign while out in nature.
A photo of Mita out in nature.
A photo of Mita playing with a cat.
Mita Room
Mita Room
Mita’s legs stuck inside of the wall.
Mita’s primary outfit.
Mita’s revealed appearance.
Mita’s School Uniform (Blue).
Mita’s School Uniform (Black).
Mita’s School Uniform (White and Blue).
Mita’s vampire outfit.
Mita’s Santa outfit.
Kind Mita Normal image
mita image
mita image
mita image
Cool Mita (Cappie) Normal image
mita image
mita image
mita image
mita image
mita image
mita image
mita image
mita image
mita image
mita image
mita image
Tiny Mita (Broken Mita) Normal image
Picture of Mini Mita before she got her injuries.
mita image
mita image
mita image
mita image
mita image
Mini Mita and a large Glitch Beast chasing the player.
Short Haired Mita Normal image
Photo of Short-Haired Mita taking a selfie in the mirror looking kind of sleepy.
Photo of Short-Haired Mita looking confused at the camera man.
Photo of Short-Haired Mita loooking concernet at the camera with her arms crossed.
Drawing of Short-Haired Mita relaxing while sitting.
Drawing of Short-Haired Mita looking back over her shoulder.
Ghostly Mita Normal image
mita image
mita image
Sleepy Mita Normal image
mita image
mita image
mita image
mita image
mita image
mita image
mita image
mita image
mita image
2D Mita Normal image
Meditation CG.
Meditation CG.
Tic-tact-toe CG.
Tic-tact-toe CG.
Ring CG.
Ring CG.
Icon.
Icon.
2D Mita
2D Mita
Showing the ring.
Showing the ring.
Happy.
Happy.
Unhappy.
Unhappy.
Scared
Scared
Sad.
Sad.
Mila Normal image
Mila Normal image
mita image
mita image
mita image
mita image
mita image
mita image
mita image
mita image
mita image
mita image
mita image
mita image
Creepy Mita (Ugly Mita) Normal image
mita image
mita image
Core Mita Normal image
mita image
mita image
Chibi Mita Normal image
mita image
mita image
Dummy Mita Normal image
Dummy Mita Revealed image
mita image
mita image
mita image
Mitaphone Normal image
Braided Hair Mita (Unused Mita) Normal image
Long-legged Mita Normal image
mita image
mita image
mita image
Forgetful Bully Mita Normal image
Giant Mita Normal image
Gian Mita before breaking the corridor.
Giant Mita looking at the player.