Hoofdstuk 9: Dummies en Vergeten Puzzels

Dummies en Vergeten Puzzels is een hoofdstuk uit het verhaal van MiSide.

Plot Samenvatting

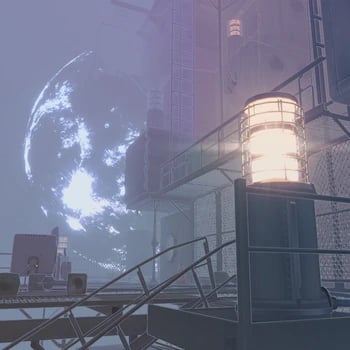
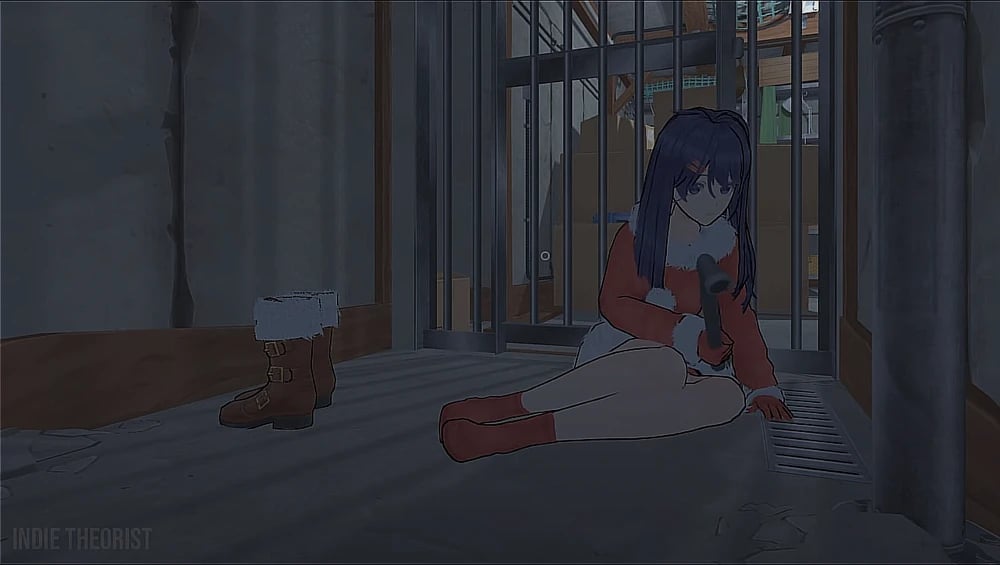
Wanneer de speler de deur binnenloopt, zal hij verder gaan door vele kamers die lijken op verschillende niveaus van The Backrooms, terwijl hij wordt achtervolgd door meer corrupte Mita-modellen. Uiteindelijk bereikt hij een andere deur en gaat erin, wat hem leidt naar een surrealistische en visueel verbluffende open wereld waar hij iets ziet dat lijkt op de maan. Deze wereld lijkt op een zeer mistige versie van de ruimte. In deze wereld moet de speler uitsluitend op loopplanken en leuningen lopen, terwijl hij puzzels oplost om verschillende gesloten metalen poorten te ontgrendelen. Na het voltooien van de tweede puzzel en het trekken van een hefboom om een poort te openen, valt er een koelkast uit de lucht en slaat op de grond, net mis van de speler. Bij nader onderzoek zal de speler Mita zien staan op een loopbrug boven hem, die dan netdoet alsof ze onschuldig is en beweert dat ze niets te maken had met de vallende koelkast, voordat ze de speler op flirterige wijze bespot en hem vertelt dat dit gebied gevaarlijk is, en dat hij verder moet gaan.

Terwijl de speler verdergaat, betreedt hij een enorme vacuümachtige tunnel waar veel willekeurige in-game assets en voorwerpen langs hem voorbij vliegen. Terwijl hij erdoorheen gaat en de uitgang van de tunnel bereikt, blijft een vliegende stoel vastzitten en dupliceert zichzelf herhaaldelijk op een glitchy manier.

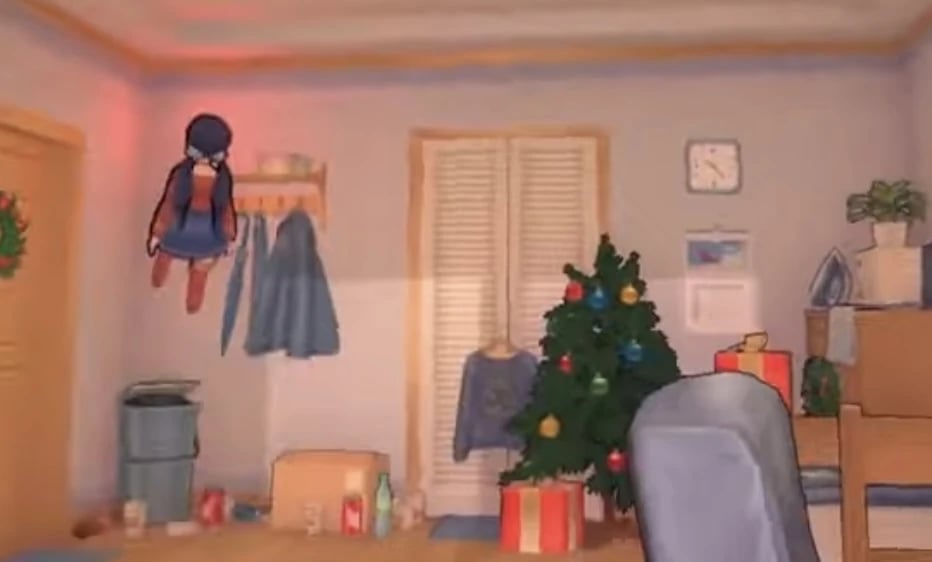
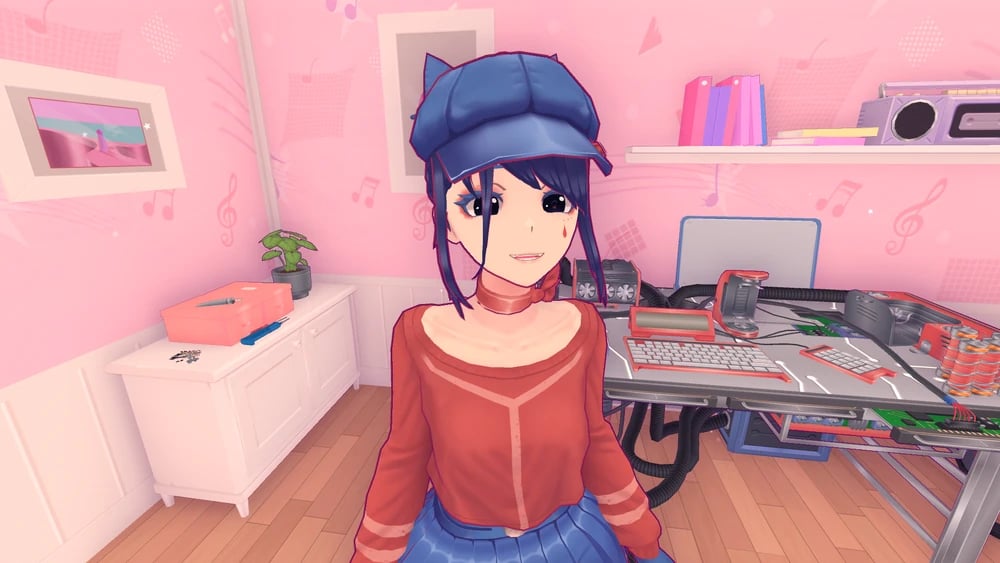
Bij het verlaten van de tunnel, bereikt de speler een treinstation waar Chibi Mita uit de trein stapt en onvriendelijk tegen de speler zegt dat hij moet opschieten voordat ze weg rent. Wanneer de speler de trein instapt, ontmoet hij Mitaphone, de ingebouwde bestuurder van de trein, die hem vertelt de vuurwapen dat op de trein is gemonteerd te gebruiken om vliegende monsters neer te schieten terwijl de trein vooruit rijdt. Bij het bereiken van de bestemming neemt Mitaphone afscheid van de speler en stapt de speler uit de trein, waar hij een arcadespelautomaat vindt die hij optioneel kan spelen. Na het vinden en onderzoeken van een foto, wordt de speler naar de kamer van Ghostly Mita gestuurd.

Voortgang

1. Kijk eens rond.
2. Ga naar de arcade machine.
3. Controleer alle Mita-modellen.
4. Ga weer naar beneden.

Recente Afbeeldingen

images

Mita Afbeeldingen

Mita (Crazy Mita) Normal image
Mita (Crazy Mita) Revealed image
mita image
School clothes.
School clothes.
Vampire costume.
Vampire costume.
Festive Santa dress.
A photo of Mita dancing.
A photo of Mita sitting down and looking over her shoulder.
A photo of Mita hugging the Player from behind.
A photo of Mita with a white bikini and a sly smile.
A photo of Mita in a red bathing suit looking over the water.
A photo of Mita holding up the peace sign while out in nature.
A photo of Mita out in nature.
A photo of Mita playing with a cat.
Mita Room
Mita Room
Mita’s legs stuck inside of the wall.
Mita’s primary outfit.
Mita’s revealed appearance.
Mita’s School Uniform (Blue).
Mita’s School Uniform (Black).
Mita’s School Uniform (White and Blue).
Mita’s vampire outfit.
Mita’s Santa outfit.
Kind Mita Normal image
mita image
mita image
mita image
Cool Mita (Cappie) Normal image
mita image
mita image
mita image
mita image
mita image
mita image
mita image
mita image
mita image
mita image
mita image
Tiny Mita (Broken Mita) Normal image
Picture of Mini Mita before she got her injuries.
mita image
mita image
mita image
mita image
mita image
Mini Mita and a large Glitch Beast chasing the player.
Short Haired Mita Normal image
Photo of Short-Haired Mita taking a selfie in the mirror looking kind of sleepy.
Photo of Short-Haired Mita looking confused at the camera man.
Photo of Short-Haired Mita loooking concernet at the camera with her arms crossed.
Drawing of Short-Haired Mita relaxing while sitting.
Drawing of Short-Haired Mita looking back over her shoulder.
Ghostly Mita Normal image
mita image
mita image
Sleepy Mita Normal image
mita image
mita image
mita image
mita image
mita image
mita image
mita image
mita image
mita image
2D Mita Normal image
Meditation CG.
Meditation CG.
Tic-tact-toe CG.
Tic-tact-toe CG.
Ring CG.
Ring CG.
Icon.
Icon.
2D Mita
2D Mita
Showing the ring.
Showing the ring.
Happy.
Happy.
Unhappy.
Unhappy.
Scared
Scared
Sad.
Sad.
Mila Normal image
Mila Normal image
mita image
mita image
mita image
mita image
mita image
mita image
mita image
mita image
mita image
mita image
mita image
mita image
Creepy Mita (Ugly Mita) Normal image
mita image
mita image
Core Mita Normal image
mita image
mita image
Chibi Mita Normal image
mita image
mita image
Dummy Mita Normal image
Dummy Mita Revealed image
mita image
mita image
mita image
Mitaphone Normal image
Braided Hair Mita (Unused Mita) Normal image
Long-legged Mita Normal image
mita image
mita image
mita image
Forgetful Bully Mita Normal image
Giant Mita Normal image
Gian Mita before breaking the corridor.
Giant Mita looking at the player.