Hoofdstuk 7: De Loop

De Loop is een hoofdstuk uit het verhaal van MiSide.

Plot Samenvatting

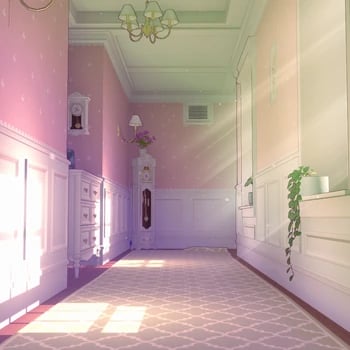
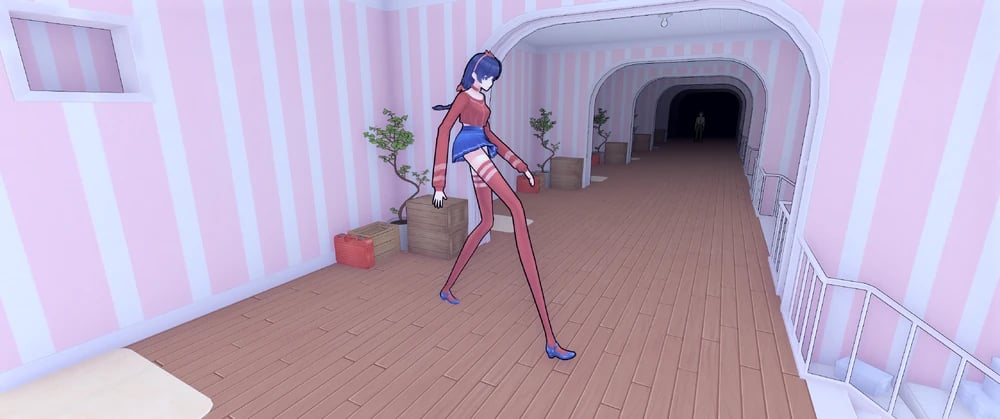
De Speler betreedt een gang waarvan de uitgang schijnbaar onmogelijk terugleidt naar de ingang, waardoor er effectief een loop ontstaat. Behalve een digitale teller, lijkt elke kamer identiek aan de vorige. Dingen beginnen te veranderen in de vierde "loop" wanneer de tekst "again?" plotseling op de muur verschijnt terwijl De Speler verder beweegt. De hoeveelheid tekst op de muren groeit naarmate de lichten dimmen. De nu donkere en griezelige gang wordt steeds verstorender naarmate de loop voortduurt.

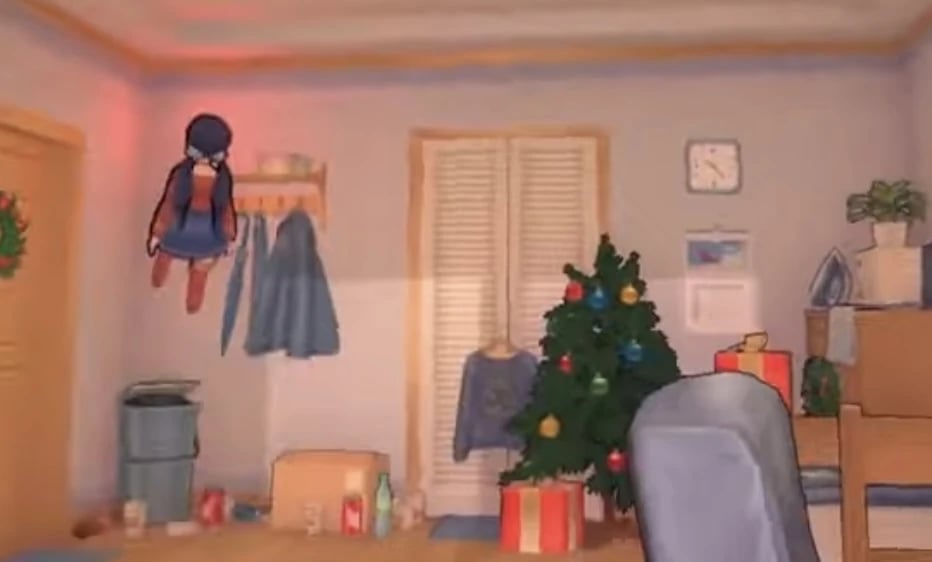
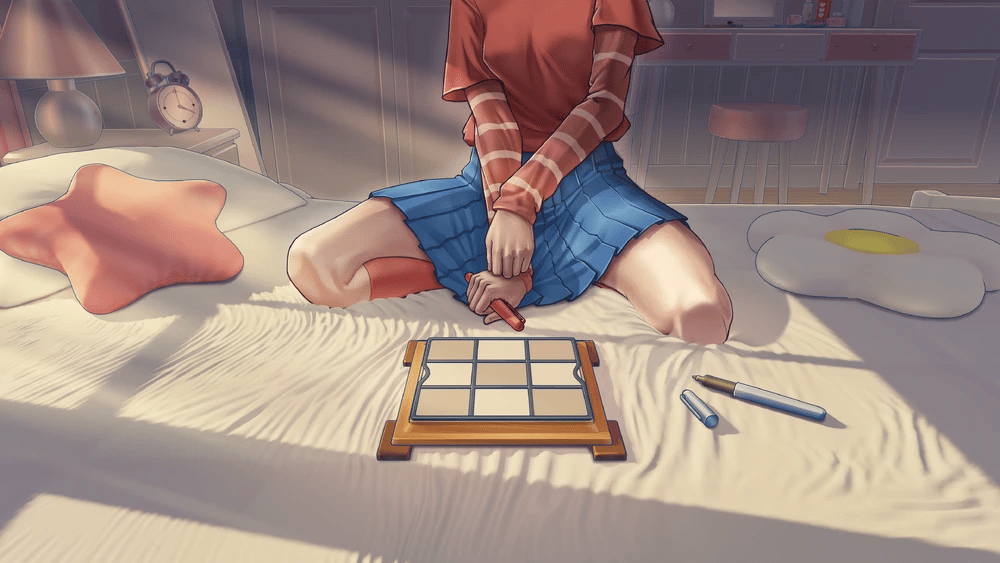
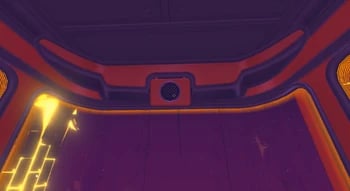
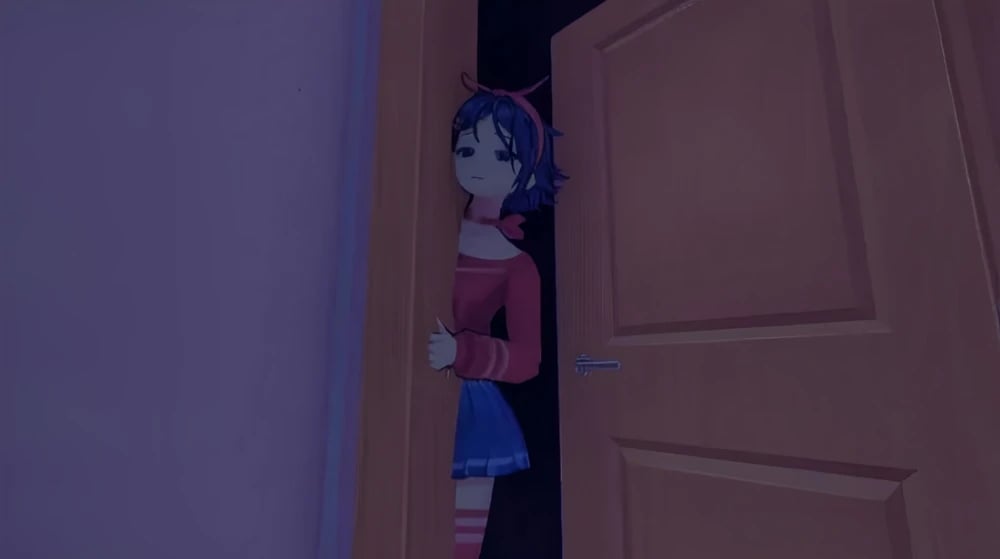
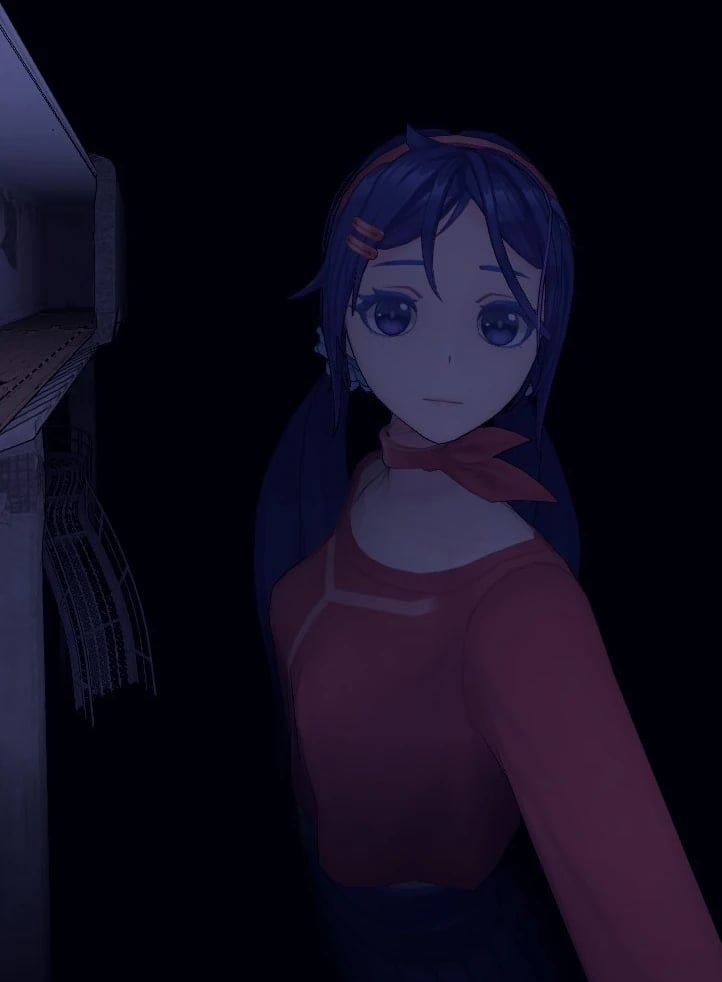
Bij de zevende iteratie begint de kleine tv op het bureau in het midden van de hal creepy, roodachtige ruis weer te geven. In de volgende lus verdwijnt alle tekst en wordt deze vervangen door een enkele regel: "Het is hier." De messen die in de muur onder de tekst zijn vastgezet spatten bloed op het omringende gebied terwijl De Speler passeert. Verdergaand naar de uitgang ziet de Speler Tiny Mita voor de eerste van vele keren, die hem stalkt. De negende lus begint met De Speler die een zaklamp uitrust die hij in een eerdere versie heeft verkregen. De tv gaat dan uit en Tiny Mita verschijnt buiten het raam. De Protagonist moet een afschuwelijk spinachtig wezen aanschouwen voordat hij naar de volgende lus gaat, waarin het begint te regenen. Terwijl hij verdergaat, shatert het raam wanneer een honkbalknuppel op de voeten van de Speler landt. De knuppel komt van pas in de dertiende lus, die is geïnfecteerd met meer spinachtige wezens. Wanneer de tv opnieuw aanspringt, toont deze een snel draaiende klok. Zodra de kamer verlicht is, moet de klok op het bureau worden aangepast om overeen te komen met de andere klokken in de kamer. Eenmaal voltooid, verschijnt Tiny Mita achter de speler.

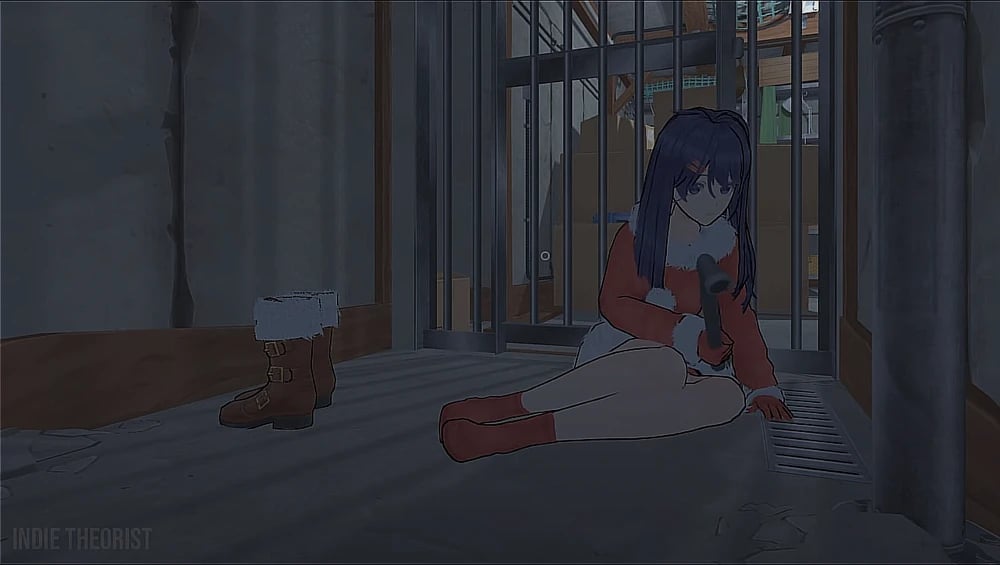
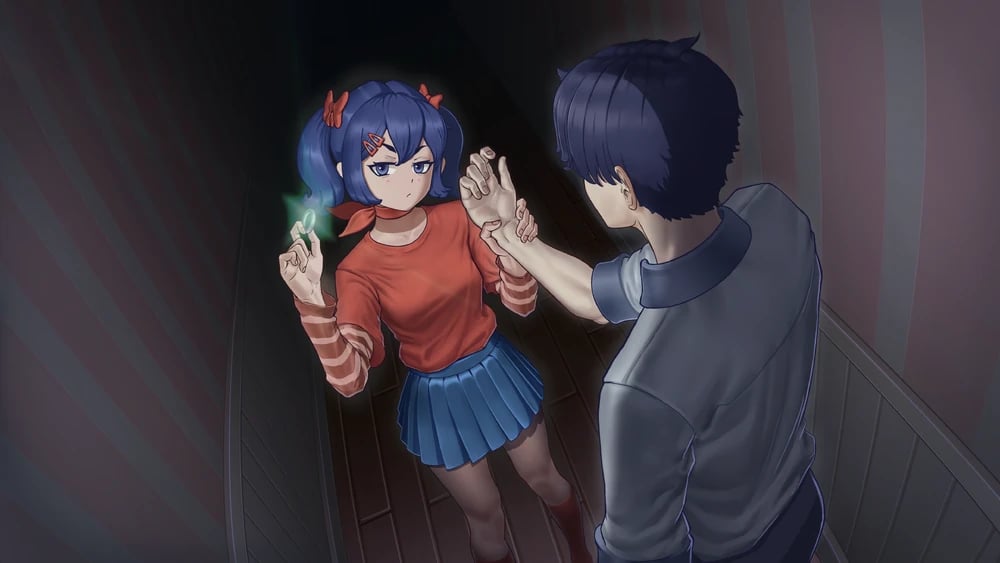
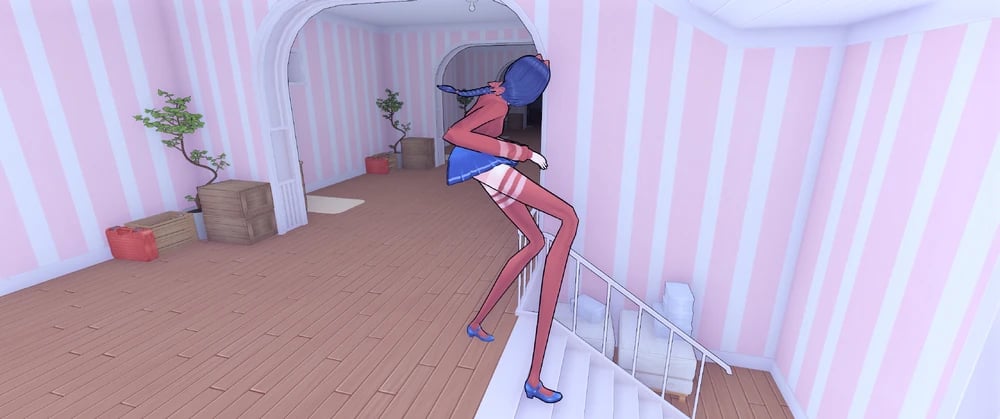
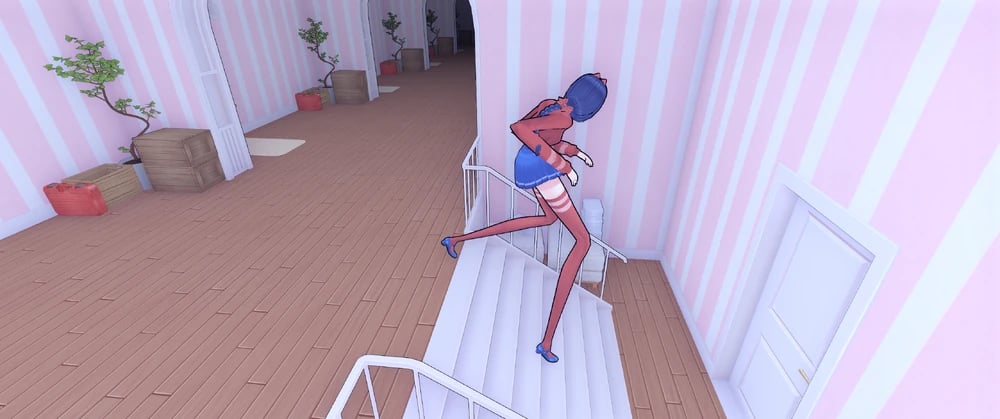
Volgend en gepakt door de Mita, wordt de kamer ondergedompeld in een diep karmozijnrood terwijl de speler zich van haar verwijdert. Tiny Mita verdwijnt en de gang verandert in een verdraaid zintuiglijk chaos. De speler vindt Tiny Mita aan het einde van de gang en helpt haar op terwijl de gang weer normaal wordt. In de volgende cyclus zit Tiny Mita bij het bureau, klaar om mee te converseren. Ze waarschuwt de speler onheilspellend dat "de deuren je niet zullen helpen." Dit blijkt waar te zijn wanneer een gecorrumpeerd en vergroot arachnoïde hoofdmonster de Speler onvermoeibaar begint achterna te zitten, die alleen weet te ontsnappen door uit het raam te stuiteren. De val is visueel versierd met de Speler die in de greep van Crazy Mita valt.

Voortgang

1. Zet de klok op de juiste tijd.
2. Praat met Tiny Mita.
3. Interageer met het raam waar Tiny Mita is en verlaat deze versie.

Recente Afbeeldingen

images

Mita Afbeeldingen

Mita (Crazy Mita) Normal image
Mita (Crazy Mita) Revealed image
mita image
School clothes.
School clothes.
Vampire costume.
Vampire costume.
Festive Santa dress.
A photo of Mita dancing.
A photo of Mita sitting down and looking over her shoulder.
A photo of Mita hugging the Player from behind.
A photo of Mita with a white bikini and a sly smile.
A photo of Mita in a red bathing suit looking over the water.
A photo of Mita holding up the peace sign while out in nature.
A photo of Mita out in nature.
A photo of Mita playing with a cat.
Mita Room
Mita Room
Mita’s legs stuck inside of the wall.
Mita’s primary outfit.
Mita’s revealed appearance.
Mita’s School Uniform (Blue).
Mita’s School Uniform (Black).
Mita’s School Uniform (White and Blue).
Mita’s vampire outfit.
Mita’s Santa outfit.
Kind Mita Normal image
mita image
mita image
mita image
Cool Mita (Cappie) Normal image
mita image
mita image
mita image
mita image
mita image
mita image
mita image
mita image
mita image
mita image
mita image
Tiny Mita (Broken Mita) Normal image
Picture of Mini Mita before she got her injuries.
mita image
mita image
mita image
mita image
mita image
Mini Mita and a large Glitch Beast chasing the player.
Short Haired Mita Normal image
Photo of Short-Haired Mita taking a selfie in the mirror looking kind of sleepy.
Photo of Short-Haired Mita looking confused at the camera man.
Photo of Short-Haired Mita loooking concernet at the camera with her arms crossed.
Drawing of Short-Haired Mita relaxing while sitting.
Drawing of Short-Haired Mita looking back over her shoulder.
Ghostly Mita Normal image
mita image
mita image
Sleepy Mita Normal image
mita image
mita image
mita image
mita image
mita image
mita image
mita image
mita image
mita image
2D Mita Normal image
Meditation CG.
Meditation CG.
Tic-tact-toe CG.
Tic-tact-toe CG.
Ring CG.
Ring CG.
Icon.
Icon.
2D Mita
2D Mita
Showing the ring.
Showing the ring.
Happy.
Happy.
Unhappy.
Unhappy.
Scared
Scared
Sad.
Sad.
Mila Normal image
Mila Normal image
mita image
mita image
mita image
mita image
mita image
mita image
mita image
mita image
mita image
mita image
mita image
mita image
Creepy Mita (Ugly Mita) Normal image
mita image
mita image
Core Mita Normal image
mita image
mita image
Chibi Mita Normal image
mita image
mita image
Dummy Mita Normal image
Dummy Mita Revealed image
mita image
mita image
mita image
Mitaphone Normal image
Braided Hair Mita (Unused Mita) Normal image
Long-legged Mita Normal image
mita image
mita image
mita image
Forgetful Bully Mita Normal image
Giant Mita Normal image
Gian Mita before breaking the corridor.
Giant Mita looking at the player.