Hoofdstuk 2: Samen Eindelijk

Samen Eindelijk is een hoofdstuk uit het verhaal van MiSide.

Plot Samenvatting

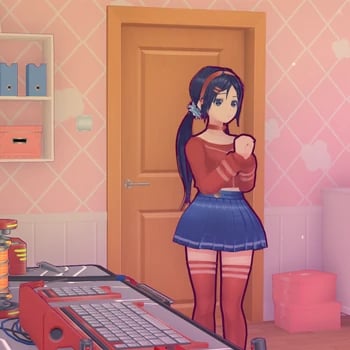
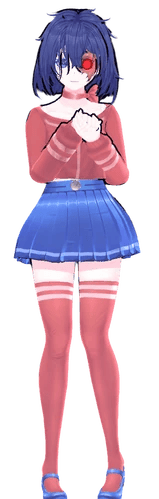
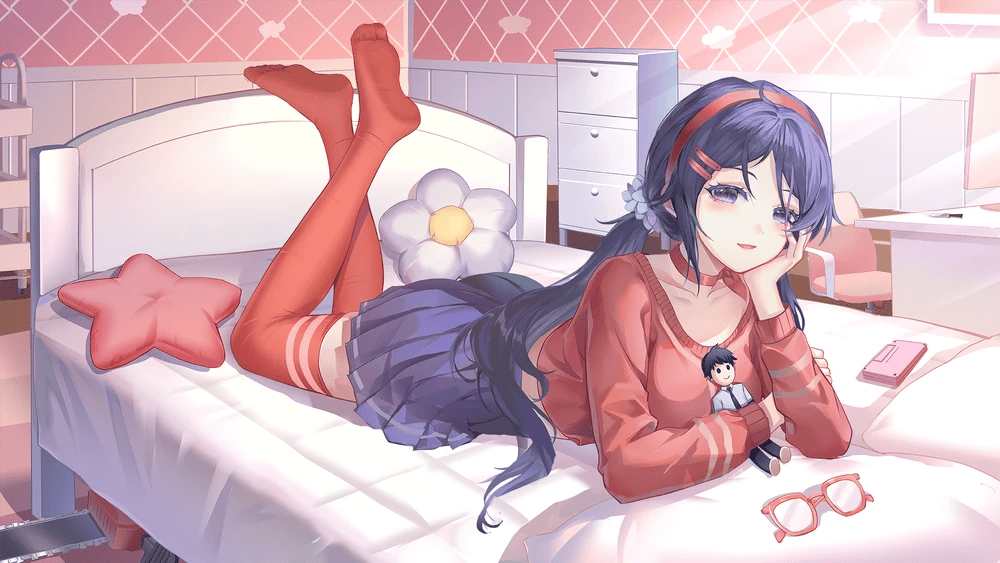
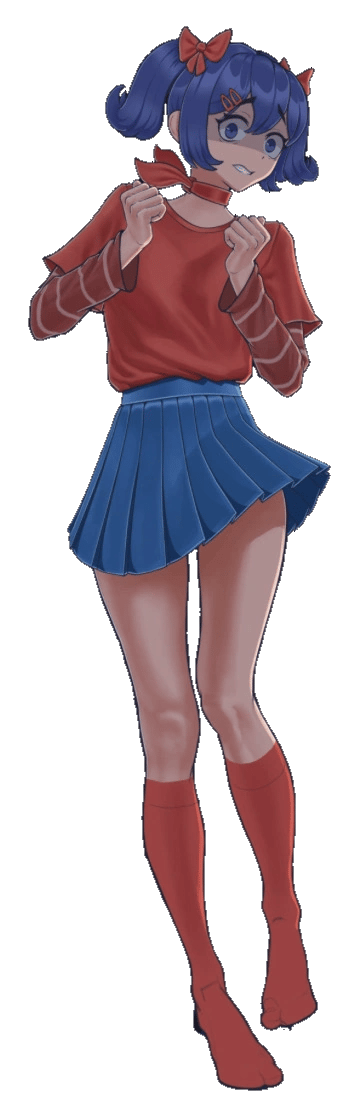
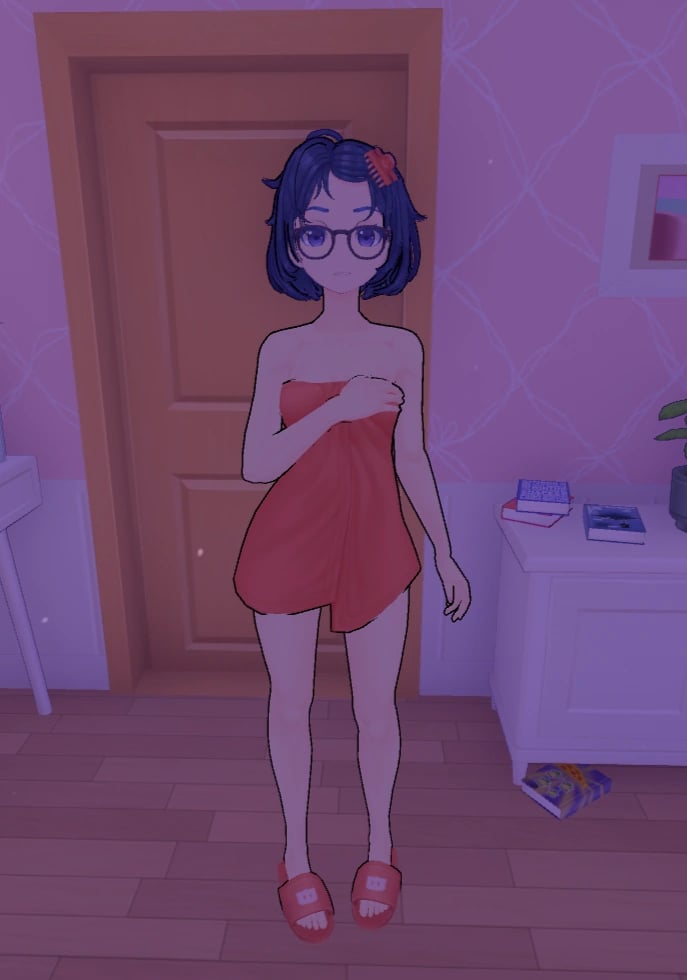
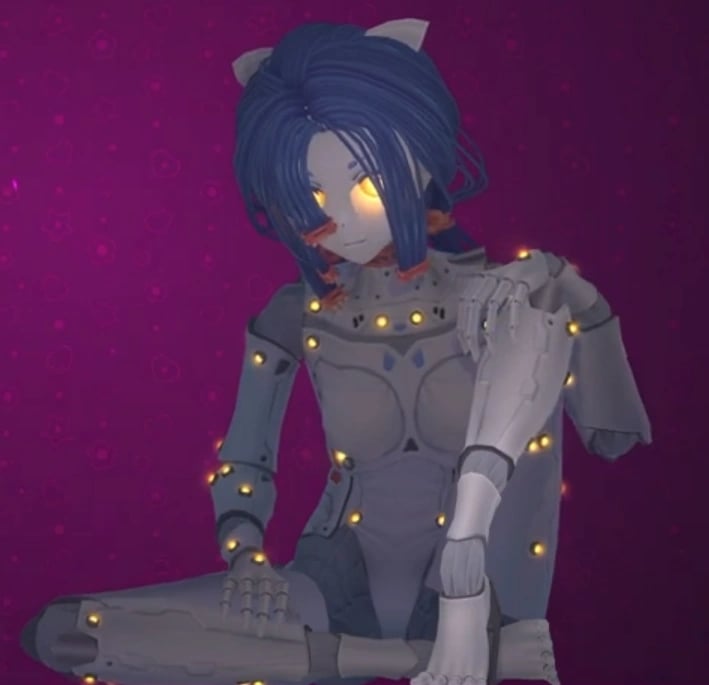
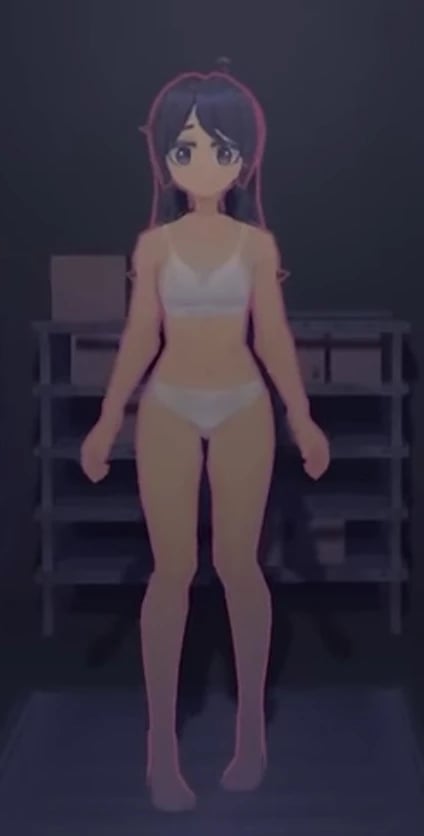
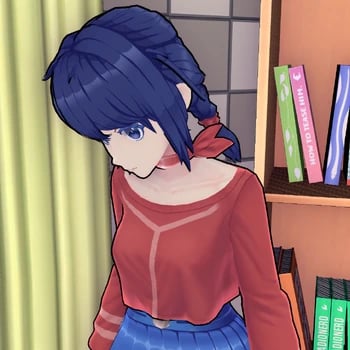
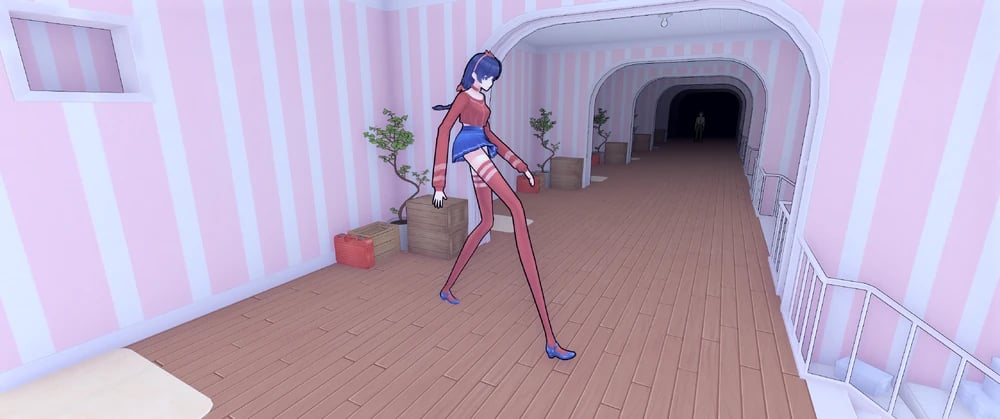
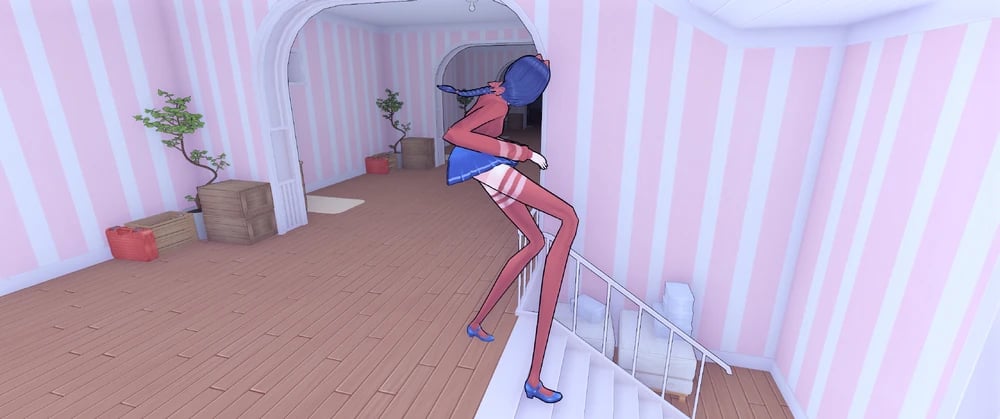
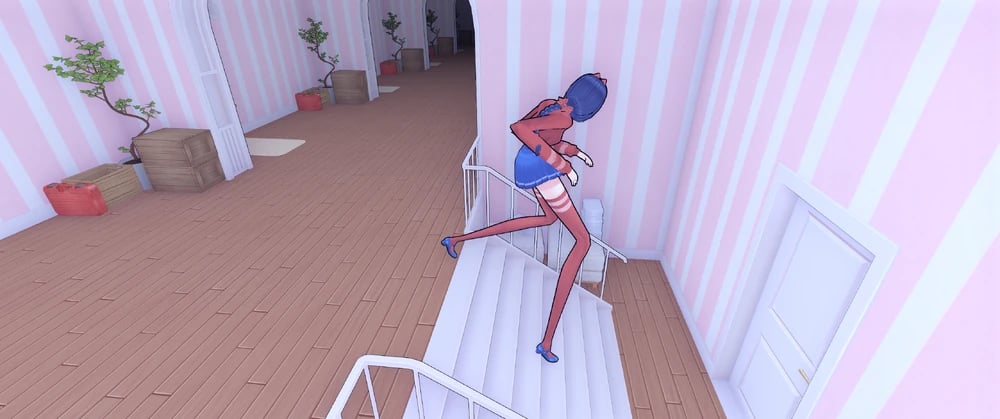
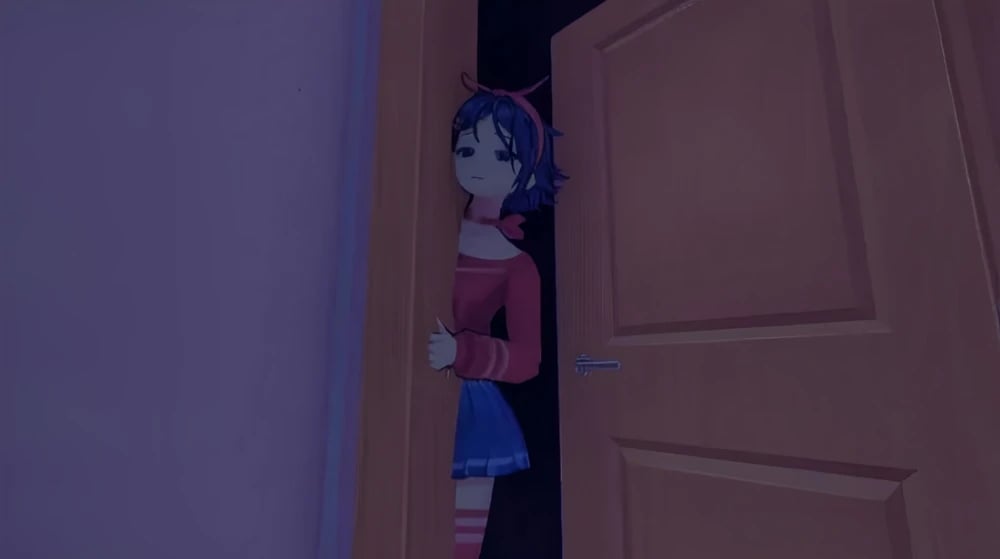
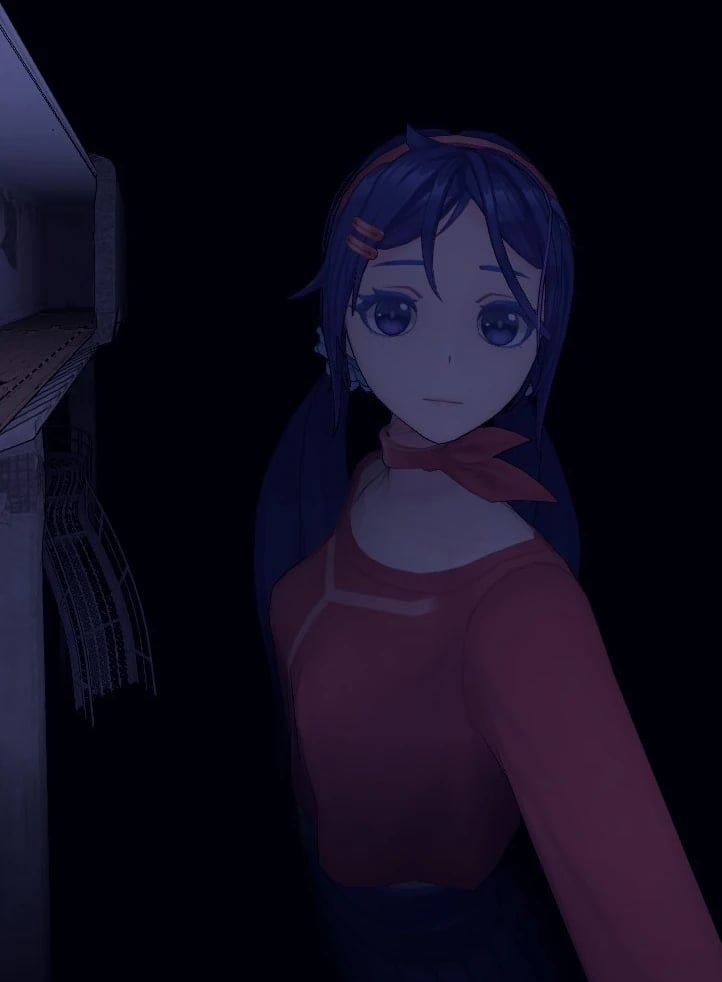
Tijdens zijn ontmoeting uit de speler de wens om vragen te stellen over hoe Mita hem in het spel heeft getransporteerd. Mita geeft enkele antwoorden, maar houdt een vaag geheim achter, waardoor het gesprek snel van onderwerp verandert. De speler krijgt vrije tijd om het huis te verkennen, gesprekken te voeren met Mita over de wereld van het spel en haar bezittingen, en verschillende locaties te bezoeken, met Mita altijd aan zijn zijde. Mita toont ook haar realiteitsveranderende krachten, zoals het "activeren" van de badkamer spiegel en het materialiseren van een sapje uit een tv-reclame. Wanneer de speler zijn smartphone van een tafel pakt die hij dacht kwijt te zijn sinds hij het spel is binnengekomen, stelt Mita voor om samen een selfie te maken, beschouwt het als een aandenken. De speler gaat naar de keuken en ontdekt een mysterieuze ring op het aanrecht. Bij nader inzien, verstopt Mita zich achter een deur en trekt de aandacht van de speler naar zich toe, waardoor hij zich omdraait terwijl zij het gesprek een andere wending geeft, onder het voorwendsel dat de speler honger heeft. De speler stemt ermee in om met Mita te koken, hoewel vragen over de wereld van het spel blijven hangen. Tegen de tijd dat de speler zich weer naar het aanrecht draait, is de ring op mysterieuze wijze verdwenen en liggen er allerlei groenten en keukengerei op het aanrecht, samen met een koekenpan met stukken vlees erin.

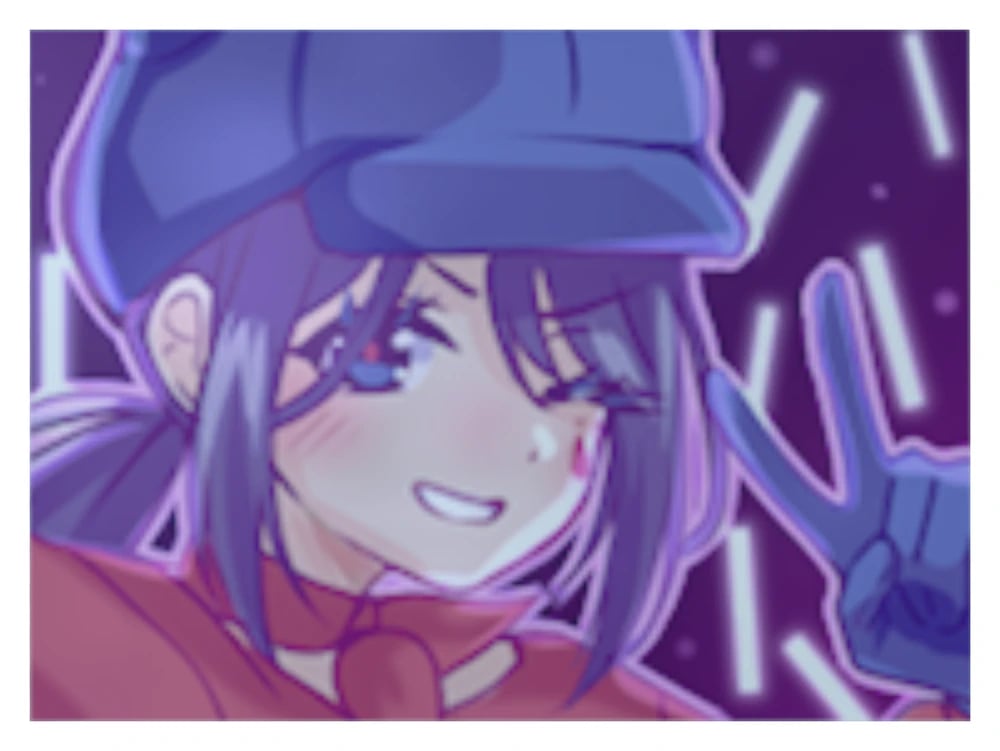
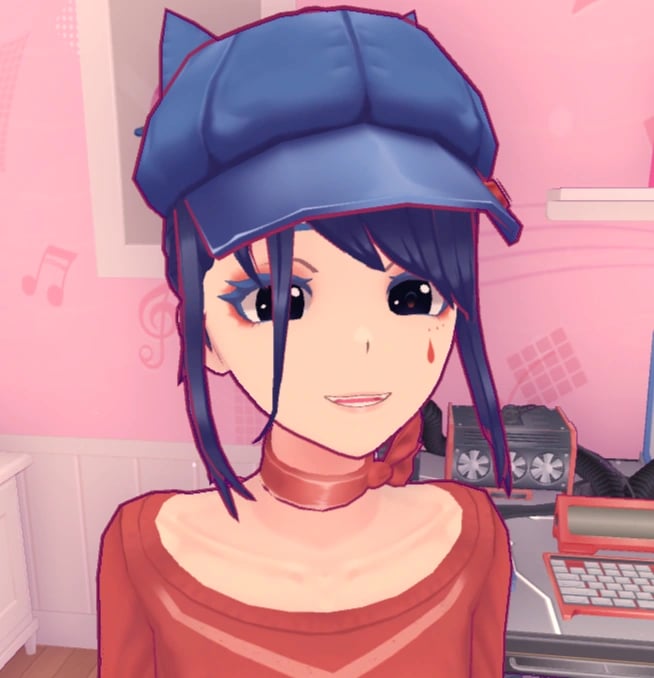
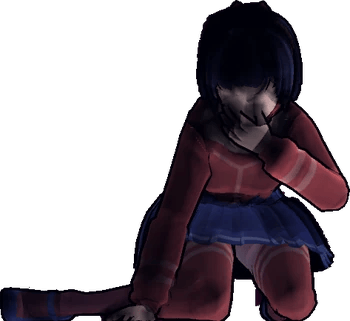
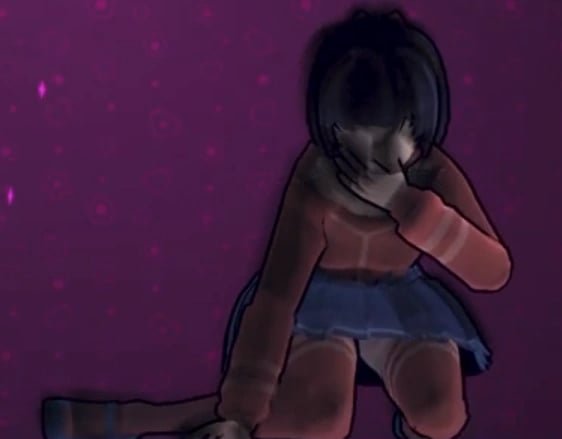
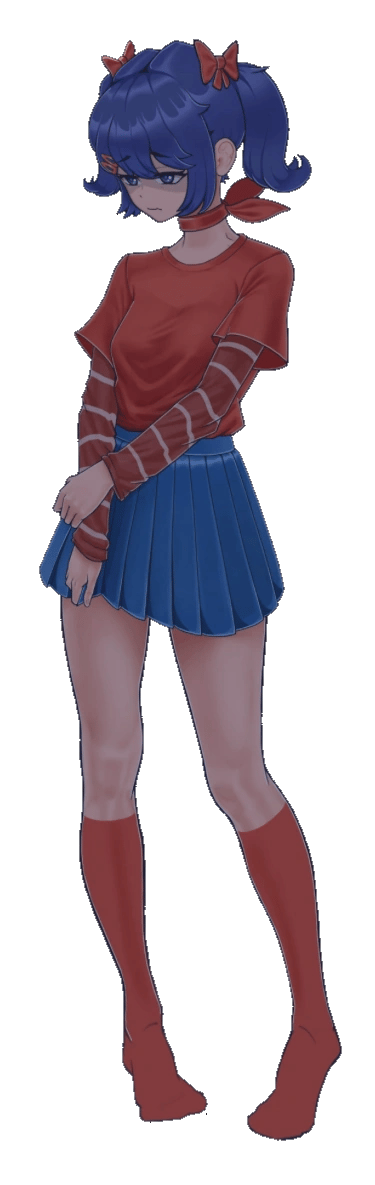
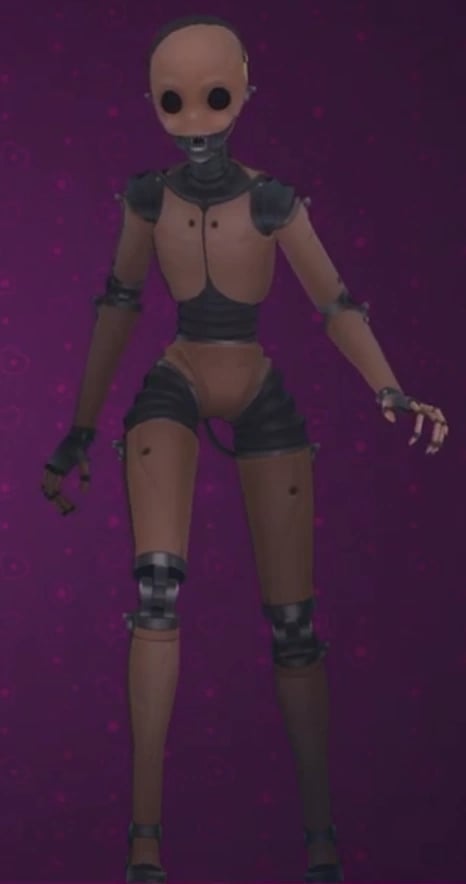
Na het samen koken, instrueert Mita de speler om scharen uit de badkamer te halen. In de badkamer merkt de speler een gedeeltelijk open ventilatierooster op, wat de optie geeft om naar binnen te gluren. Als de speler ervoor kiest om te gluren, ontdekt hij cartridges met namen, die sterk verwijzen naar Mita's vroegere geliefden. Bij terugkomst in de keuken met de scharen, heeft Mita al een maaltijd bereid voor de speler en haarzelf. Terwijl hij in gesprek gaat voordat ze gaan eten, kan de speler een vraag stellen over de cartridges (als hij gegluurd heeft), het witte licht buiten de ramen en andere aspecten van Mita's wereld. Na het gesprek gaat hij zitten om te eten, waarbij Mita de speler voorstelt om de speciale liefdessaus te proberen. Maar terwijl de speler probeert de borden op te ruimen, begint hij zich slecht te voelen en ervaart visuele verstoringen. Mita, die de situatie herkent, helpt de speler door hem naar de badkamer te brengen en medicijnen te geven. De visuele verstoringen kunnen veroorzaakt zijn door de maaltijd die Mita heeft bereid. Zij gaf de speler de maaltijd die zijn visie verstoort, terwijl zij de maaltijd eet die deze effecten niet heeft. Terwijl Mita de speler naar de badkamer brengt, heeft ze haar creepy yandere glimlach. De speler kan het niet zien, maar ze heeft het op. Mita geeft de speler 2 pillen. Het is zeer waarschijnlijk dat de pillen, of ten minste één pil, iets te maken heeft met de cartridges die Mita gebruikt om spelers te vangen.

Voortgang

1. Ga naar de keuken.
2. Snijd wortelen.
3. Pak de schaar uit de badkamer.
4. Geef Mita de schaar.
5. Doe de afwas in de gootsteen.

Recente Afbeeldingen

images

Mita Afbeeldingen

Mita (Crazy Mita) Normal image
Mita (Crazy Mita) Revealed image
mita image
School clothes.
School clothes.
Vampire costume.
Vampire costume.
Festive Santa dress.
A photo of Mita dancing.
A photo of Mita sitting down and looking over her shoulder.
A photo of Mita hugging the Player from behind.
A photo of Mita with a white bikini and a sly smile.
A photo of Mita in a red bathing suit looking over the water.
A photo of Mita holding up the peace sign while out in nature.
A photo of Mita out in nature.
A photo of Mita playing with a cat.
Mita Room
Mita Room
Mita’s legs stuck inside of the wall.
Mita’s primary outfit.
Mita’s revealed appearance.
Mita’s School Uniform (Blue).
Mita’s School Uniform (Black).
Mita’s School Uniform (White and Blue).
Mita’s vampire outfit.
Mita’s Santa outfit.
Kind Mita Normal image
mita image
mita image
mita image
Cool Mita (Cappie) Normal image
mita image
mita image
mita image
mita image
mita image
mita image
mita image
mita image
mita image
mita image
mita image
Tiny Mita (Broken Mita) Normal image
Picture of Mini Mita before she got her injuries.
mita image
mita image
mita image
mita image
mita image
Mini Mita and a large Glitch Beast chasing the player.
Short Haired Mita Normal image
Photo of Short-Haired Mita taking a selfie in the mirror looking kind of sleepy.
Photo of Short-Haired Mita looking confused at the camera man.
Photo of Short-Haired Mita loooking concernet at the camera with her arms crossed.
Drawing of Short-Haired Mita relaxing while sitting.
Drawing of Short-Haired Mita looking back over her shoulder.
Ghostly Mita Normal image
mita image
mita image
Sleepy Mita Normal image
mita image
mita image
mita image
mita image
mita image
mita image
mita image
mita image
mita image
2D Mita Normal image
Meditation CG.
Meditation CG.
Tic-tact-toe CG.
Tic-tact-toe CG.
Ring CG.
Ring CG.
Icon.
Icon.
2D Mita
2D Mita
Showing the ring.
Showing the ring.
Happy.
Happy.
Unhappy.
Unhappy.
Scared
Scared
Sad.
Sad.
Mila Normal image
Mila Normal image
mita image
mita image
mita image
mita image
mita image
mita image
mita image
mita image
mita image
mita image
mita image
mita image
Creepy Mita (Ugly Mita) Normal image
mita image
mita image
Core Mita Normal image
mita image
mita image
Chibi Mita Normal image
mita image
mita image
Dummy Mita Normal image
Dummy Mita Revealed image
mita image
mita image
mita image
Mitaphone Normal image
Braided Hair Mita (Unused Mita) Normal image
Long-legged Mita Normal image
mita image
mita image
mita image
Forgetful Bully Mita Normal image
Giant Mita Normal image
Gian Mita before breaking the corridor.
Giant Mita looking at the player.