Kapitel 9: Dockor och Glömda Pussel

Dockor och Glömda Pussel är ett kapitel från berättelsen om MiSide.

Handlingssammanfattning

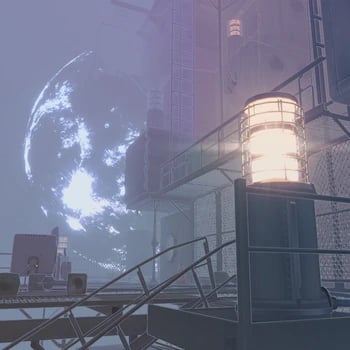
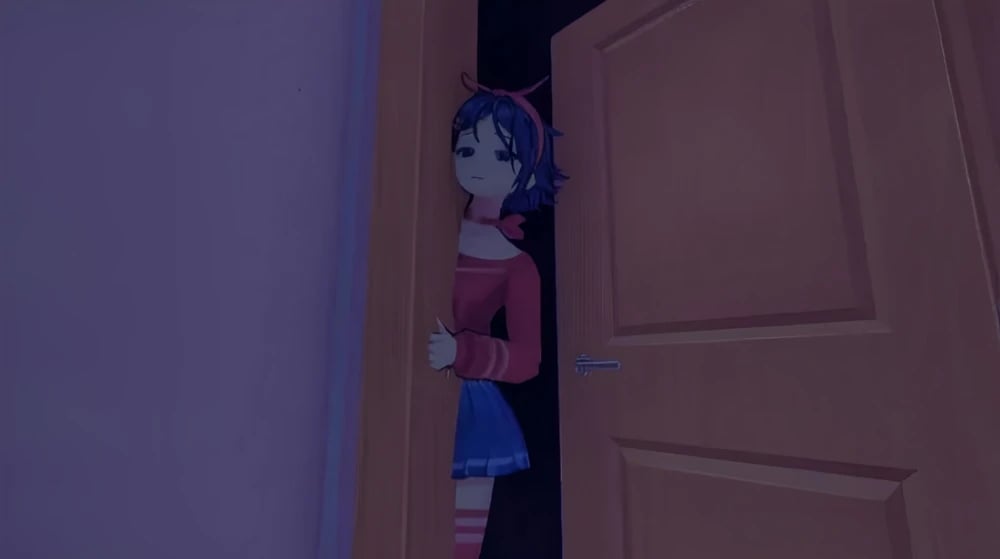
När spelaren går in genom dörren kommer han att ta sig igenom många fler rum som liknar olika nivåer av The Backrooms, samtidigt som han jagas av fler korrupta Mita-modeller, tills han slutligen når en annan dörr och går in genom den, vilket leder honom till en surrealistisk och visuellt fantastisk öppen värld där han kan se något som ser ut som månen. Denna värld liknar en mycket dimmig version av rymden. I denna värld måste spelaren gå enbart på gångbroar och räcken, lösa pussel för att låsa upp olika stängda metalldörrar. När han har slutfört det andra pusslet och drar i en spak för att låsa upp en dörr, faller ett kylskåp ner från himlen och kraschar i marken, som precis missar spelaren. Vid närmare undersökning ser spelaren Mita stå på en gångbro ovanför honom, som då låtsas vara oskyldig och påstår att hon inte hade något att göra med det fallande kylskåpet innan hon flirtigt retas med spelaren och säger att detta område är farligt, och att han bör gå vidare.

När spelaren fortsätter framåt, kommer han in i en massiv tunnel som liknar ett vakuum där många slumpmässiga in-game tillgångar och objekt sväva förbi honom. När han passerar genom och når utgången till tunneln, fastnar en flygande stol och dupliceras upprepade gånger på ett glitchy sätt.

När spelaren lämnar tunneln når de en tågstation där Chibi Mita kliver av tåget och otrevligt säger åt spelaren att flytta sig innan hon springer iväg. När spelaren kliver på tåget träffar de Mitaphone, tågchauffören, som ber spelaren att använda pistolen som är monterad på tåget för att skjuta ner flygande monster medan tåget rör sig framåt. När de når destinationen tar Mitaphone farväl av spelaren och spelaren kliver av tåget, där de hittar en arkadmaskin som de kan spela på om de vill. Efter att ha funnit och undersökt en bild skickas spelaren till Ghostly Mita's rum.

Framsteg

1. Titta runt.
2. Gå till arkadmaskinen.
3. Kontrollera alla Mita-modeller.
4. Gå tillbaka ner.

Nya bilder

images

Mita-bilder

Mita (Crazy Mita) Normal image
Mita (Crazy Mita) Revealed image
mita image
School clothes.
School clothes.
Vampire costume.
Vampire costume.
Festive Santa dress.
A photo of Mita dancing.
A photo of Mita sitting down and looking over her shoulder.
A photo of Mita hugging the Player from behind.
A photo of Mita with a white bikini and a sly smile.
A photo of Mita in a red bathing suit looking over the water.
A photo of Mita holding up the peace sign while out in nature.
A photo of Mita out in nature.
A photo of Mita playing with a cat.
Mita Room
Mita Room
Mita’s legs stuck inside of the wall.
Mita’s primary outfit.
Mita’s revealed appearance.
Mita’s School Uniform (Blue).
Mita’s School Uniform (Black).
Mita’s School Uniform (White and Blue).
Mita’s vampire outfit.
Mita’s Santa outfit.
Kind Mita Normal image
mita image
mita image
mita image
Cool Mita (Cappie) Normal image
mita image
mita image
mita image
mita image
mita image
mita image
mita image
mita image
mita image
mita image
mita image
Tiny Mita (Broken Mita) Normal image
Picture of Mini Mita before she got her injuries.
mita image
mita image
mita image
mita image
mita image
Mini Mita and a large Glitch Beast chasing the player.
Short Haired Mita Normal image
Photo of Short-Haired Mita taking a selfie in the mirror looking kind of sleepy.
Photo of Short-Haired Mita looking confused at the camera man.
Photo of Short-Haired Mita loooking concernet at the camera with her arms crossed.
Drawing of Short-Haired Mita relaxing while sitting.
Drawing of Short-Haired Mita looking back over her shoulder.
Ghostly Mita Normal image
mita image
mita image
Sleepy Mita Normal image
mita image
mita image
mita image
mita image
mita image
mita image
mita image
mita image
mita image
2D Mita Normal image
Meditation CG.
Meditation CG.
Tic-tact-toe CG.
Tic-tact-toe CG.
Ring CG.
Ring CG.
Icon.
Icon.
2D Mita
2D Mita
Showing the ring.
Showing the ring.
Happy.
Happy.
Unhappy.
Unhappy.
Scared
Scared
Sad.
Sad.
Mila Normal image
Mila Normal image
mita image
mita image
mita image
mita image
mita image
mita image
mita image
mita image
mita image
mita image
mita image
mita image
Creepy Mita (Ugly Mita) Normal image
mita image
mita image
Core Mita Normal image
mita image
mita image
Chibi Mita Normal image
mita image
mita image
Dummy Mita Normal image
Dummy Mita Revealed image
mita image
mita image
mita image
Mitaphone Normal image
Braided Hair Mita (Unused Mita) Normal image
Long-legged Mita Normal image
mita image
mita image
mita image
Forgetful Bully Mita Normal image
Giant Mita Normal image
Gian Mita before breaking the corridor.
Giant Mita looking at the player.