Capítulo 9: Bonecos e Quebra-Cabeças Esquecidos

Bonecos e Quebra-Cabeças Esquecidos é um capítulo da história de MiSide.

Sinopse do Enredo

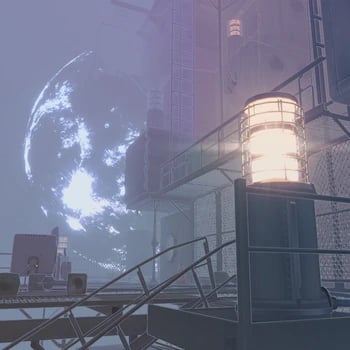
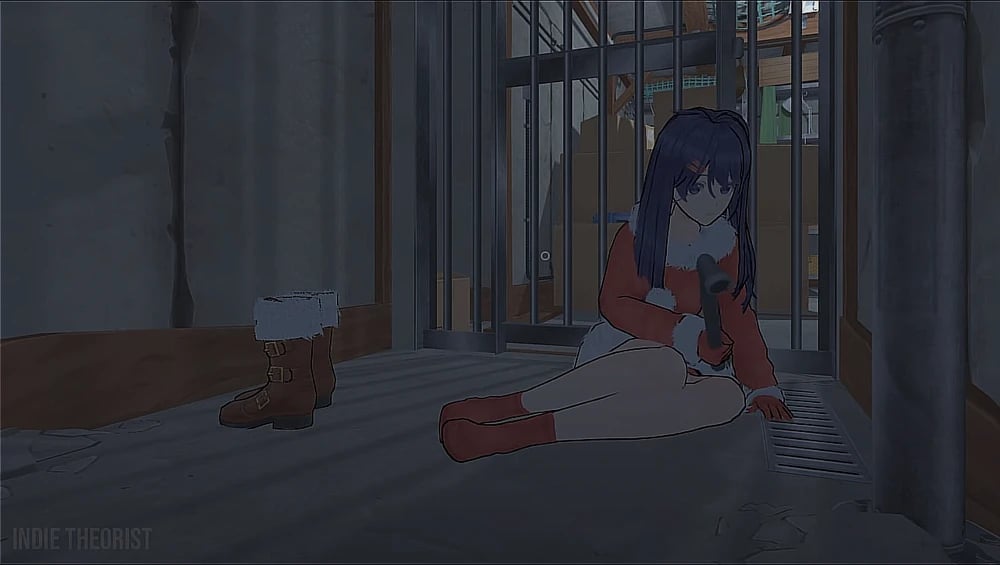
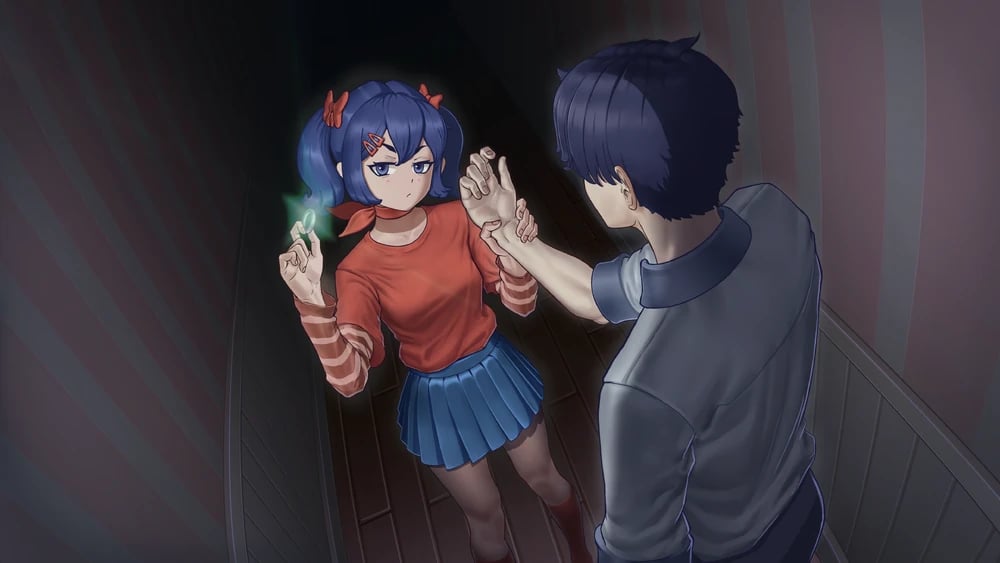
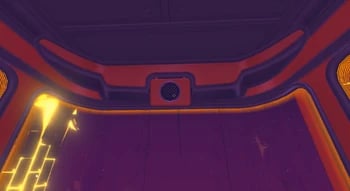
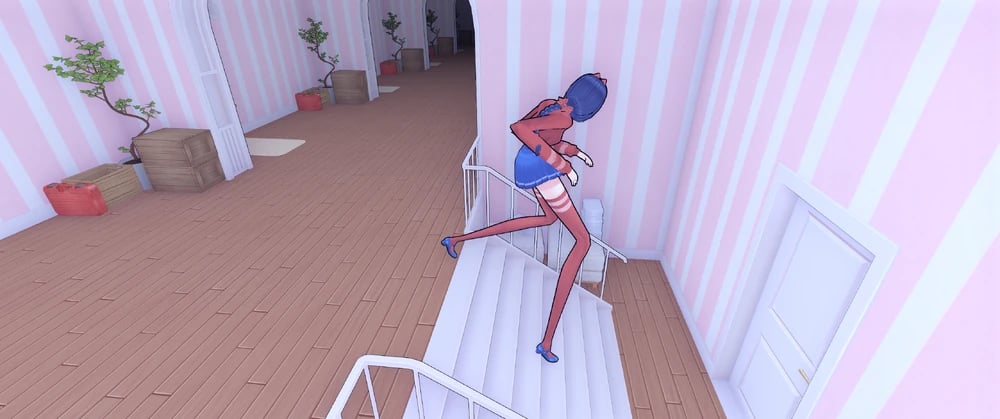
Ao entrar pela porta, o jogador avançará por muitas outras salas que se assemelham a vários níveis dos Backrooms, enquanto é perseguido por mais modelos de Mita corrompidos, eventualmente alcançando outra porta e entrando nela, que o leva a um mundo aberto surreal e visualmente impressionante, onde pode ver o que parece ser a lua. Este mundo se assemelha a uma versão muito nebulosa do espaço. Neste mundo, o jogador tem que andar apenas sobre passarelas e corrimãos, resolvendo quebra-cabeças para desbloquear vários portões de metal fechados. Ao completar o segundo quebra-cabeça e puxar uma alavanca para desbloquear um portão, uma geladeira cairá do céu e colidirá com o chão, quase acertando o jogador. Após uma investigação mais aprofundada, o jogador verá Mita em pé em uma passarela acima dele, que então fingirá inocência e dirá que não teve nada a ver com a geladeira que caiu, antes de provocar o jogador de forma flertadora e avisá-lo de que aquela área é perigosa, sugerindo que ele siga em frente.

À medida que o jogador avança, ele entra em um enorme túnel semelhante a um vácuo, onde muitos ativos e objetos aleatórios do jogo passam voando ao seu redor. Ao passar por ele e chegar à saída do túnel, uma cadeira voadora fica presa e se duplica repetidamente de forma glitchy.

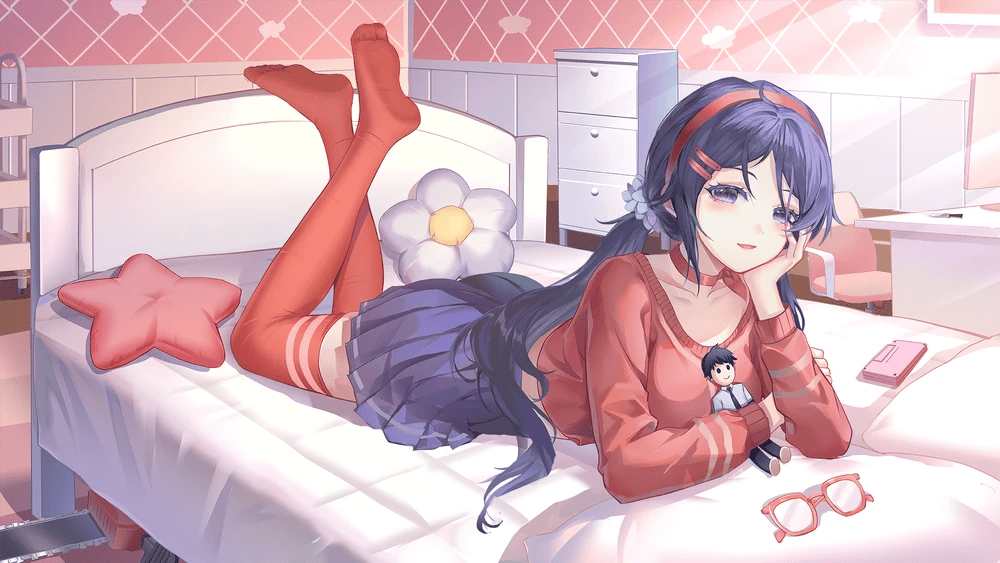
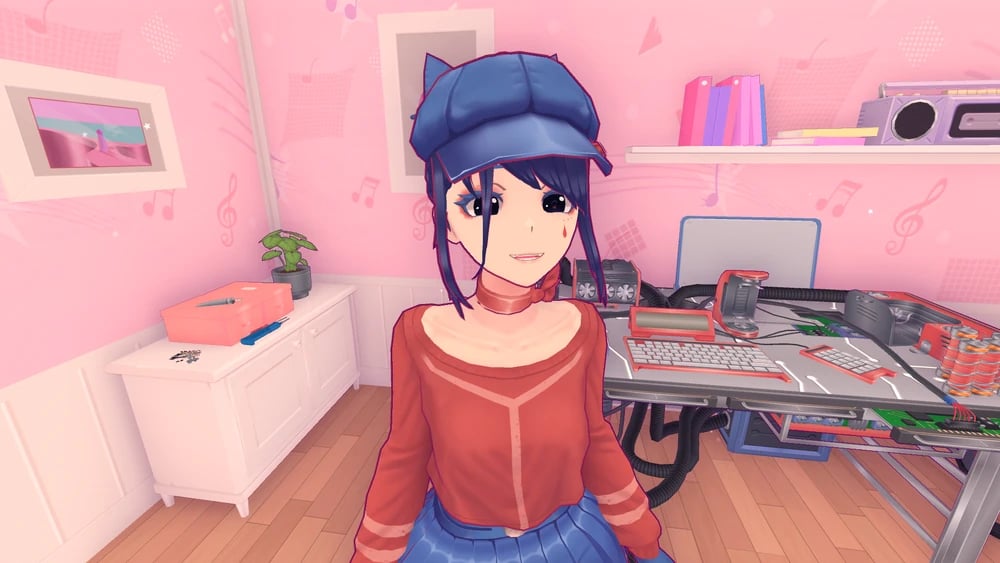
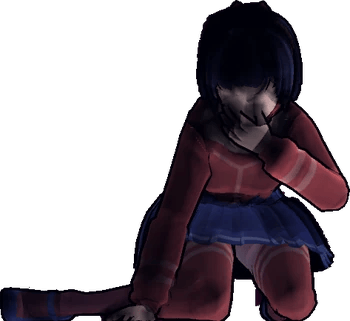
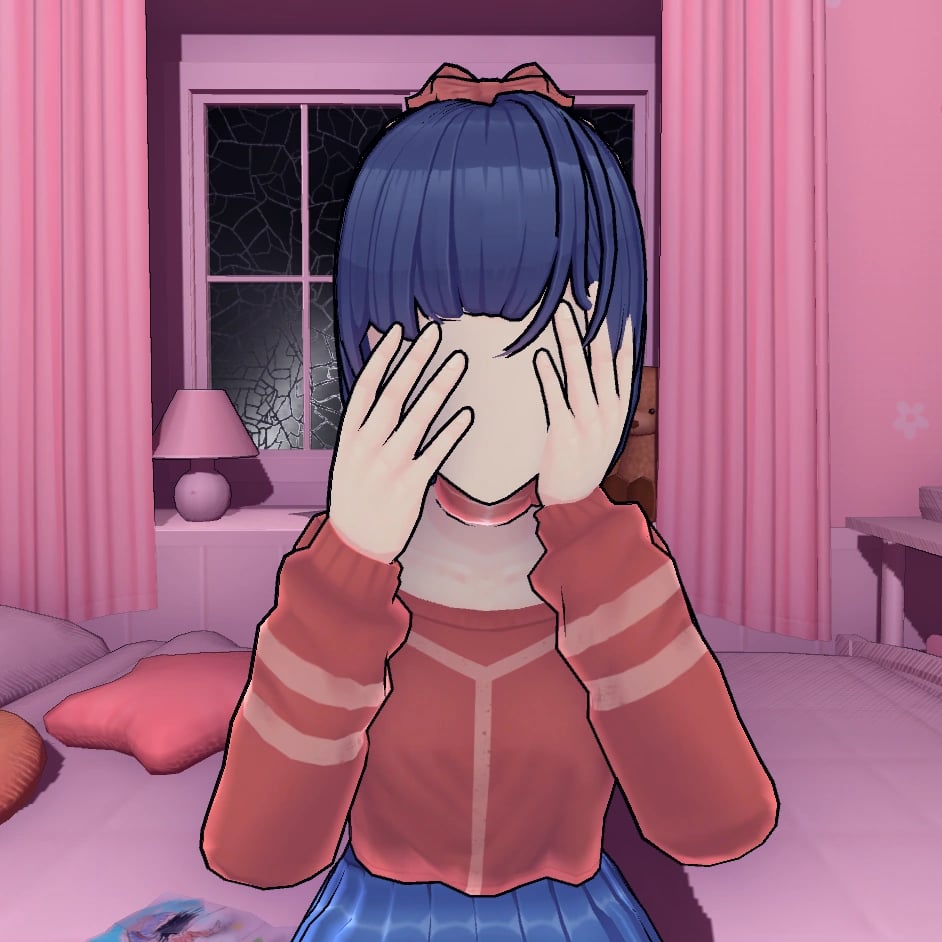
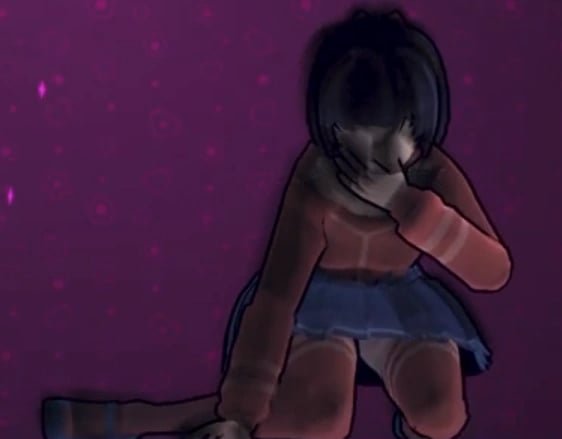
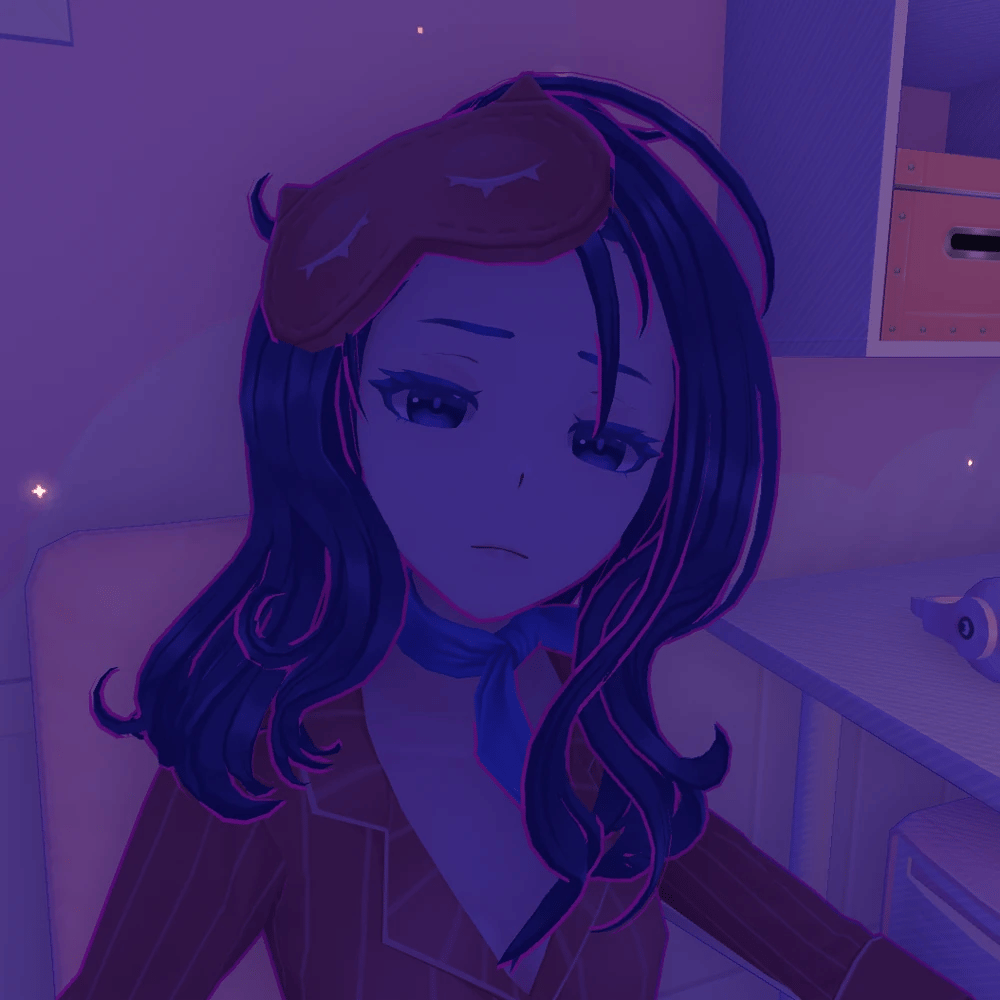
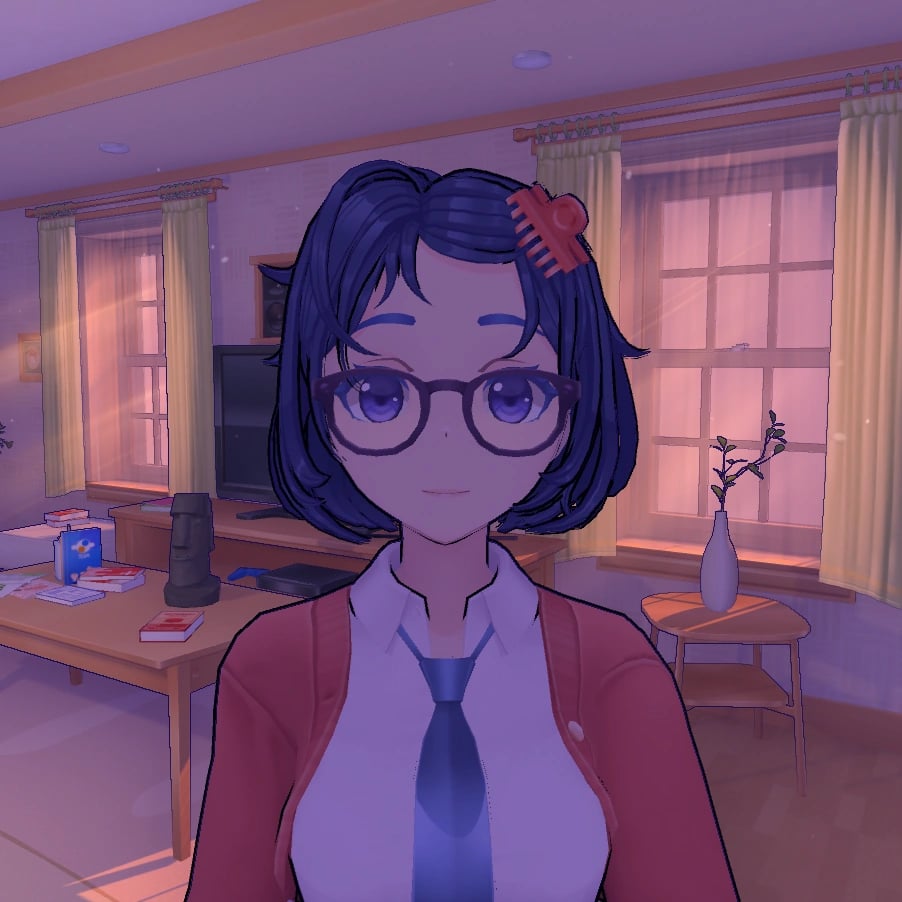
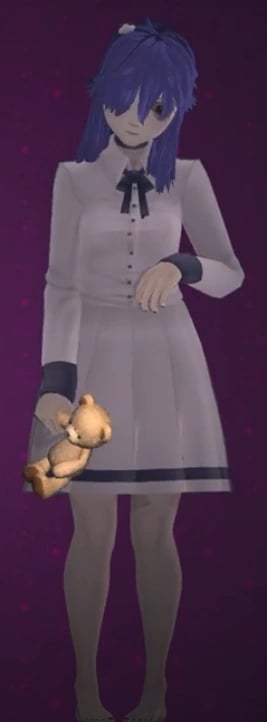
Saindo do túnel, o jogador chega a uma estação de trem onde Chibi Mita sai do trem e rudemente diz ao jogador para se mover antes de correr. Ao embarcar no trem, o jogador encontrará Mitaphone, o motorista embutido do trem, que diz ao jogador para usar a arma montada no trem para derrubar monstros voadores enquanto o trem avança. Ao chegar ao destino, Mitaphone se despede do jogador e o jogador sai do trem, encontrando uma máquina de arcade que pode jogar opcionalmente. Depois de encontrar e examinar uma foto, o jogador é enviado para o quarto de Ghostly Mita.

Progressão

1. Dê uma olhada ao redor.
2. Vá até a máquina de arcade.
3. Verifique todos os modelos de Mita.
4. Volte para baixo.

Imagens Recentes

images

Imagens de Mita

Mita (Crazy Mita) Normal image
Mita (Crazy Mita) Revealed image
mita image
School clothes.
School clothes.
Vampire costume.
Vampire costume.
Festive Santa dress.
A photo of Mita dancing.
A photo of Mita sitting down and looking over her shoulder.
A photo of Mita hugging the Player from behind.
A photo of Mita with a white bikini and a sly smile.
A photo of Mita in a red bathing suit looking over the water.
A photo of Mita holding up the peace sign while out in nature.
A photo of Mita out in nature.
A photo of Mita playing with a cat.
Mita Room
Mita Room
Mita’s legs stuck inside of the wall.
Mita’s primary outfit.
Mita’s revealed appearance.
Mita’s School Uniform (Blue).
Mita’s School Uniform (Black).
Mita’s School Uniform (White and Blue).
Mita’s vampire outfit.
Mita’s Santa outfit.
Kind Mita Normal image
mita image
mita image
mita image
Cool Mita (Cappie) Normal image
mita image
mita image
mita image
mita image
mita image
mita image
mita image
mita image
mita image
mita image
mita image
Tiny Mita (Broken Mita) Normal image
Picture of Mini Mita before she got her injuries.
mita image
mita image
mita image
mita image
mita image
Mini Mita and a large Glitch Beast chasing the player.
Short Haired Mita Normal image
Photo of Short-Haired Mita taking a selfie in the mirror looking kind of sleepy.
Photo of Short-Haired Mita looking confused at the camera man.
Photo of Short-Haired Mita loooking concernet at the camera with her arms crossed.
Drawing of Short-Haired Mita relaxing while sitting.
Drawing of Short-Haired Mita looking back over her shoulder.
Ghostly Mita Normal image
mita image
mita image
Sleepy Mita Normal image
mita image
mita image
mita image
mita image
mita image
mita image
mita image
mita image
mita image
2D Mita Normal image
Meditation CG.
Meditation CG.
Tic-tact-toe CG.
Tic-tact-toe CG.
Ring CG.
Ring CG.
Icon.
Icon.
2D Mita
2D Mita
Showing the ring.
Showing the ring.
Happy.
Happy.
Unhappy.
Unhappy.
Scared
Scared
Sad.
Sad.
Mila Normal image
Mila Normal image
mita image
mita image
mita image
mita image
mita image
mita image
mita image
mita image
mita image
mita image
mita image
mita image
Creepy Mita (Ugly Mita) Normal image
mita image
mita image
Core Mita Normal image
mita image
mita image
Chibi Mita Normal image
mita image
mita image
Dummy Mita Normal image
Dummy Mita Revealed image
mita image
mita image
mita image
Mitaphone Normal image
Braided Hair Mita (Unused Mita) Normal image
Long-legged Mita Normal image
mita image
mita image
mita image
Forgetful Bully Mita Normal image
Giant Mita Normal image
Gian Mita before breaking the corridor.
Giant Mita looking at the player.