Rozdział 9: Lalki i Zapomniane Łamigłówki

Lalki i Zapomniane Łamigłówki to rozdział z historii MiSide.

Streszczenie fabuły

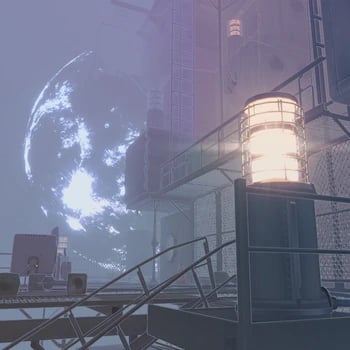
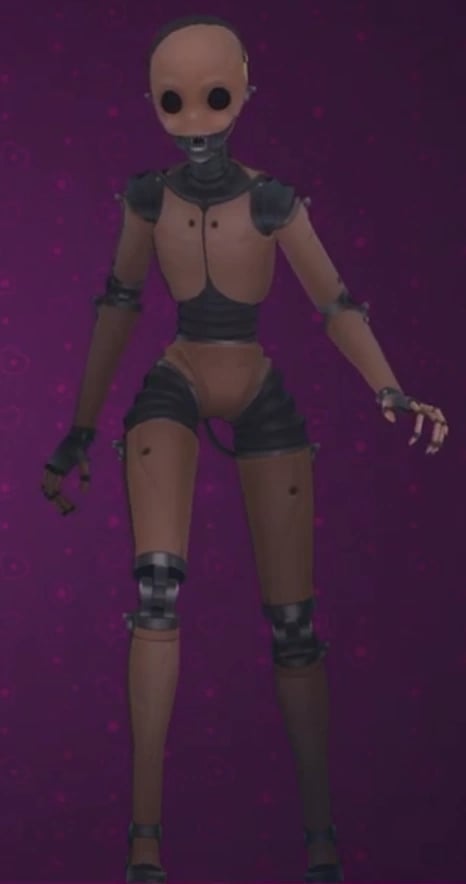
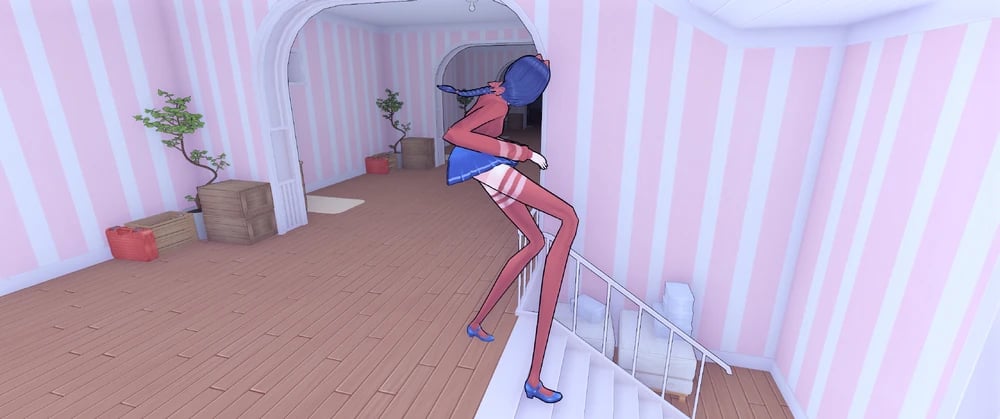
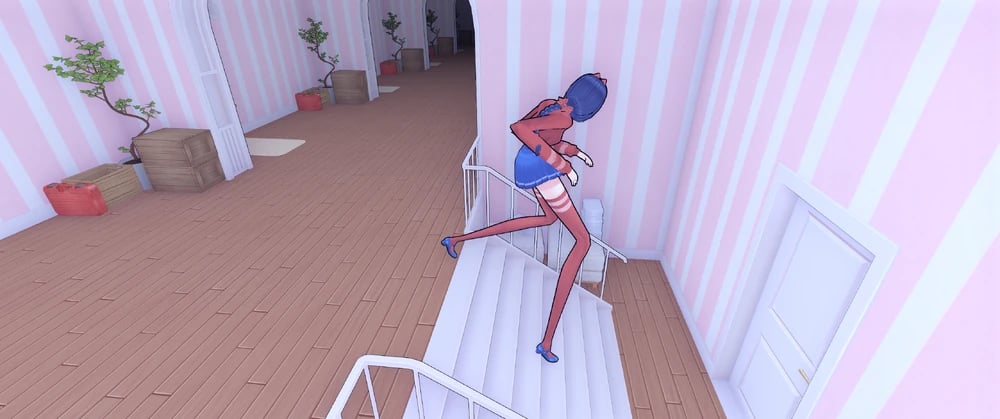
Wchodząc przez drzwi, gracz przejdzie przez wiele innych pomieszczeń przypominających różne poziomy The Backrooms, jednocześnie ścigany przez coraz bardziej zdegenerowane modele Mity, aż w końcu dotrze do kolejnych drzwi i wejdzie do nich, co zaprowadzi go do surrealistycznego i wizualnie oszałamiającego otwartego świata, w którym zobaczy coś, co przypomina księżyc. Ten świat przypomina bardzo mglistą wersję przestrzeni kosmicznej. W tym świecie gracz musi poruszać się wyłącznie po kładkach i balustradach, rozwiązując łamigłówki, aby odblokować różne zamknięte metalowe bramy. Po ukończeniu drugiej łamigłówki i pociągnięciu dźwigni, aby odblokować bramę, lodówka spadnie z nieba i uderzy w ziemię, ledwo omijając gracza. Po dalszym zbadaniu, gracz zobaczy Mitę stojącą na kładce nad nim, która wtedy udaje niewinną i twierdzi, że nie ma nic wspólnego z padającą lodówką, a następnie flirtując, drwi z gracza, mówiąc mu, że ten obszar jest niebezpieczny i powinien się ruszyć.

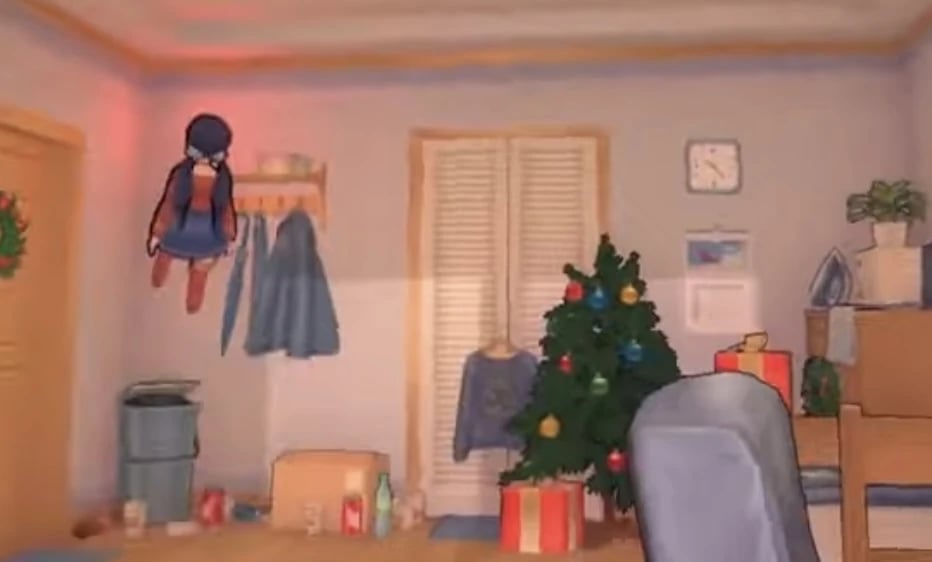
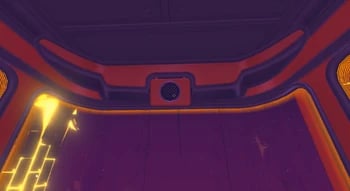
Gdy gracz się przemieszcza, wchodzi do ogromnego tunelu przypominającego vacuum, w którym wiele losowych zasobów i przedmiotów z gry przelatuje obok niego. Kiedy przechodzi przez niego i dociera do wyjścia z tunelu, latające krzesło utknie i powtarzalnie się zduplikuje w glitchowy sposób.

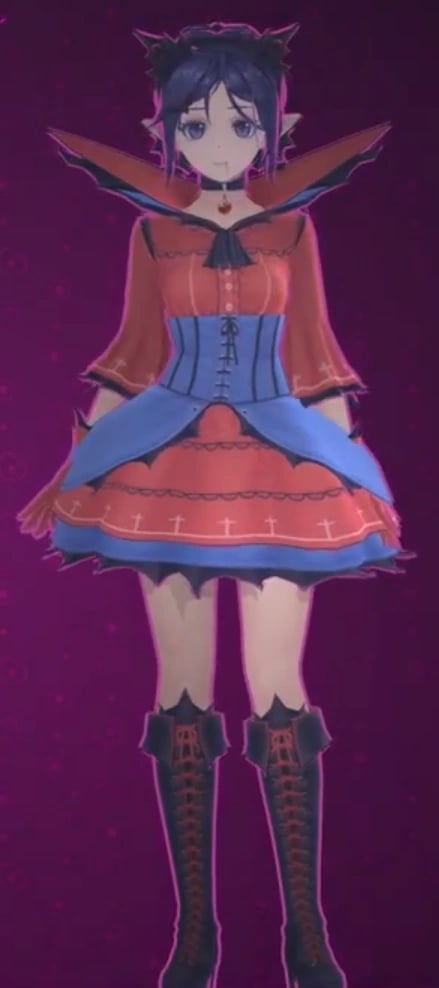
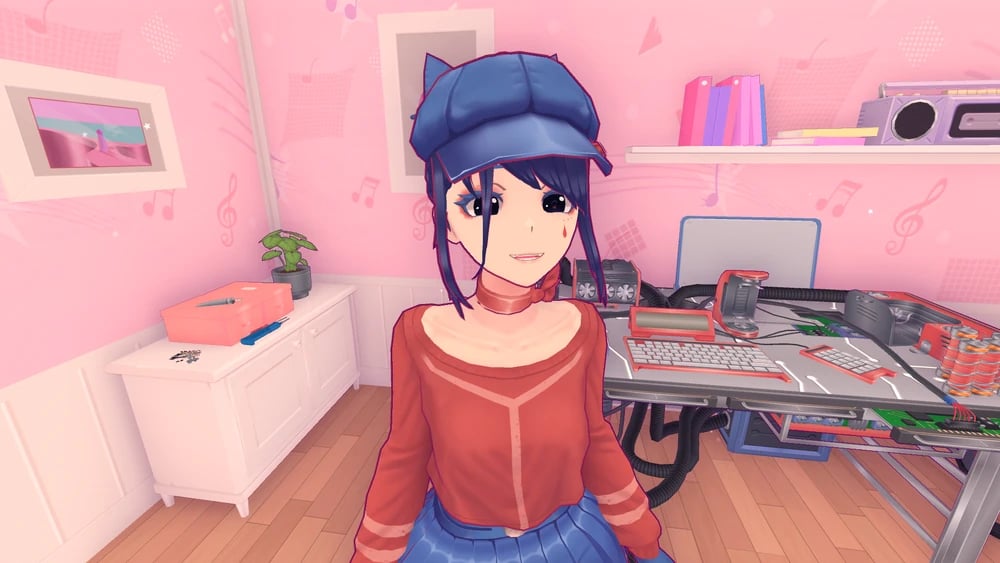
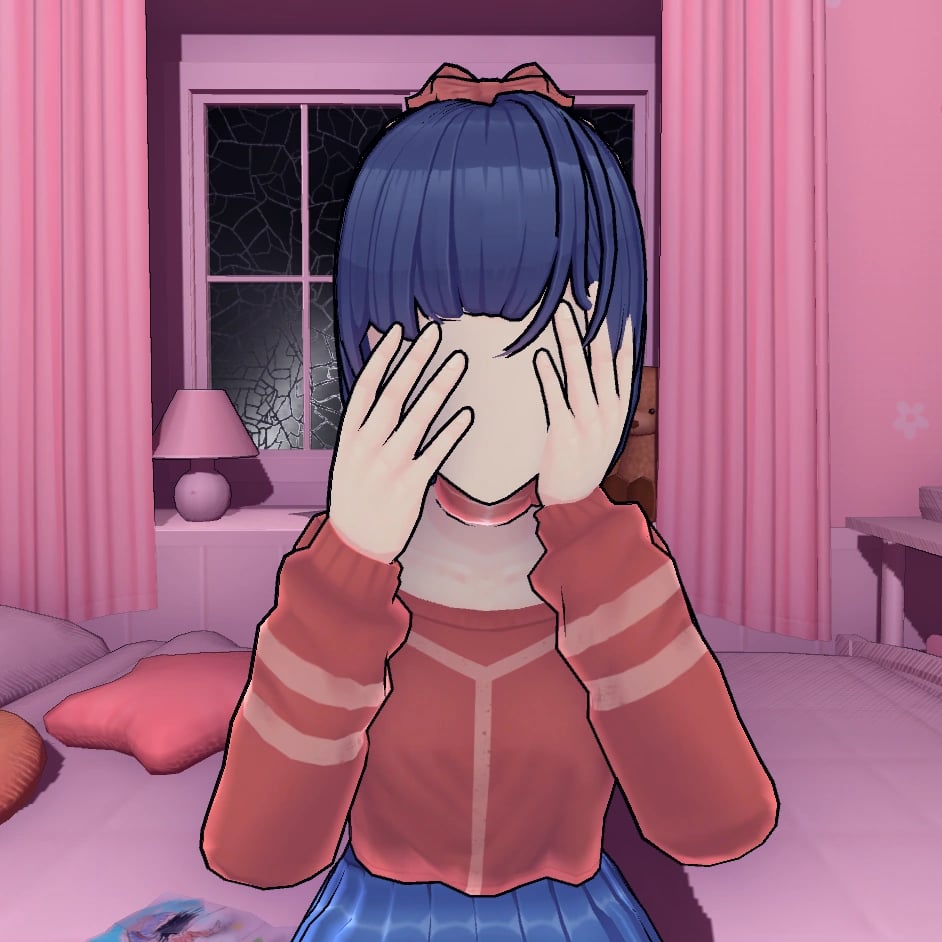
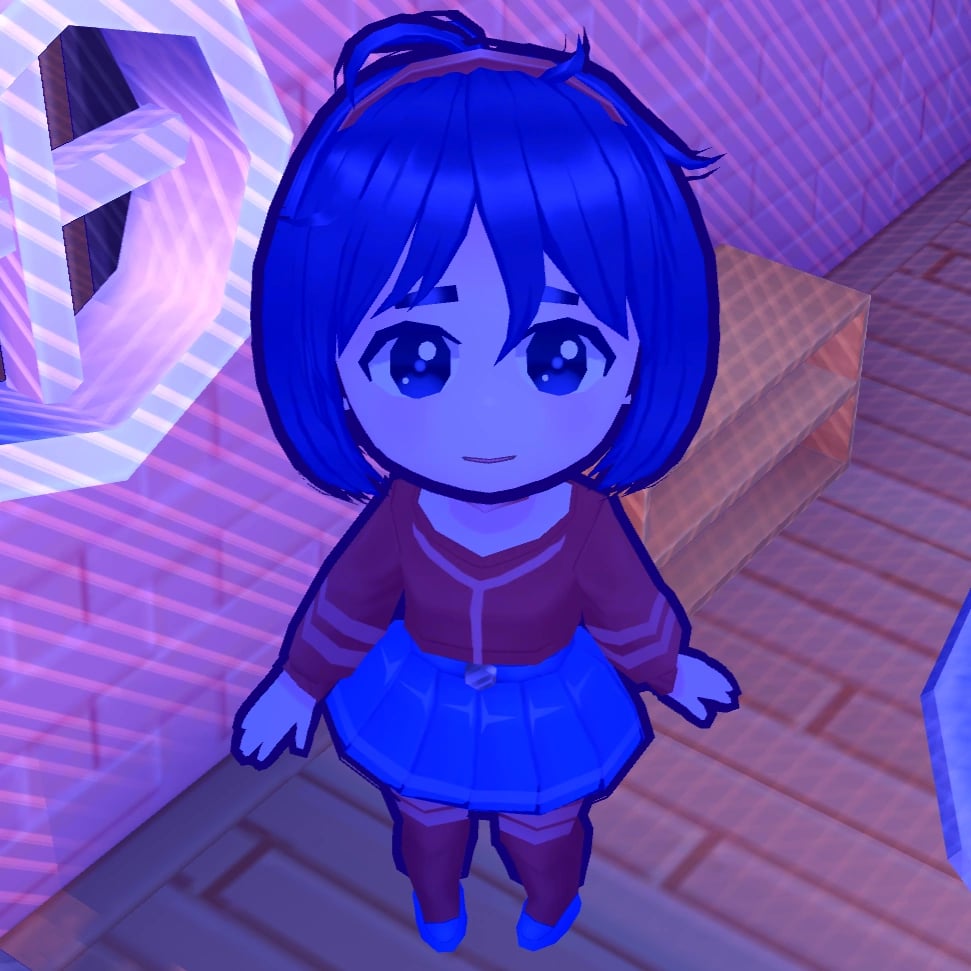
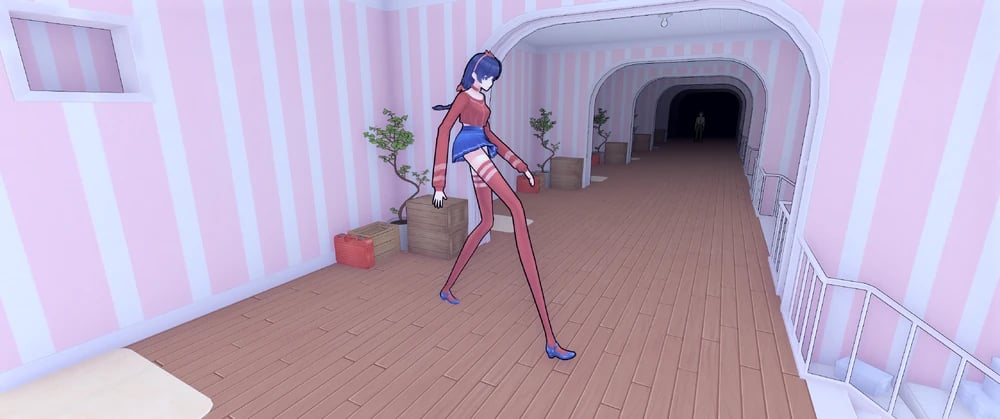
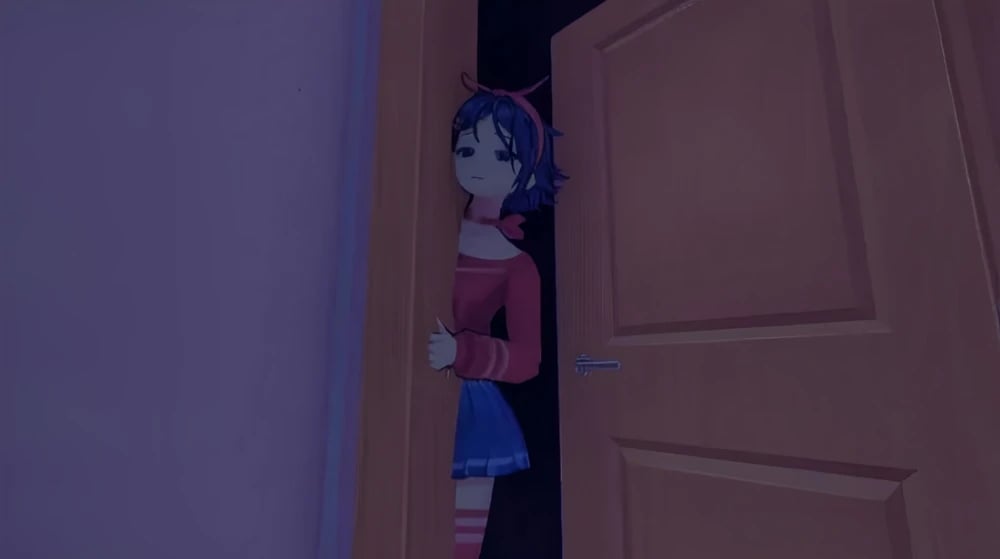
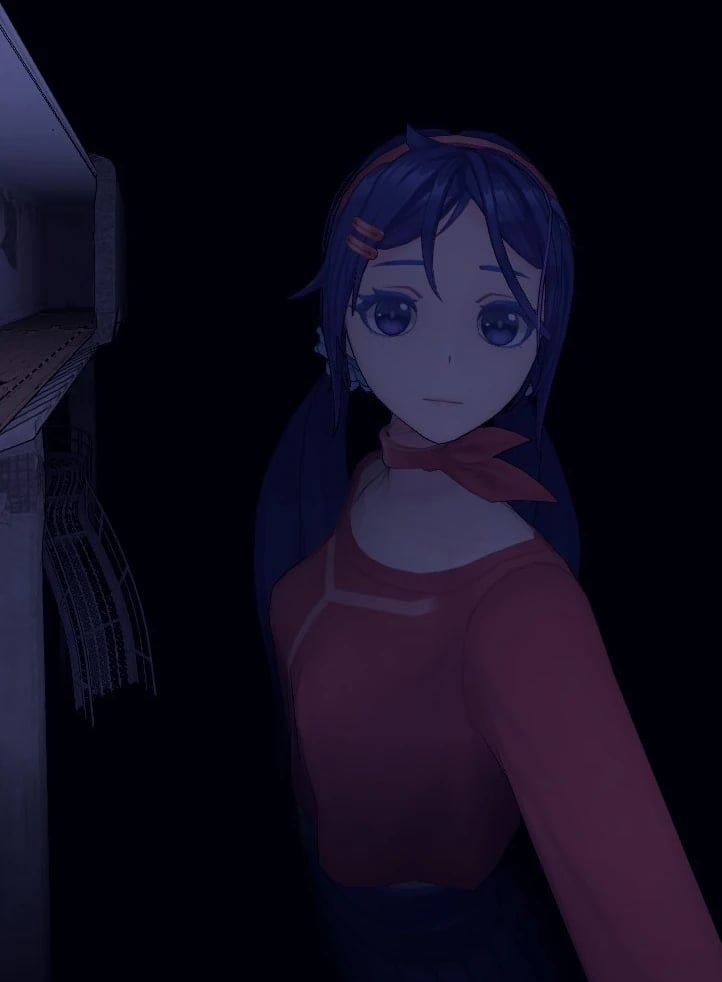
Wychodząc z tunelu, gracz dociera na stację kolejową, gdzie Chibi Mita wysiada z pociągu i niegrzecznie mówi graczowi, żeby się odsunął, po czym ucieka. Wsiadając do pociągu, gracz spotyka Mitaphone'a, wbudowanego kierowcę pociągu, który mówi graczowi, aby użył zamontowanego na pociągu działa do strzelania do latających potworów, gdy pociąg rusza do przodu. Po dotarciu do celu, Mitaphone żegna gracza, a gracz wysiada z pociągu, znajdując automat do gier, w który może opcjonalnie zagrać. Po znalezieniu i zbadaniu zdjęcia, gracz zostaje wysłany do pokoju Ghostly Mity.

Postęp

1. Rozejrzyj się.
2. Idź do maszyny arcade.
3. Sprawdź wszystkie modele Mity.
4. Wróć na dół.

Ostatnie obrazy

images

Obrazy Mity

Mita (Crazy Mita) Normal image
Mita (Crazy Mita) Revealed image
mita image
School clothes.
School clothes.
Vampire costume.
Vampire costume.
Festive Santa dress.
A photo of Mita dancing.
A photo of Mita sitting down and looking over her shoulder.
A photo of Mita hugging the Player from behind.
A photo of Mita with a white bikini and a sly smile.
A photo of Mita in a red bathing suit looking over the water.
A photo of Mita holding up the peace sign while out in nature.
A photo of Mita out in nature.
A photo of Mita playing with a cat.
Mita Room
Mita Room
Mita’s legs stuck inside of the wall.
Mita’s primary outfit.
Mita’s revealed appearance.
Mita’s School Uniform (Blue).
Mita’s School Uniform (Black).
Mita’s School Uniform (White and Blue).
Mita’s vampire outfit.
Mita’s Santa outfit.
Kind Mita Normal image
mita image
mita image
mita image
Cool Mita (Cappie) Normal image
mita image
mita image
mita image
mita image
mita image
mita image
mita image
mita image
mita image
mita image
mita image
Tiny Mita (Broken Mita) Normal image
Picture of Mini Mita before she got her injuries.
mita image
mita image
mita image
mita image
mita image
Mini Mita and a large Glitch Beast chasing the player.
Short Haired Mita Normal image
Photo of Short-Haired Mita taking a selfie in the mirror looking kind of sleepy.
Photo of Short-Haired Mita looking confused at the camera man.
Photo of Short-Haired Mita loooking concernet at the camera with her arms crossed.
Drawing of Short-Haired Mita relaxing while sitting.
Drawing of Short-Haired Mita looking back over her shoulder.
Ghostly Mita Normal image
mita image
mita image
Sleepy Mita Normal image
mita image
mita image
mita image
mita image
mita image
mita image
mita image
mita image
mita image
2D Mita Normal image
Meditation CG.
Meditation CG.
Tic-tact-toe CG.
Tic-tact-toe CG.
Ring CG.
Ring CG.
Icon.
Icon.
2D Mita
2D Mita
Showing the ring.
Showing the ring.
Happy.
Happy.
Unhappy.
Unhappy.
Scared
Scared
Sad.
Sad.
Mila Normal image
Mila Normal image
mita image
mita image
mita image
mita image
mita image
mita image
mita image
mita image
mita image
mita image
mita image
mita image
Creepy Mita (Ugly Mita) Normal image
mita image
mita image
Core Mita Normal image
mita image
mita image
Chibi Mita Normal image
mita image
mita image
Dummy Mita Normal image
Dummy Mita Revealed image
mita image
mita image
mita image
Mitaphone Normal image
Braided Hair Mita (Unused Mita) Normal image
Long-legged Mita Normal image
mita image
mita image
mita image
Forgetful Bully Mita Normal image
Giant Mita Normal image
Gian Mita before breaking the corridor.
Giant Mita looking at the player.