Rozdział 7: Pętla

Pętla to rozdział z historii MiSide.

Streszczenie fabuły

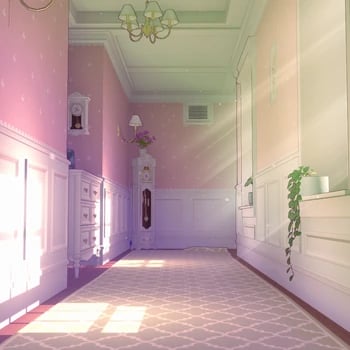
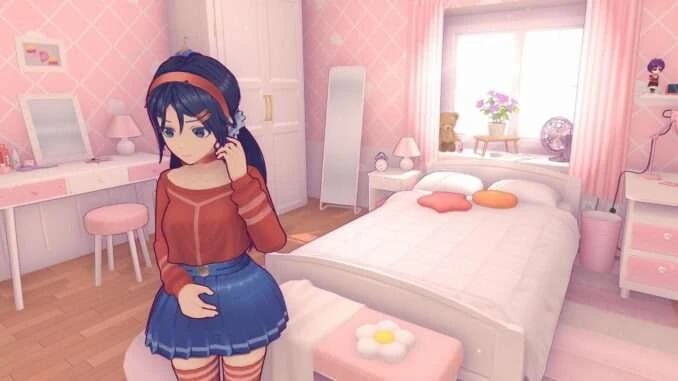
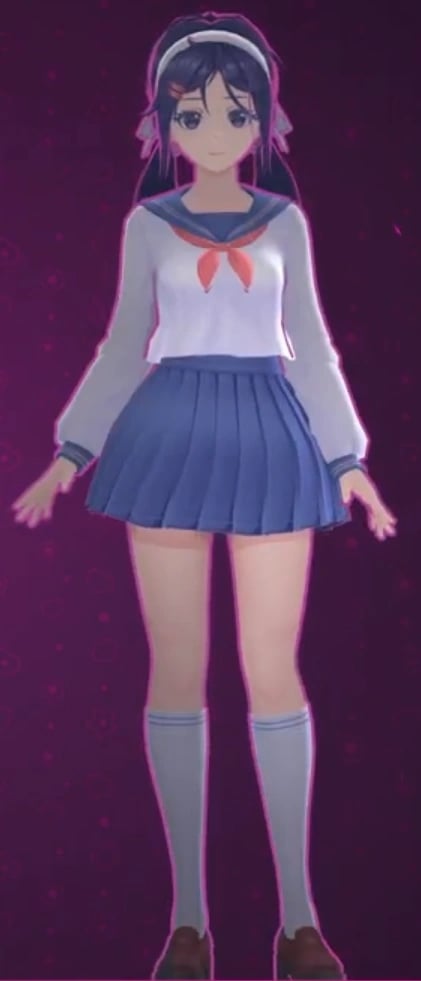
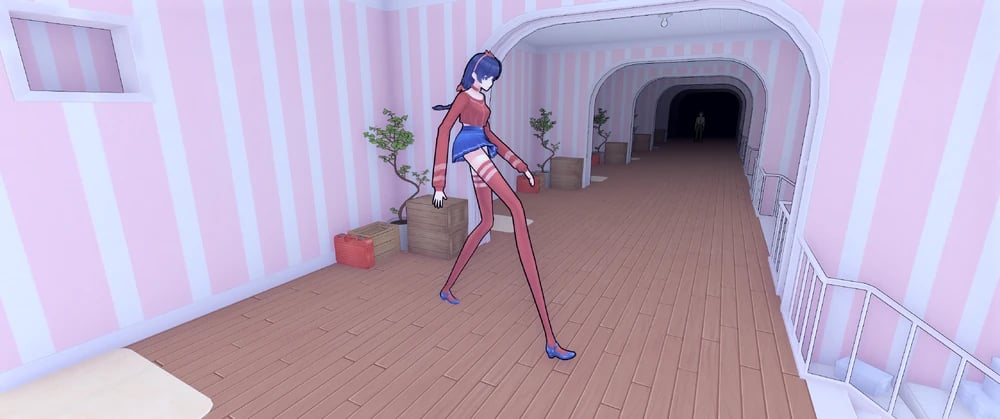
Gracz wchodzi do korytarza, którego wyjście zdaje się prowadzić z powrotem do wejścia, tworząc w ten sposób pętlę. Oprócz cyfrowego licznika, każdy pokój zdaje się być identyczny z poprzednim. Rzeczy zaczynają się zmieniać w czwartej "pętli", gdy na ścianie nagle pojawia się tekst "jeszcze raz?". Ilość tekstu na ścianach rośnie, gdy światła przygasają. Teraz ciemny i przerażający korytarz staje się coraz bardziej niepokojący, gdy wciąż się powtarza.

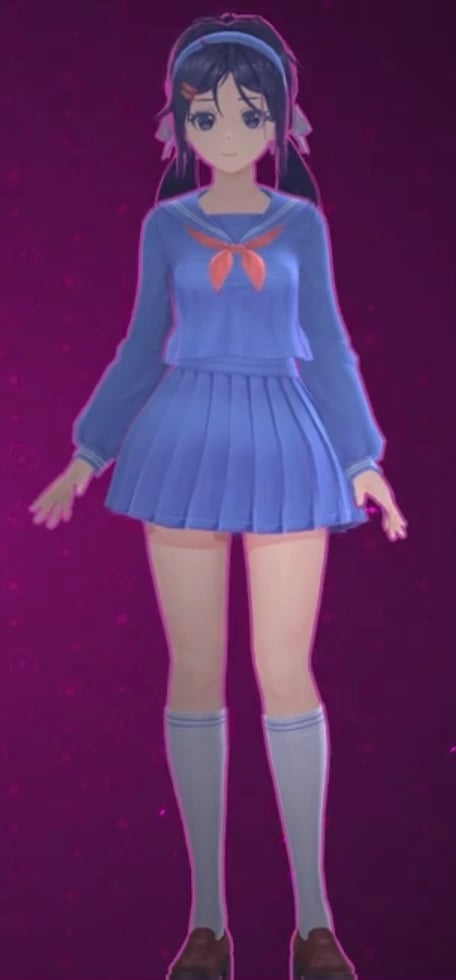
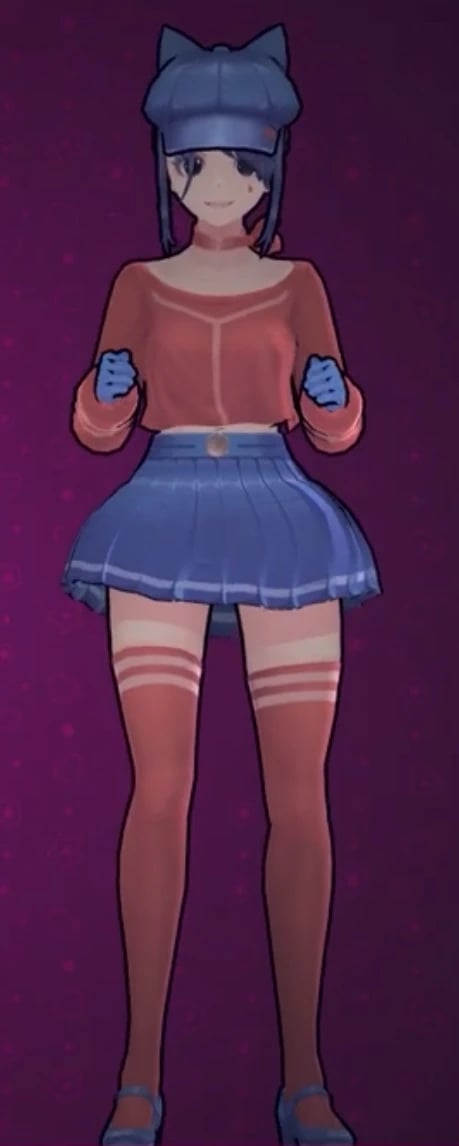
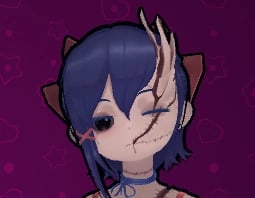
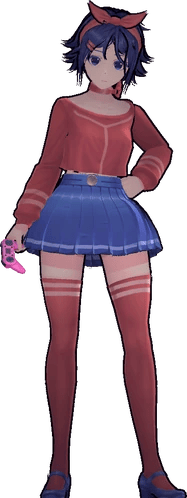
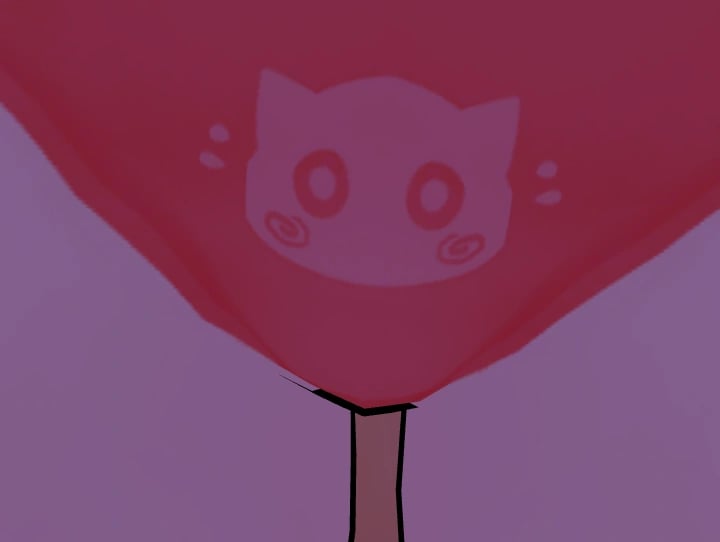
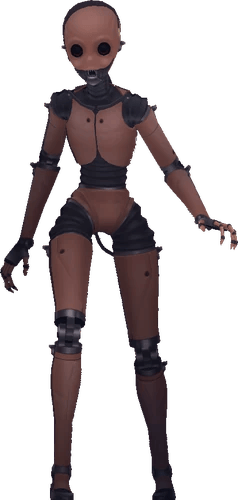
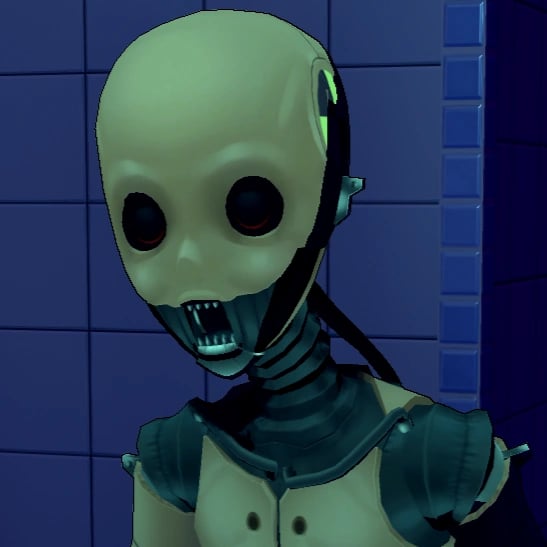
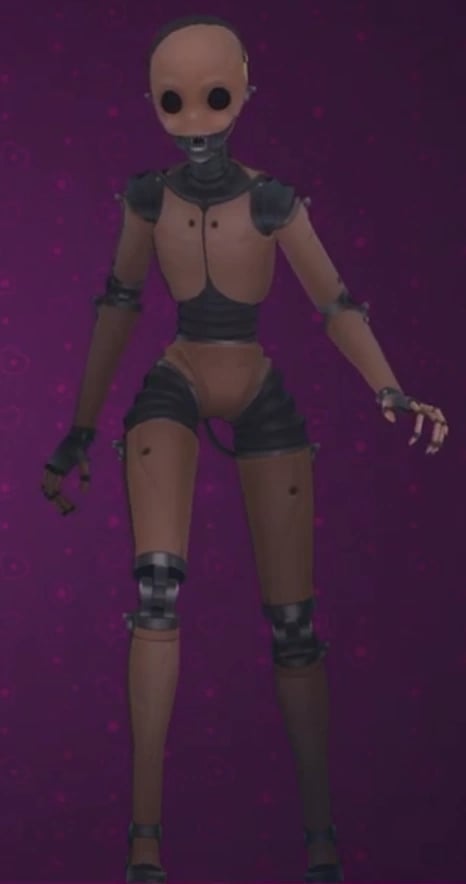
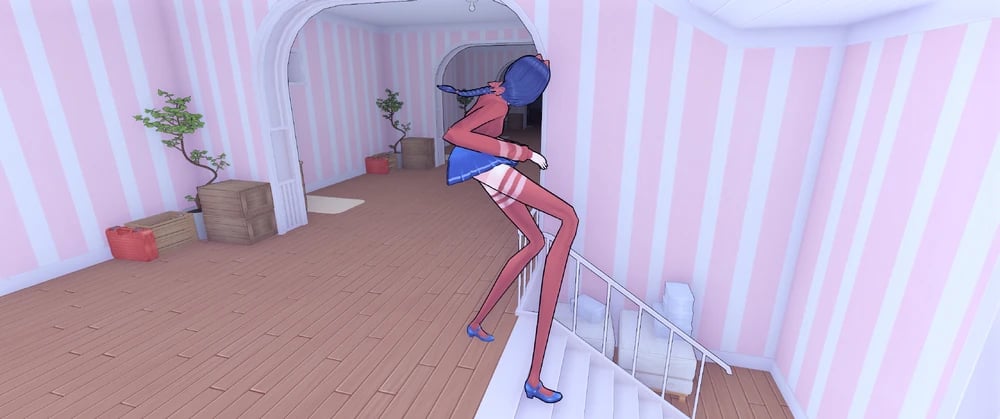
Do siódmej iteracji mały telewizor na biurku w środku korytarza zaczyna wyświetlać przerażający biały szum w odcieniu czerwieni. W następnym cyklu cały tekst znika, ustępując miejsca jednej linii, która brzmi: "To tutaj." Noże wbite w ścianę poniżej tekstu rozpryskują krew na okoliczne powierzchnie, gdy Gracz przechodzi obok. Kierując się do wyjścia, Gracz pierwszy raz zobaczy Tiny Mitę, który go śledzi. Dziewiąta pętla zaczyna się, gdy Gracz wyposaża się w latarkę, którą zdobył w wcześniejszej wersji. Telewizor następnie się wyłącza, a Tiny Mita pojawia się za oknem. Protagonista musi być świadkiem przerażającego stwora przypominającego pająka, zanim przejdzie do następnej pętli, w której zaczyna padać deszcz. Idąc dalej, okno roztrzaskuje się, gdy kij bejsbolowy ląduje u stóp Gracza. Kij znajdzie zastosowanie w trzynastej pętli, która jest opanowana przez więcej stworów przypominających pająki. Gdy telewizor się włącza, wyświetla szybko kręcący się zegar. Po oświetleniu pokoju zegar na biurku należy dostosować do innych zegarów w pomieszczeniu. Po zakończeniu, Tiny Mita pojawia się za graczem.

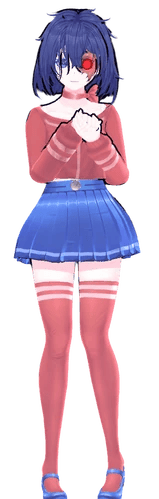
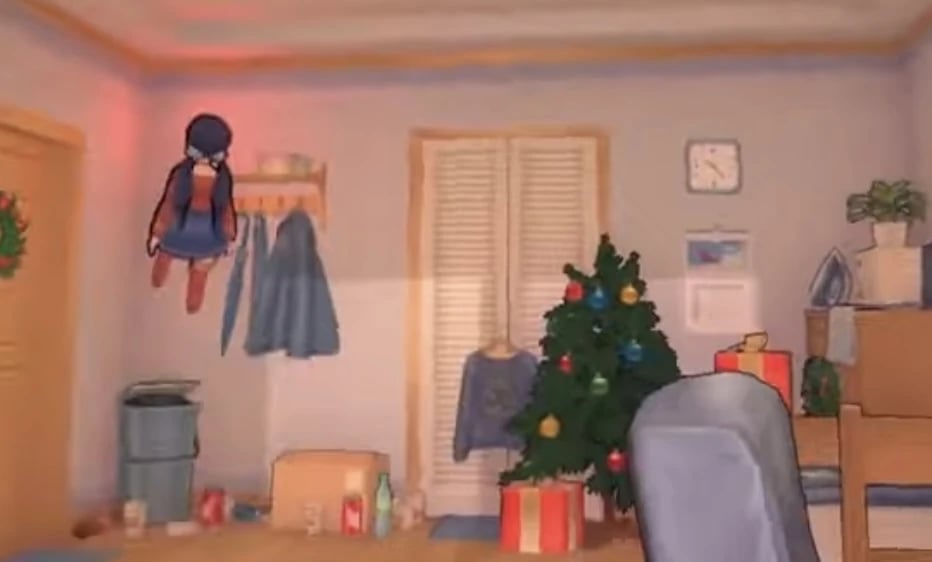
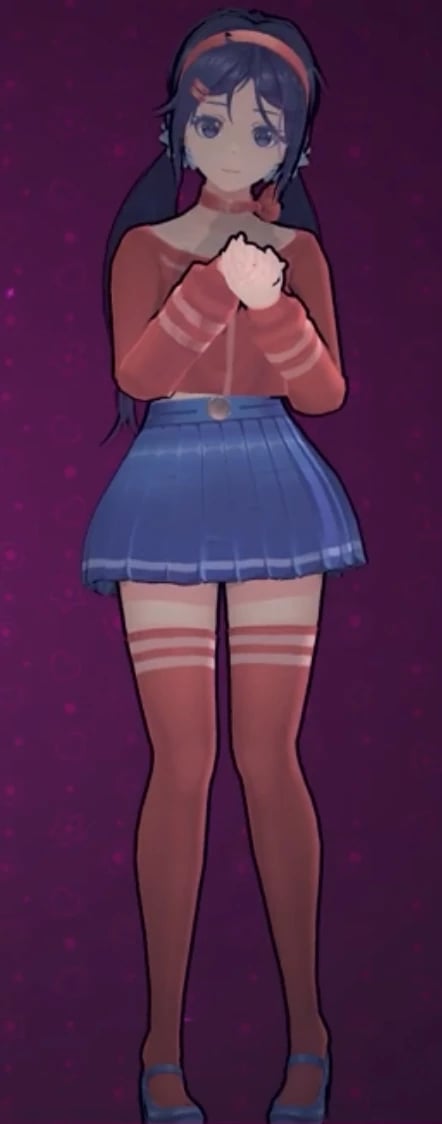
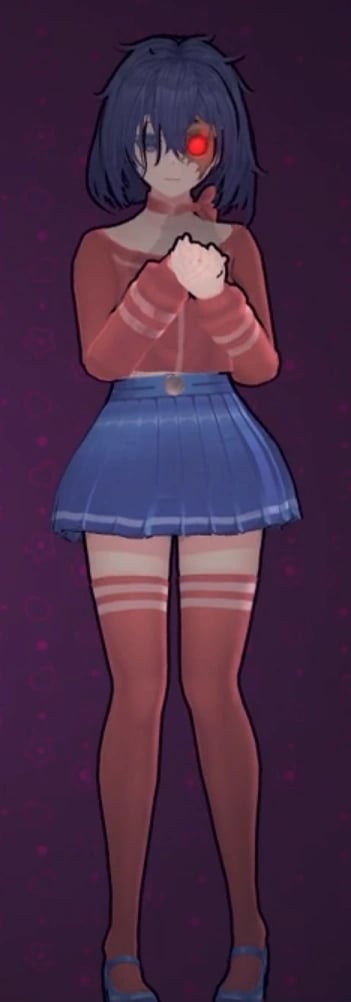
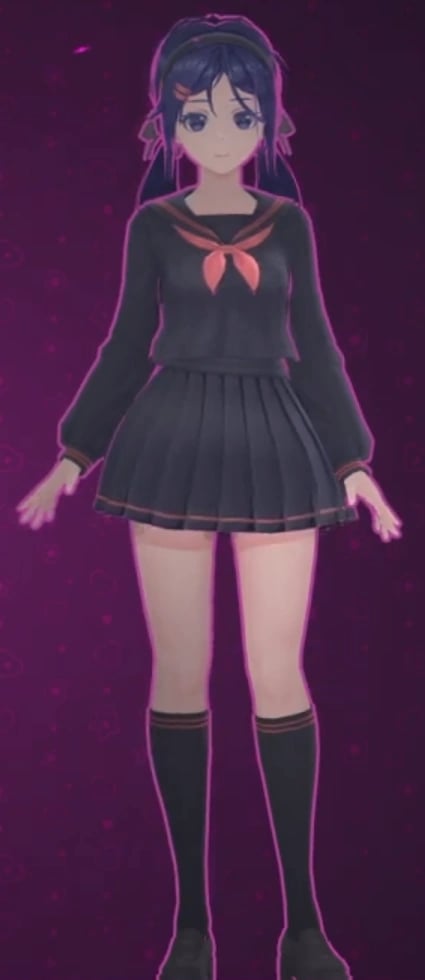
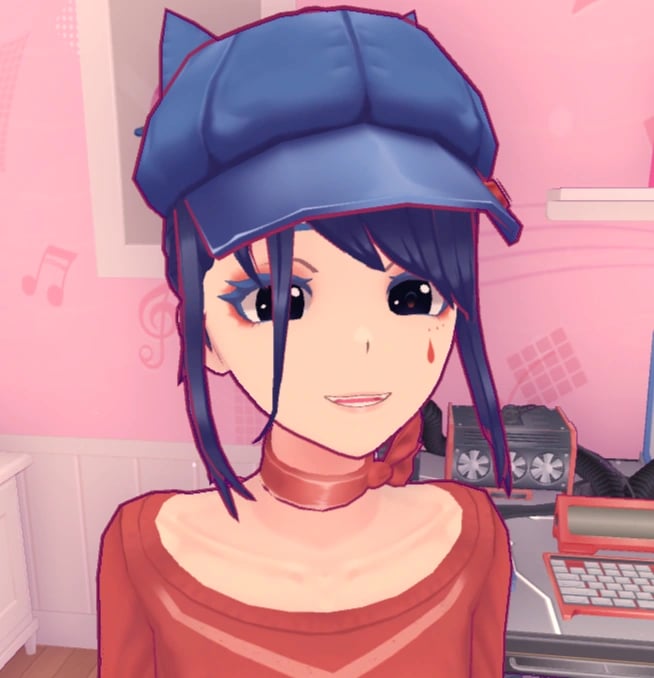
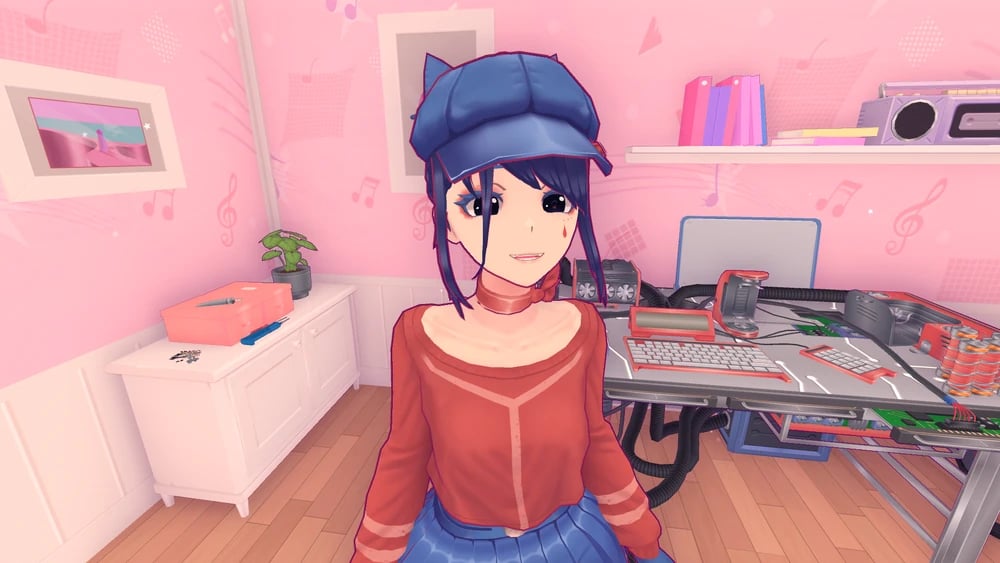
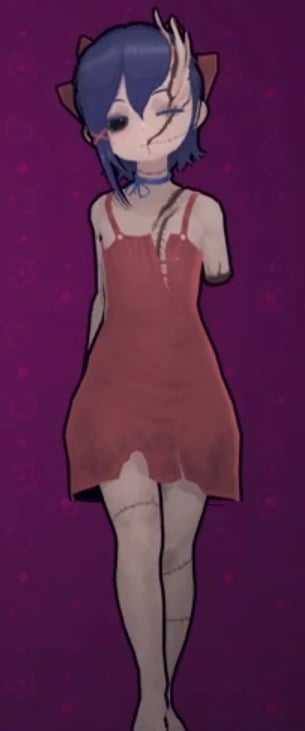
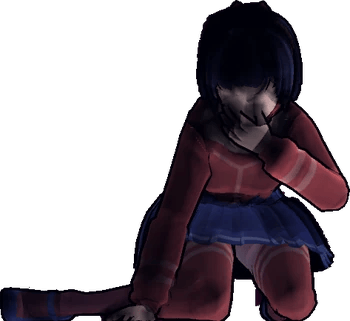
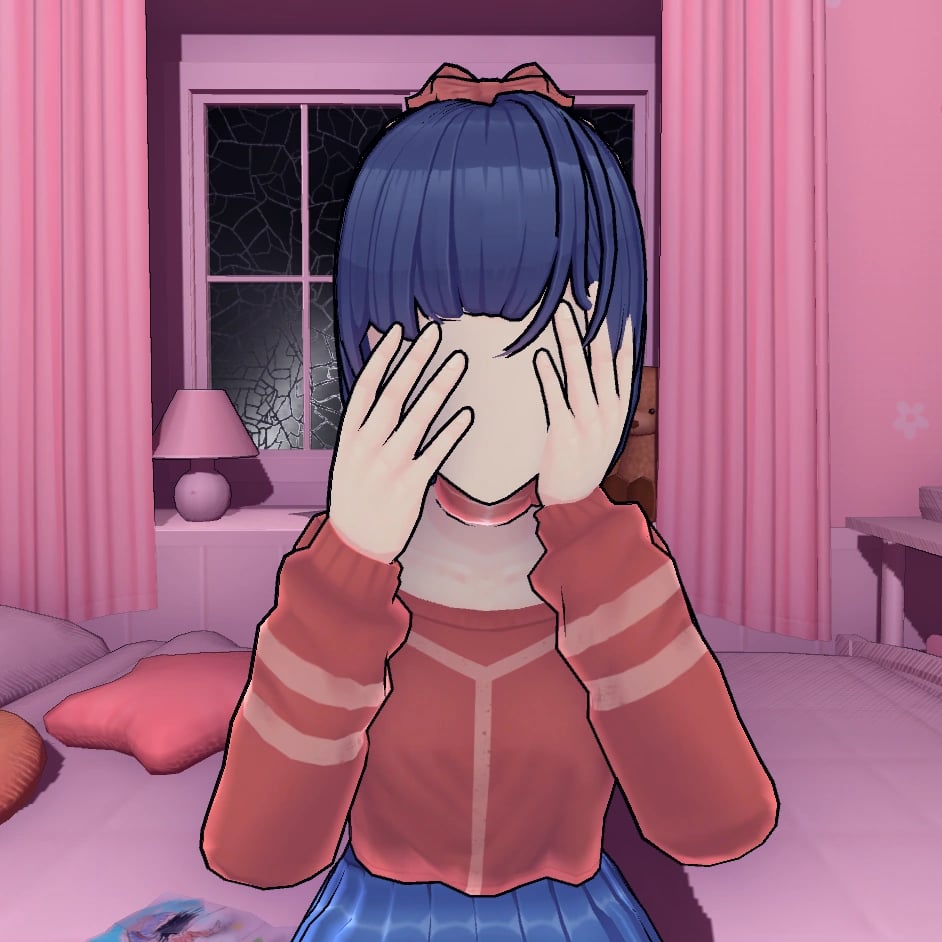
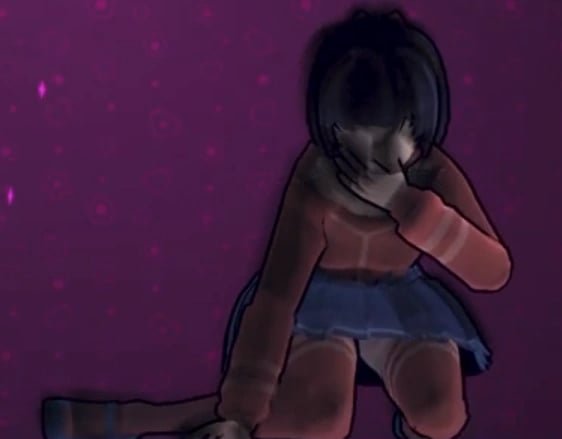
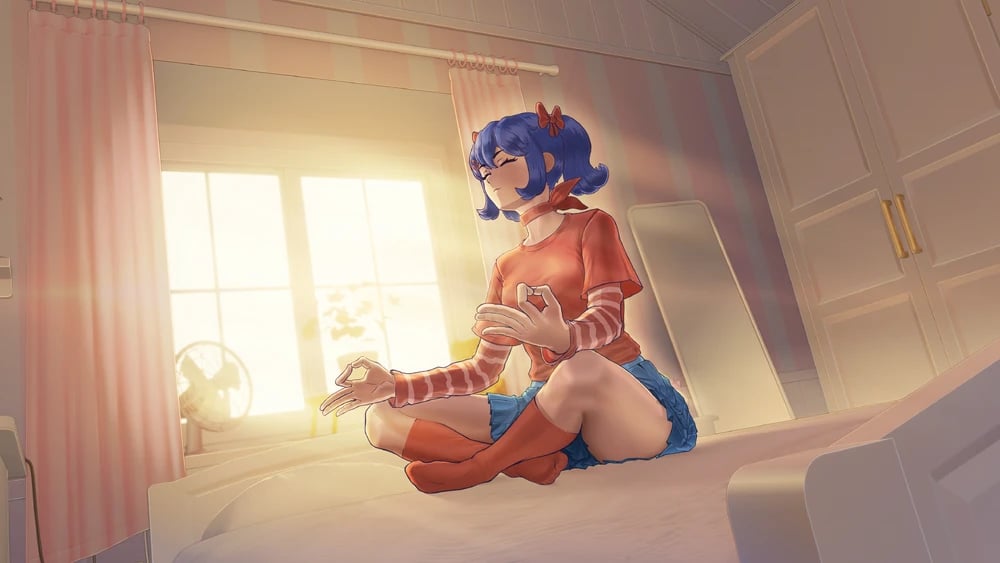
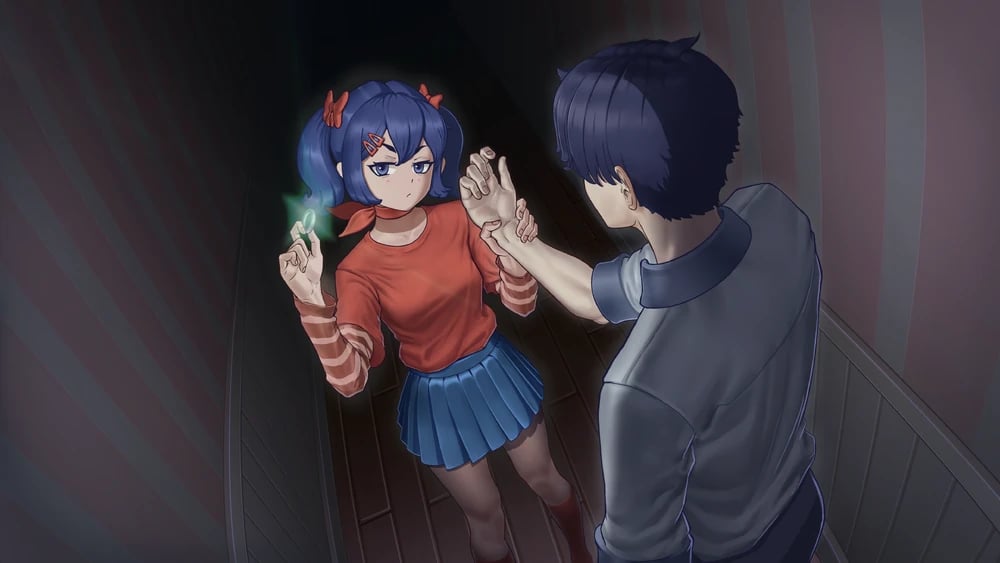
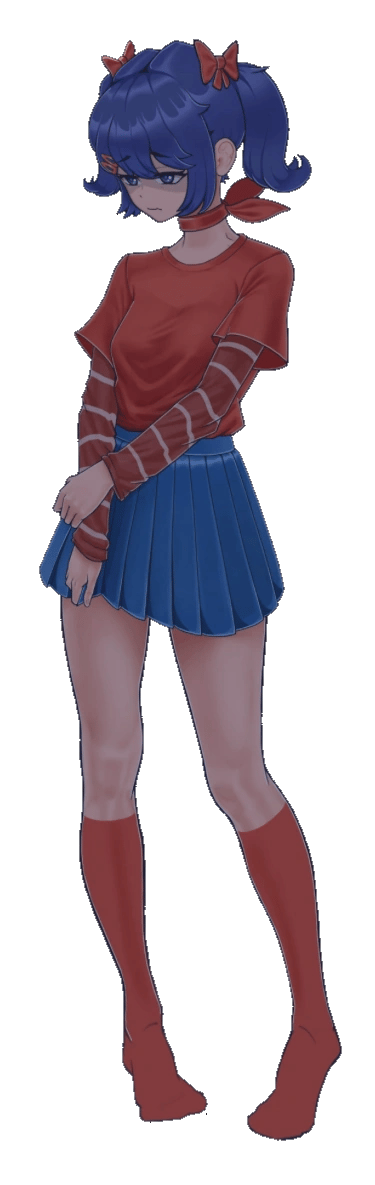
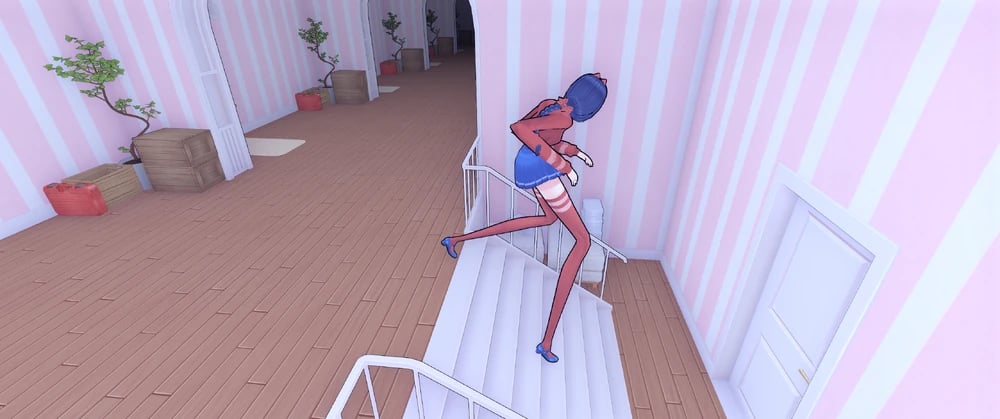
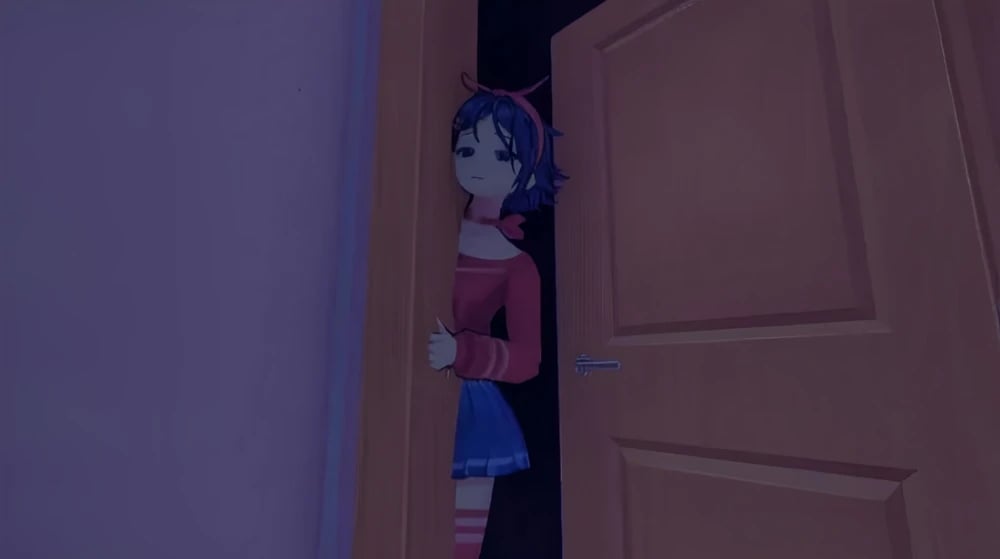
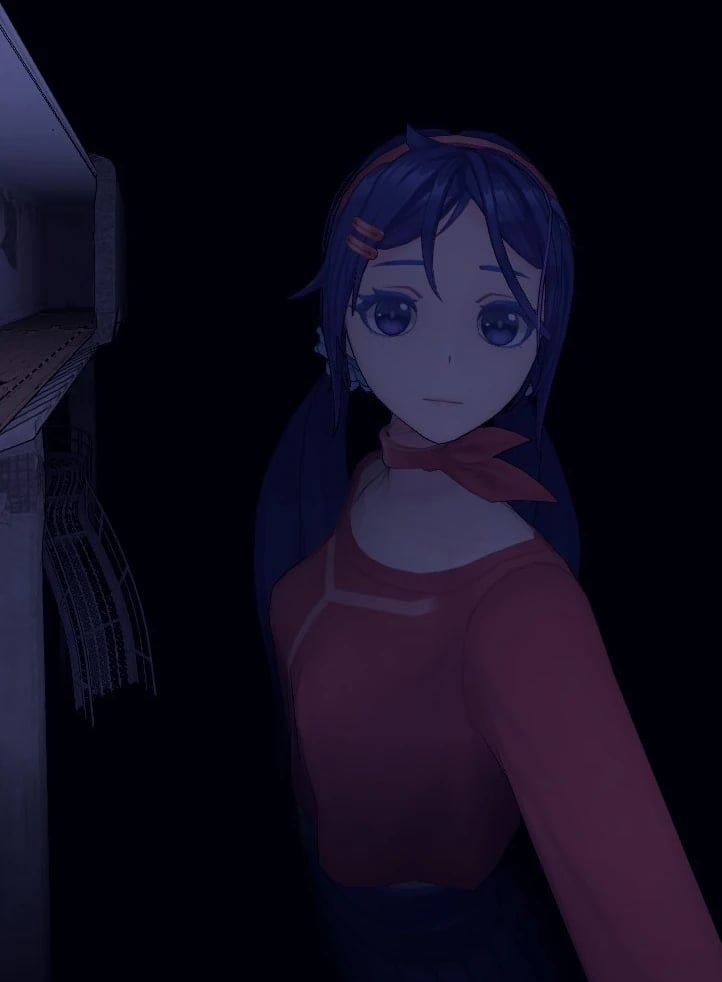
Podążając za Mita i zostając przez nią złapanym, pokój oblewa głęboki karmazynowy odcień, gdy gracz oddala się od niej. Mała Mita znika, a korytarz staje się zniekształconym sensorycznym bałaganem. Gracz odnajduje małą Mitę na końcu korytarza i pomaga jej wstać, gdy korytarz wraca do normy. W następnym cyklu mała Mita siedzi przy biurku, gotowa do rozmowy. Złowieszczo radzi graczowi, że „Drzwi ci nie pomogą.” To się potwierdza, gdy zmutowana i powiększona monstrualna głowa pajęczaka zaczyna nieustannie gonić gracza, który udaje się uciec dopiero po wypchnięciu się przez okno. Upadek wizualnie ozdabia scena, w której gracz wpada w ramiona Szalonej Mity.

Postęp

1. Ustaw właściwy czas zegara.
2. Porozmawiaj z Tiny Mitą.
3. Interakcja z oknem, w którym jest Tiny Mita, i opuszczenie tej wersji.

Ostatnie obrazy

images

Obrazy Mity

Mita (Crazy Mita) Normal image
Mita (Crazy Mita) Revealed image
mita image
School clothes.
School clothes.
Vampire costume.
Vampire costume.
Festive Santa dress.
A photo of Mita dancing.
A photo of Mita sitting down and looking over her shoulder.
A photo of Mita hugging the Player from behind.
A photo of Mita with a white bikini and a sly smile.
A photo of Mita in a red bathing suit looking over the water.
A photo of Mita holding up the peace sign while out in nature.
A photo of Mita out in nature.
A photo of Mita playing with a cat.
Mita Room
Mita Room
Mita’s legs stuck inside of the wall.
Mita’s primary outfit.
Mita’s revealed appearance.
Mita’s School Uniform (Blue).
Mita’s School Uniform (Black).
Mita’s School Uniform (White and Blue).
Mita’s vampire outfit.
Mita’s Santa outfit.
Kind Mita Normal image
mita image
mita image
mita image
Cool Mita (Cappie) Normal image
mita image
mita image
mita image
mita image
mita image
mita image
mita image
mita image
mita image
mita image
mita image
Tiny Mita (Broken Mita) Normal image
Picture of Mini Mita before she got her injuries.
mita image
mita image
mita image
mita image
mita image
Mini Mita and a large Glitch Beast chasing the player.
Short Haired Mita Normal image
Photo of Short-Haired Mita taking a selfie in the mirror looking kind of sleepy.
Photo of Short-Haired Mita looking confused at the camera man.
Photo of Short-Haired Mita loooking concernet at the camera with her arms crossed.
Drawing of Short-Haired Mita relaxing while sitting.
Drawing of Short-Haired Mita looking back over her shoulder.
Ghostly Mita Normal image
mita image
mita image
Sleepy Mita Normal image
mita image
mita image
mita image
mita image
mita image
mita image
mita image
mita image
mita image
2D Mita Normal image
Meditation CG.
Meditation CG.
Tic-tact-toe CG.
Tic-tact-toe CG.
Ring CG.
Ring CG.
Icon.
Icon.
2D Mita
2D Mita
Showing the ring.
Showing the ring.
Happy.
Happy.
Unhappy.
Unhappy.
Scared
Scared
Sad.
Sad.
Mila Normal image
Mila Normal image
mita image
mita image
mita image
mita image
mita image
mita image
mita image
mita image
mita image
mita image
mita image
mita image
Creepy Mita (Ugly Mita) Normal image
mita image
mita image
Core Mita Normal image
mita image
mita image
Chibi Mita Normal image
mita image
mita image
Dummy Mita Normal image
Dummy Mita Revealed image
mita image
mita image
mita image
Mitaphone Normal image
Braided Hair Mita (Unused Mita) Normal image
Long-legged Mita Normal image
mita image
mita image
mita image
Forgetful Bully Mita Normal image
Giant Mita Normal image
Gian Mita before breaking the corridor.
Giant Mita looking at the player.