9장: 더미와 잊혀진 퍼즐

더미와 잊혀진 퍼즐미사이드이야기의 한 장입니다.

줄거리 요약

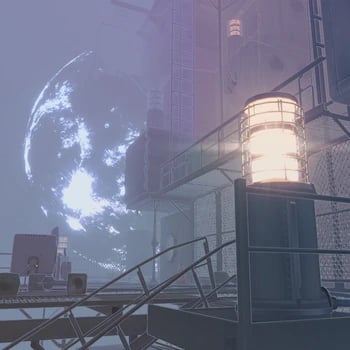
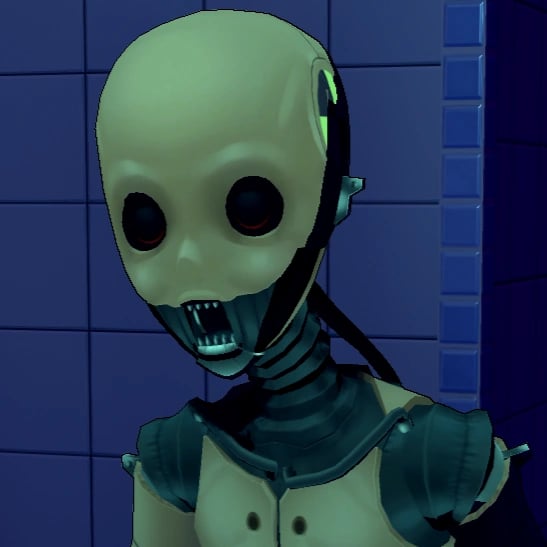
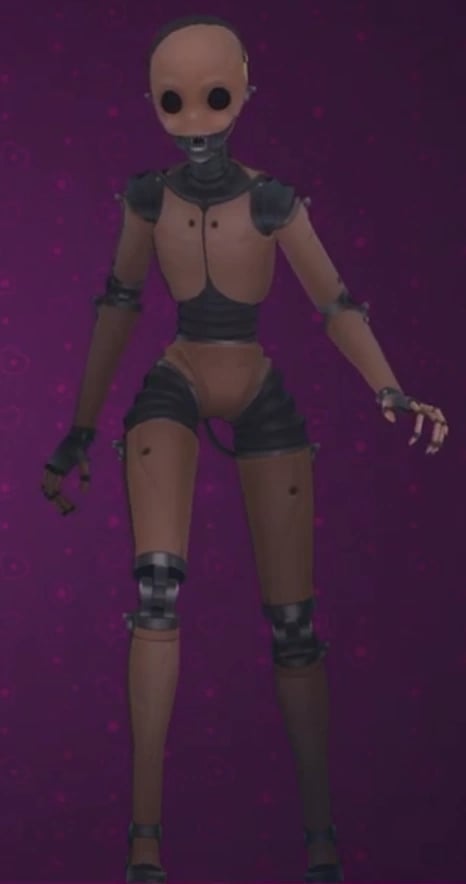
문을 들어서면, 플레이어는 여러 개의 방을 지나게 되며, 이는 다양한 수준의 더 백룸과 유사하며, 더 많은 부패한 미타 모델에게 쫓기게 됩니다. 결국 또 다른 문에 도달하고 그 문을 열면, 그는 초현실적이고 시각적으로 놀라운 오픈 월드에 들어가게 되며, 그곳에서는 달처럼 보이는 것을 볼 수 있습니다. 이 세계는 매우 안개 낀 우주와 닮아 있습니다. 이 세계에서는 플레이어가 다리와 난간 위에서만 걸어야 하며, 다양한 금속 게이트를 열기 위해 퍼즐을 해결해야 합니다. 두 번째 퍼즐을 완료하고 게이트를 열기 위해 레버를 당기면, 하늘에서 냉장고가 떨어져 땅에 부딪힙니다. 플레이어는 간신히 피하게 됩니다. 추가 조사를 진행하면, 플레이어는 자신 위의 다리 위에 서 있는 미타를 보게 되며, 그녀는 순진한 척하며 떨어진 냉장고와는 아무 관련이 없다고 주장한 후, 플레이어를 유혹적으로 놀리면서 이 지역이 위험하니 계속 가야 한다고 말합니다.

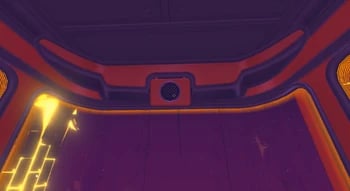
플레이어가 계속 진행하면, 그는 많은 랜덤한 인게임 자산과 물체가 그를 지나치는 거대한 진공 같은 터널에 들어서게 됩니다. 터널을 지나가며 출구에 도달할 때, 날아다니던 의자가 걸려서 글리치 같은 방식으로 반복적으로 복제됩니다.

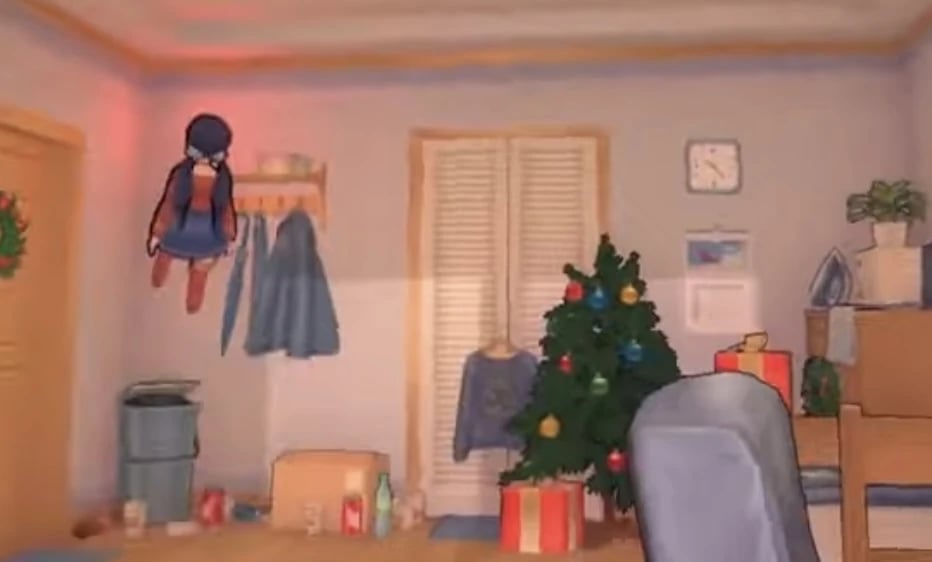
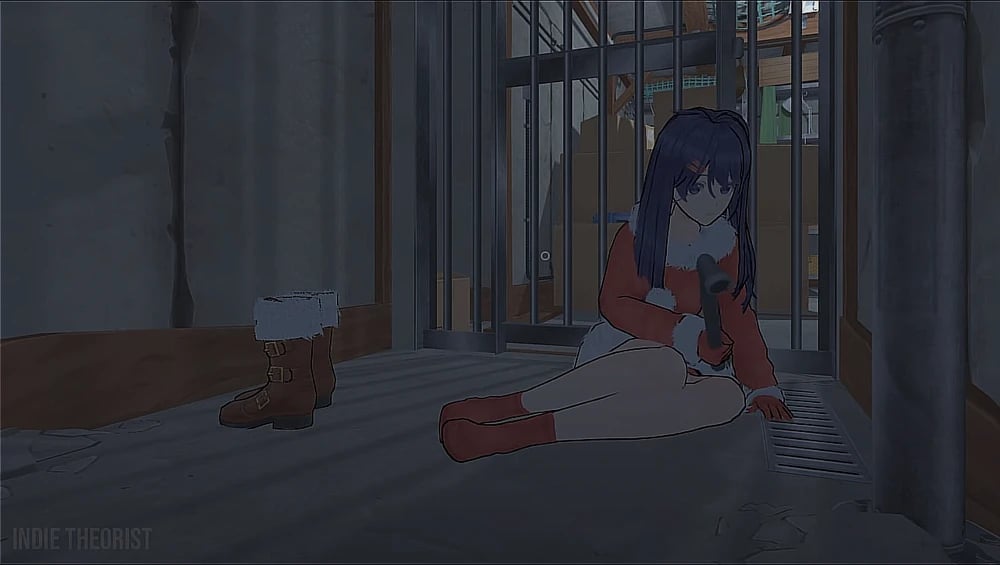
터널을 빠져나온 플레이어는 기차역에 도착하고, 그곳에서 치비 미타가 기차에서 내리며 플레이어에게 야비하게 비켜라고 말한 뒤 도망칩니다. 기차에 탑승한 플레이어는 기차에 내장된 운전사 미타폰을 만납니다. 미타폰은 기차가 이동하는 동안 기차에 장착된 총을 사용해 하늘을 나는 몬스터를 사격하라고 플레이어에게 지시합니다. 목적지에 도착한 후, 미타폰은 플레이어에게 작별 인사를 하고, 플레이어는 기차에서 내려 선택적으로 플레이할 수 있는 아케이드 기계를 발견합니다. 사진을 찾아 살펴본 후, 플레이어는 유령 미타의 방으로 이동하게 됩니다.

진행

1. 주위를 살펴보세요.
2. 오락실 기계로 가세요.
3. 모든 미타 모델을 확인하세요.
4. 아래층으로 돌아가세요.

최신 이미지

images

미타 이미지

Mita (Crazy Mita) Normal image
Mita (Crazy Mita) Revealed image
mita image
School clothes.
School clothes.
Vampire costume.
Vampire costume.
Festive Santa dress.
A photo of Mita dancing.
A photo of Mita sitting down and looking over her shoulder.
A photo of Mita hugging the Player from behind.
A photo of Mita with a white bikini and a sly smile.
A photo of Mita in a red bathing suit looking over the water.
A photo of Mita holding up the peace sign while out in nature.
A photo of Mita out in nature.
A photo of Mita playing with a cat.
Mita Room
Mita Room
Mita’s legs stuck inside of the wall.
Mita’s primary outfit.
Mita’s revealed appearance.
Mita’s School Uniform (Blue).
Mita’s School Uniform (Black).
Mita’s School Uniform (White and Blue).
Mita’s vampire outfit.
Mita’s Santa outfit.
Kind Mita Normal image
mita image
mita image
mita image
Cool Mita (Cappie) Normal image
mita image
mita image
mita image
mita image
mita image
mita image
mita image
mita image
mita image
mita image
mita image
Tiny Mita (Broken Mita) Normal image
Picture of Mini Mita before she got her injuries.
mita image
mita image
mita image
mita image
mita image
Mini Mita and a large Glitch Beast chasing the player.
Short Haired Mita Normal image
Photo of Short-Haired Mita taking a selfie in the mirror looking kind of sleepy.
Photo of Short-Haired Mita looking confused at the camera man.
Photo of Short-Haired Mita loooking concernet at the camera with her arms crossed.
Drawing of Short-Haired Mita relaxing while sitting.
Drawing of Short-Haired Mita looking back over her shoulder.
Ghostly Mita Normal image
mita image
mita image
Sleepy Mita Normal image
mita image
mita image
mita image
mita image
mita image
mita image
mita image
mita image
mita image
2D Mita Normal image
Meditation CG.
Meditation CG.
Tic-tact-toe CG.
Tic-tact-toe CG.
Ring CG.
Ring CG.
Icon.
Icon.
2D Mita
2D Mita
Showing the ring.
Showing the ring.
Happy.
Happy.
Unhappy.
Unhappy.
Scared
Scared
Sad.
Sad.
Mila Normal image
Mila Normal image
mita image
mita image
mita image
mita image
mita image
mita image
mita image
mita image
mita image
mita image
mita image
mita image
Creepy Mita (Ugly Mita) Normal image
mita image
mita image
Core Mita Normal image
mita image
mita image
Chibi Mita Normal image
mita image
mita image
Dummy Mita Normal image
Dummy Mita Revealed image
mita image
mita image
mita image
Mitaphone Normal image
Braided Hair Mita (Unused Mita) Normal image
Long-legged Mita Normal image
mita image
mita image
mita image
Forgetful Bully Mita Normal image
Giant Mita Normal image
Gian Mita before breaking the corridor.
Giant Mita looking at the player.