Capítulo 2: Juntos al Fin

Juntos al Fin es un capítulo de la historia de MiSide.

Sinopsis de la Trama

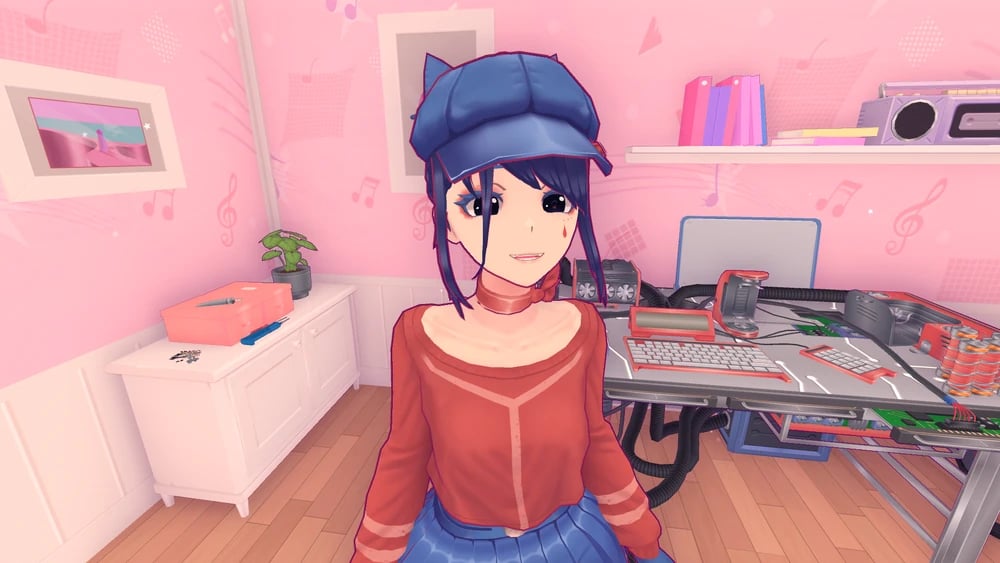
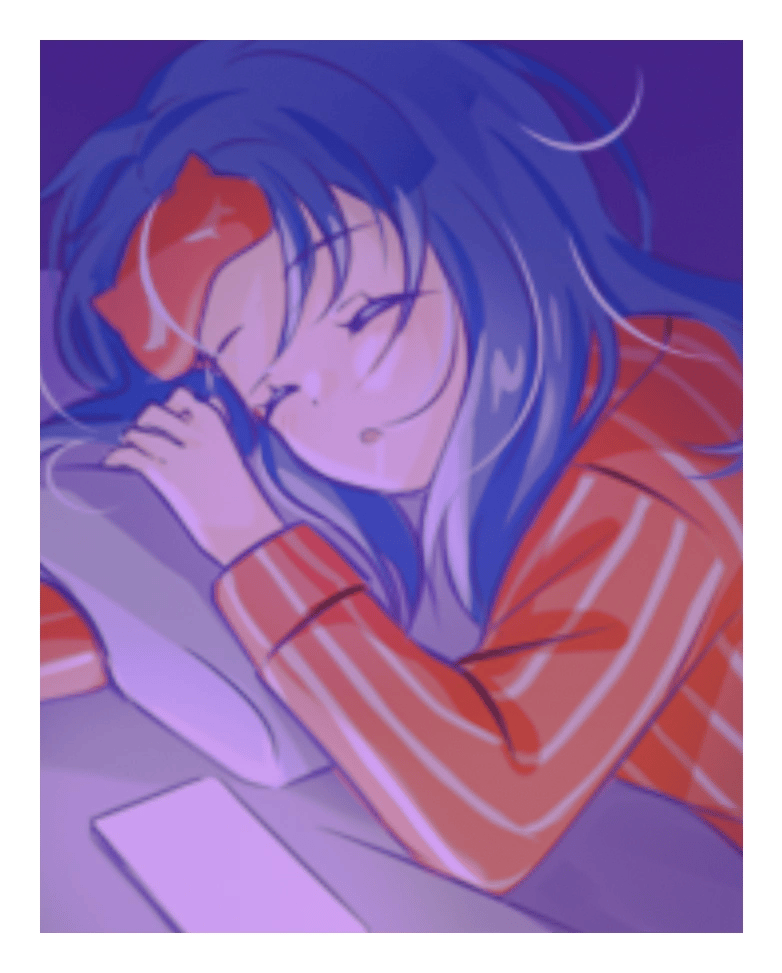
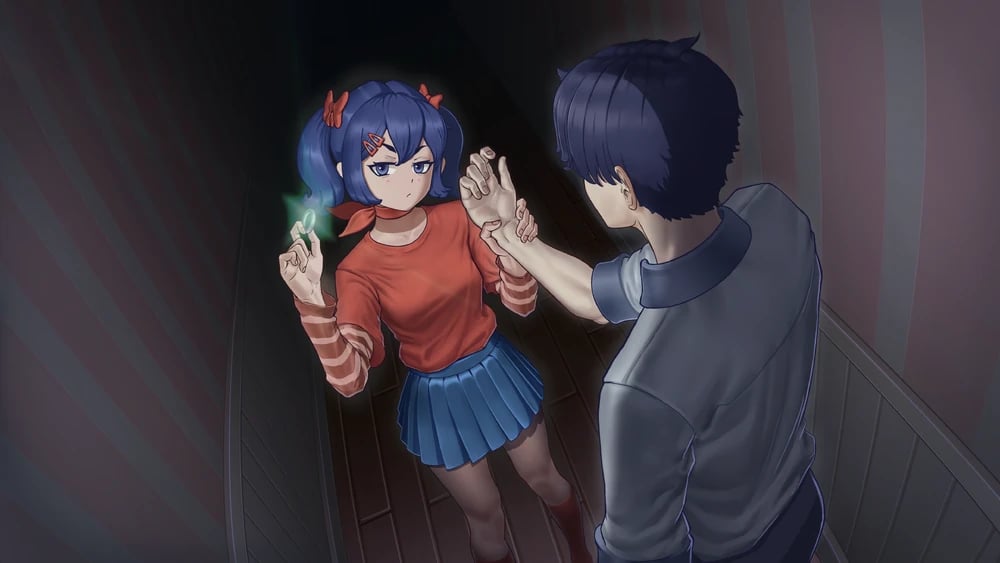
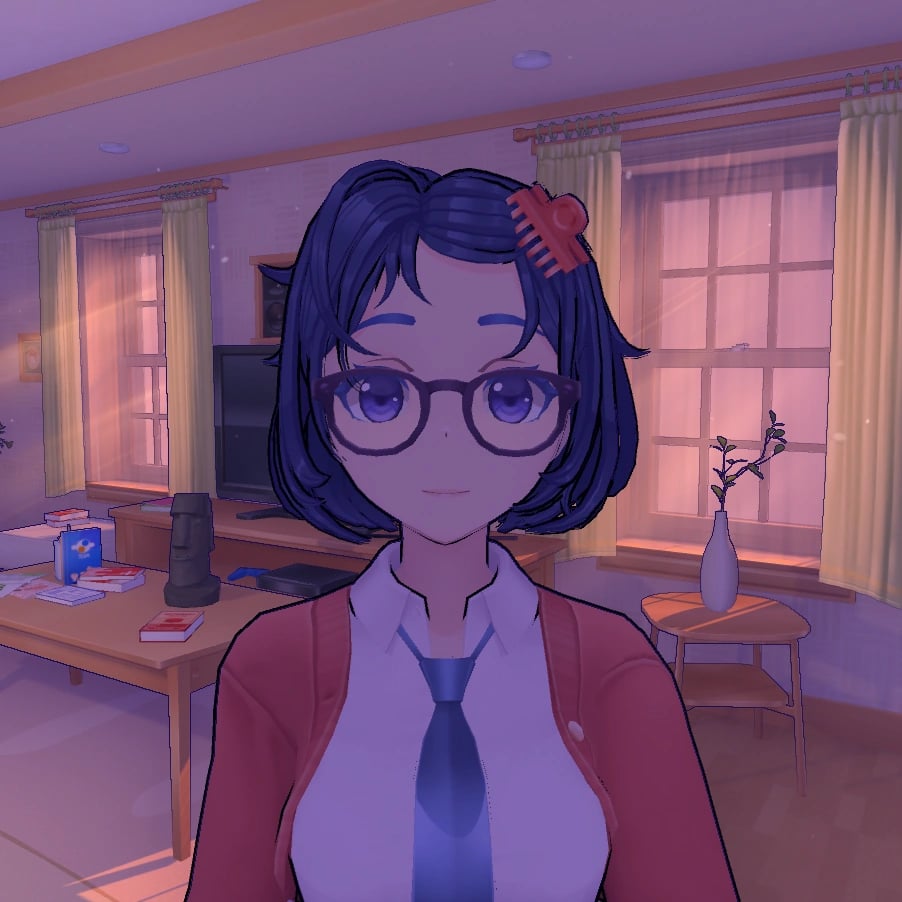
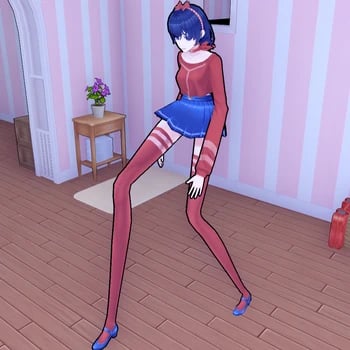
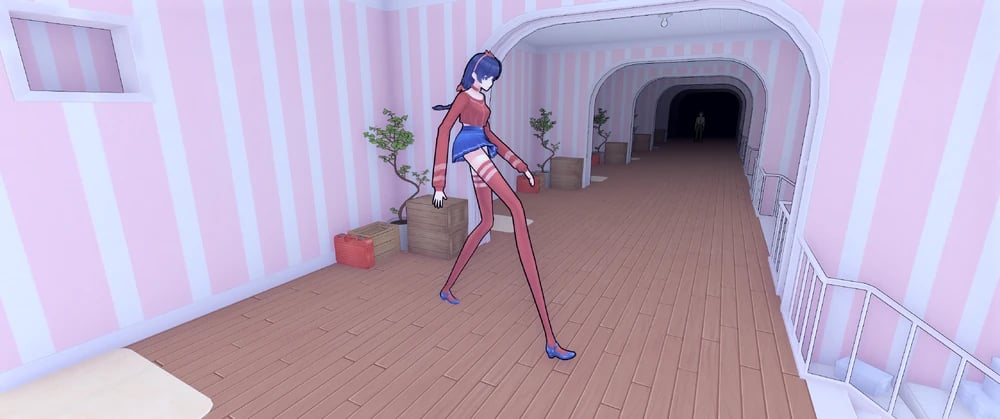
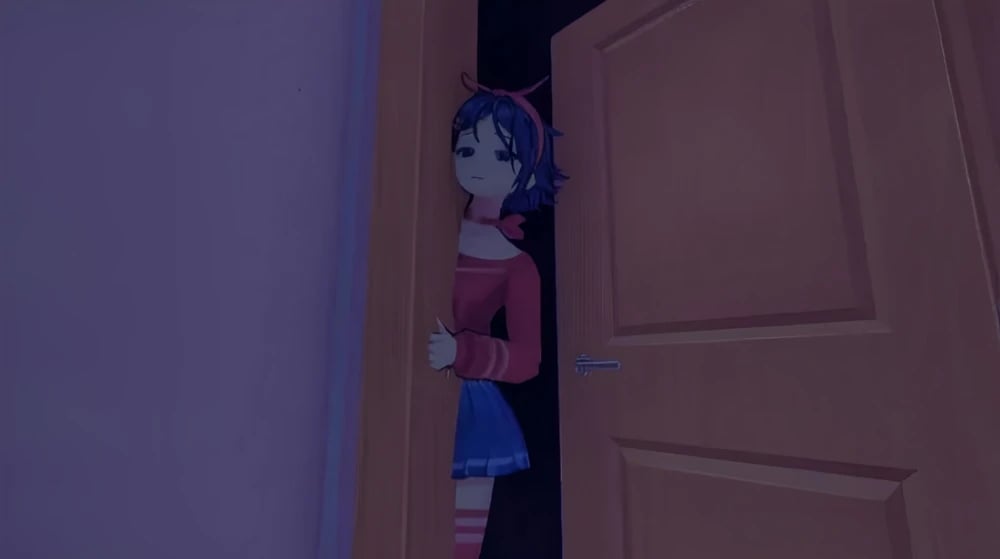
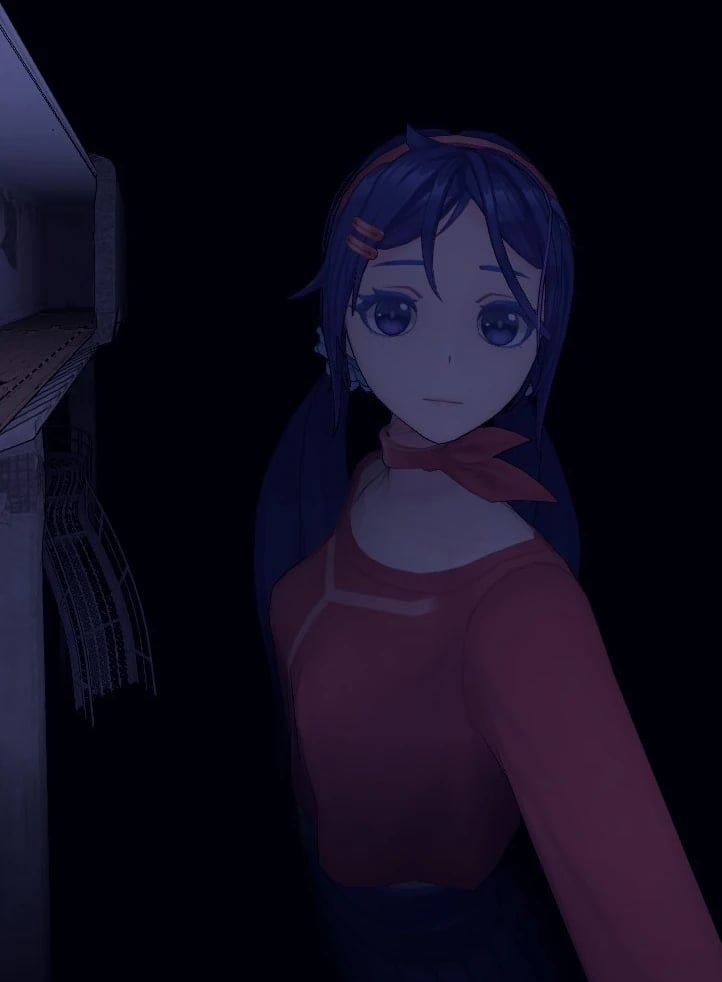
Durante su encuentro, el jugador expresa el deseo de hacer preguntas sobre cómo Mita lo transfirió al juego. Mita ofrece algunas respuestas, pero retiene un secreto nebuloso, cambiando rápidamente de tema. Al jugador se le concede tiempo libre para explorar la casa, conversar con Mita sobre el mundo del juego y sus posesiones, y visitar varios lugares, siempre con Mita a su lado. Mita también muestra sus poderes de distorsión de la realidad, como "activar" el espejo del baño y materializar un jugo de un anuncio de televisión. Cuando el jugador recupera su smartphone de una mesa que se pensaba desaparecida desde su entrada al juego, Mita sugiere tomarse una selfie juntos, considerándolo un recuerdo. El jugador se dirige a la cocina y descubre un anillo misterioso en la encimera. Al examinarlo, Mita se esconde detrás de una puerta y llama la atención del jugador, haciendo que se gire mientras ella redirige la conversación, asumiendo el hambre del jugador. El jugador acepta cocinar con Mita, aunque persisten las preguntas sobre el mundo del juego. Para cuando el jugador se da vuelta nuevamente hacia la encimera, el anillo ha desaparecido misteriosamente y hay múltiples verduras y utensilios de cocina en su lugar, junto con una sartén con trozos de carne en ella.

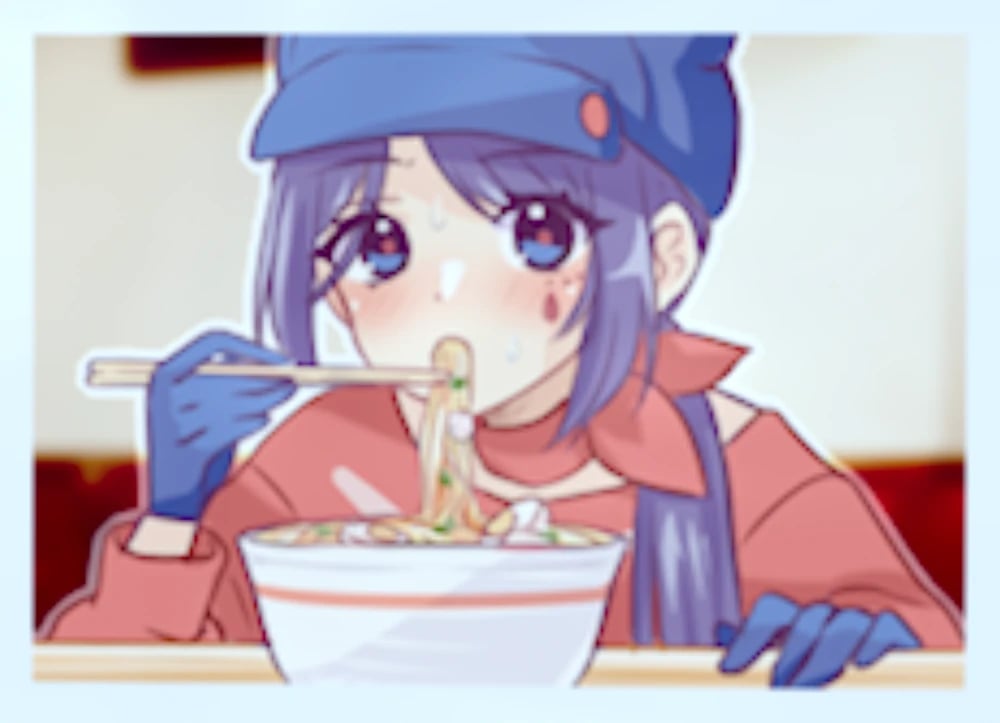
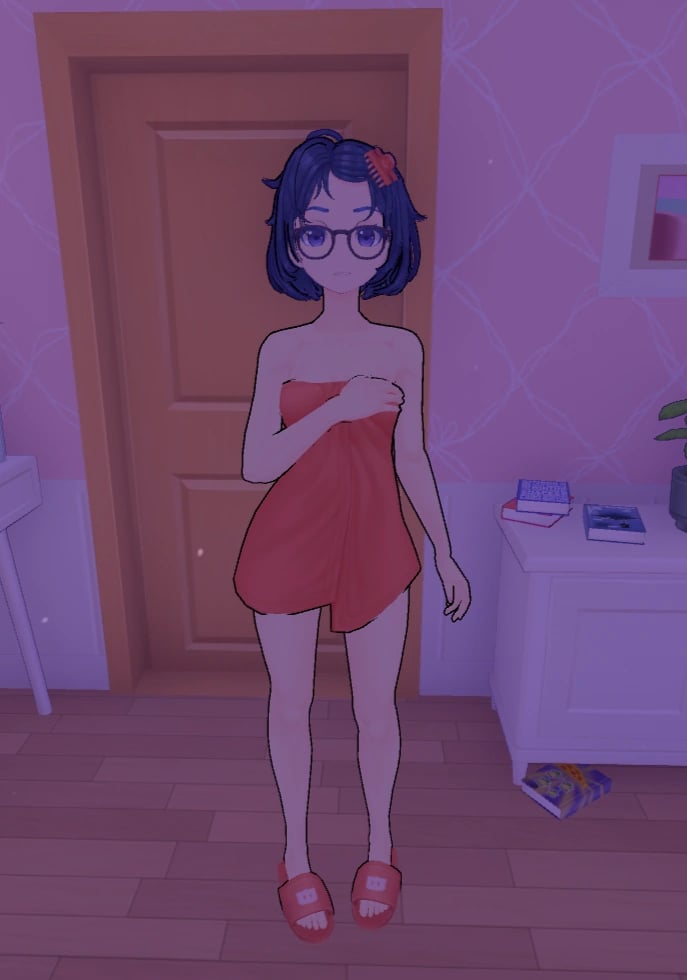
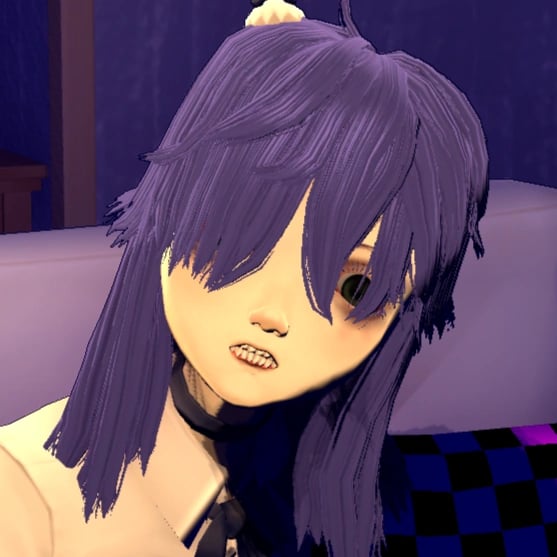
Después de cocinar juntos, Mita le indica al jugador que busque unas tijeras en el baño. En el baño, el jugador nota una tapa de ventilación de baño medio abierta que ofrece la opción de mirar dentro. Si el jugador decide asomarse, descubre cartuchos etiquetados con nombres, lo que sugiere fuertemente a los amantes pasados de Mita. Al regresar a la cocina con las tijeras, Mita ya ha preparado una comida para el jugador y para ella. Mientras inicia una conversación antes de comer, el jugador puede plantear una pregunta sobre los cartuchos (si es que miró), la luz blanca fuera de las ventanas y otros aspectos del mundo de Mita. Después de la conversación, se sienta a comer, mientras Mita sugiere al jugador que pruebe la salsa de amor especial. Pero cuando el jugador intenta recoger los platos, empieza a sentirse mal, experimentando alteraciones visuales. Reconociendo la situación, Mita asiste al jugador llevándolo al baño y proporcionándole medicación. Las alteraciones visuales podrían haber sido provocadas por la comida que Mita preparó. Ella le dio al jugador la que hace que su visión se distorsione, mientras que ella come la comida que no tiene estos efectos. Mientras Mita lleva al jugador al baño, tiene su escalofriante sonrisa yandere. El jugador no puede verla, pero ella la tiene puesta. Mita le da al jugador 2 pastillas. Es muy probable que las pastillas o al menos una de ellas tenga algo que ver con los cartuchos que Mita utiliza para atrapar a los jugadores.

Progresión

1. Ve a la cocina.
2. Pica zanahorias.
3. Consigue las tijeras del baño.
4. Entrégale las tijeras a Mita.
5. Pon los platos en el fregadero.

Imágenes Recientes

images

Imágenes de Mita

Mita (Crazy Mita) Normal image
Mita (Crazy Mita) Revealed image
mita image
School clothes.
School clothes.
Vampire costume.
Vampire costume.
Festive Santa dress.
A photo of Mita dancing.
A photo of Mita sitting down and looking over her shoulder.
A photo of Mita hugging the Player from behind.
A photo of Mita with a white bikini and a sly smile.
A photo of Mita in a red bathing suit looking over the water.
A photo of Mita holding up the peace sign while out in nature.
A photo of Mita out in nature.
A photo of Mita playing with a cat.
Mita Room
Mita Room
Mita’s legs stuck inside of the wall.
Mita’s primary outfit.
Mita’s revealed appearance.
Mita’s School Uniform (Blue).
Mita’s School Uniform (Black).
Mita’s School Uniform (White and Blue).
Mita’s vampire outfit.
Mita’s Santa outfit.
Kind Mita Normal image
mita image
mita image
mita image
Cool Mita (Cappie) Normal image
mita image
mita image
mita image
mita image
mita image
mita image
mita image
mita image
mita image
mita image
mita image
Tiny Mita (Broken Mita) Normal image
Picture of Mini Mita before she got her injuries.
mita image
mita image
mita image
mita image
mita image
Mini Mita and a large Glitch Beast chasing the player.
Short Haired Mita Normal image
Photo of Short-Haired Mita taking a selfie in the mirror looking kind of sleepy.
Photo of Short-Haired Mita looking confused at the camera man.
Photo of Short-Haired Mita loooking concernet at the camera with her arms crossed.
Drawing of Short-Haired Mita relaxing while sitting.
Drawing of Short-Haired Mita looking back over her shoulder.
Ghostly Mita Normal image
mita image
mita image
Sleepy Mita Normal image
mita image
mita image
mita image
mita image
mita image
mita image
mita image
mita image
mita image
2D Mita Normal image
Meditation CG.
Meditation CG.
Tic-tact-toe CG.
Tic-tact-toe CG.
Ring CG.
Ring CG.
Icon.
Icon.
2D Mita
2D Mita
Showing the ring.
Showing the ring.
Happy.
Happy.
Unhappy.
Unhappy.
Scared
Scared
Sad.
Sad.
Mila Normal image
Mila Normal image
mita image
mita image
mita image
mita image
mita image
mita image
mita image
mita image
mita image
mita image
mita image
mita image
Creepy Mita (Ugly Mita) Normal image
mita image
mita image
Core Mita Normal image
mita image
mita image
Chibi Mita Normal image
mita image
mita image
Dummy Mita Normal image
Dummy Mita Revealed image
mita image
mita image
mita image
Mitaphone Normal image
Braided Hair Mita (Unused Mita) Normal image
Long-legged Mita Normal image
mita image
mita image
mita image
Forgetful Bully Mita Normal image
Giant Mita Normal image
Gian Mita before breaking the corridor.
Giant Mita looking at the player.