Chapter 7: The Loop

The Loop is a chapter from the story of MiSide.

Plot Synopsis

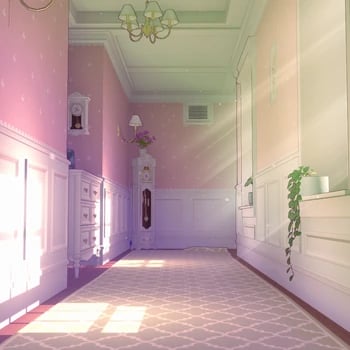
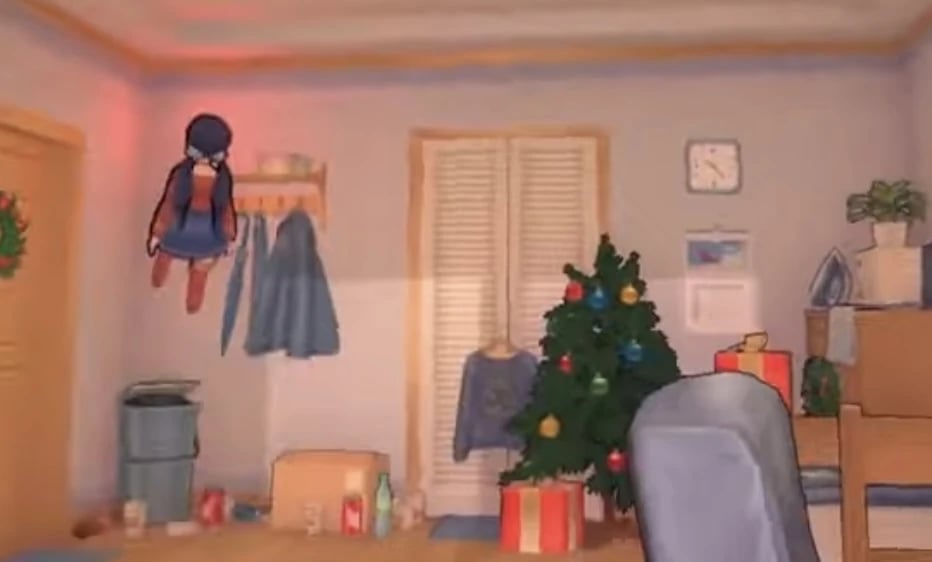
The Player enters a hallway whose exit seemingly impossibly leads back to its entrance, effectively creating a loop. Besides a digital counter, each room seems to be identical to the last. Things begin to change on the fourth "loop" when text reading "again?" suddenly appears on the wall as The Player continues moving. The volume of text on the walls grows as the lights dim. The now-dark and eerie hallway becomes increasingly disturbing as it continues to loop.

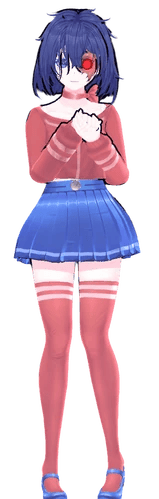
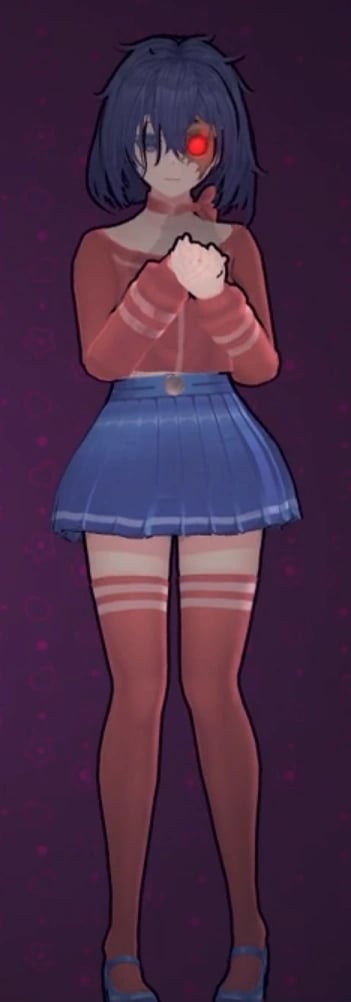
By the seventh iteration, the small TV on the desk in the middle of the hall begins displaying creepy red-tinted white noise. The very next loop, all of the text disappears, replaced by a single line, reading: "It's here." The knives lodged in the wall below the text splatter blood on the surrounding area as The Player passes by. Continuing to the exit, the Player will see Tiny Mita for the first of many times, stalking him. The ninth loop begins with The Player equipping a flashlight he obtained in a previous version. The TV then turns off and Tiny Mita appears outside the window. The Protagonist must witness a horrific spider-like creature before continuing to the next loop, wherein it begins raining. Progressing forward, the window shatters as a baseball bat lands at the Player's feet. The bat finds use in the thirteenth loop, which is infested with more spider creatures. Turning on once again, the television displays a rapidly spinning clock. Upon the room being illuminated, the clock on the desk should be adjusted to match the room's other clocks. Once completed, Tiny Mita appears behind the player.

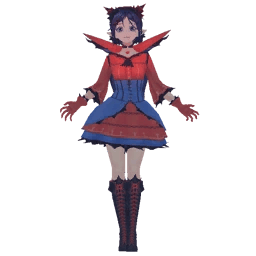
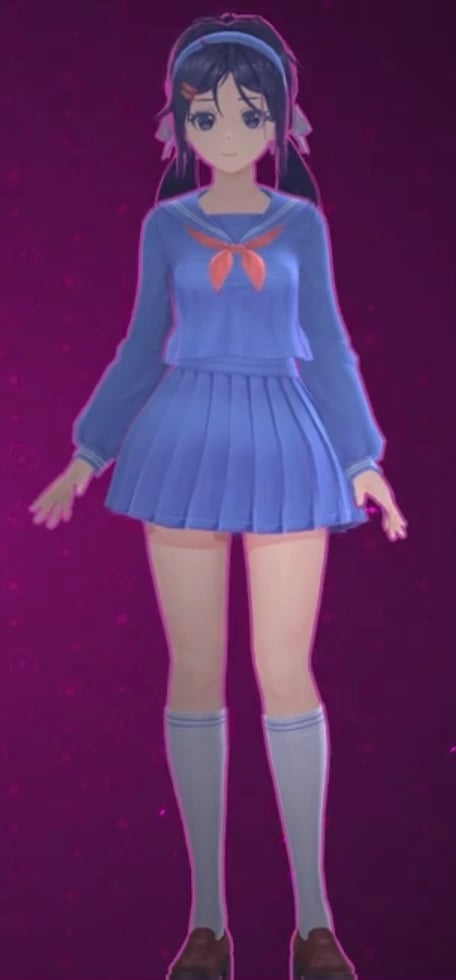
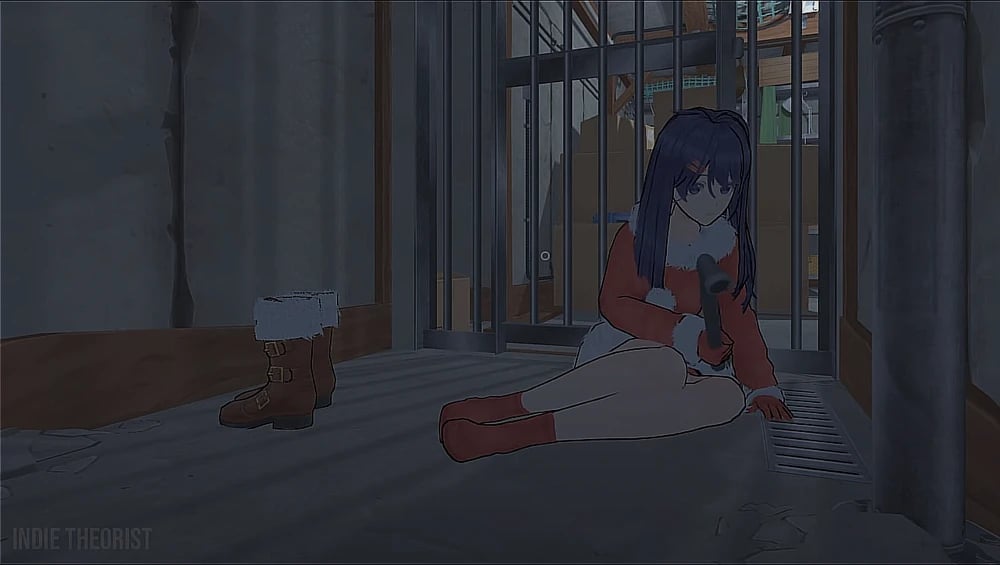
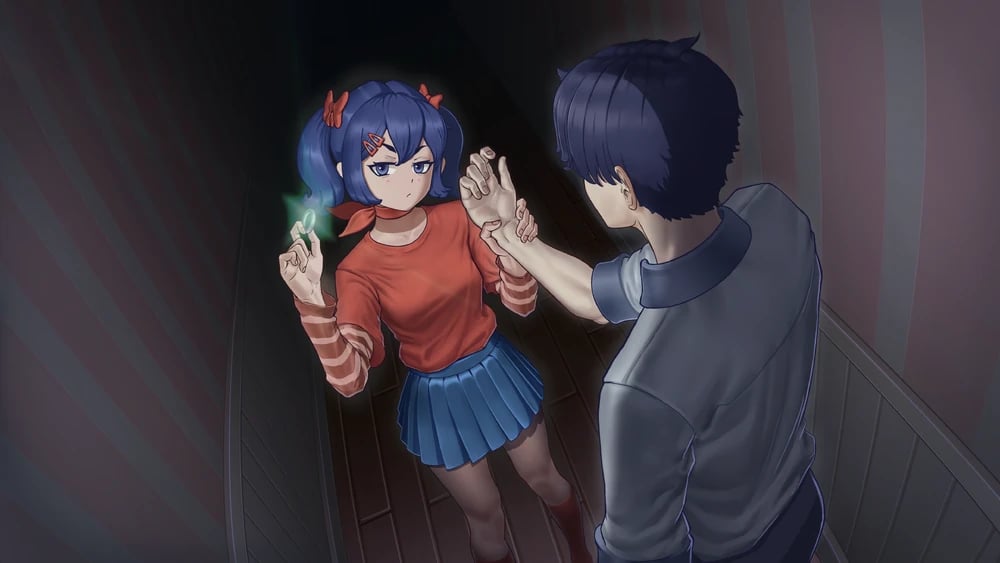
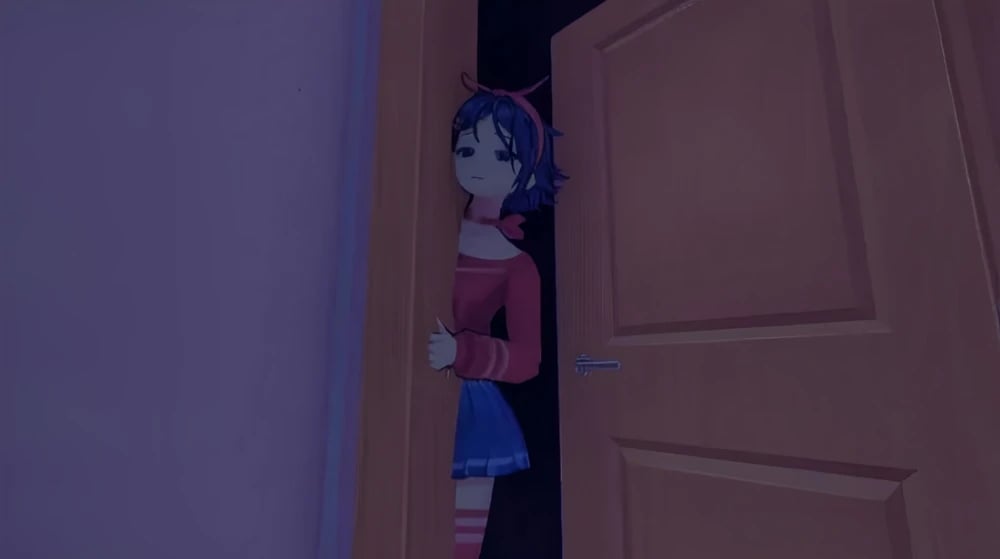
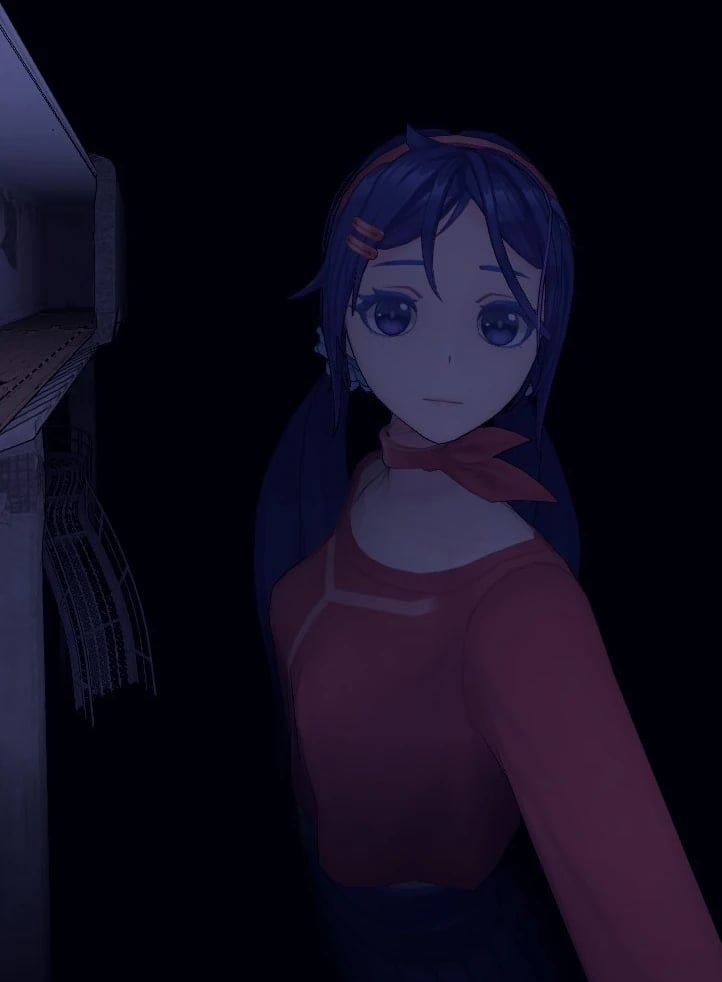
Following and being grabbed by the Mita, the room is basked in a deep crimson hue as the player moves away from her. Tiny Mita disappears and the hallway becomes a twisted sensory mess. The player finds Tiny Mita at the end of the hall and helps her up as the hallway returns to normal. In the following loop, Tiny Mita sits by the desk, available to converse with. She ominously advises the player that, "The doors won't help you." This proves true when a corrupted and enlarged arachnid-head monster begins relentlessly chasing the Player who only manages to escape after careening out the window. The fall is visually ornamented with the Player falling into Crazy Mita's grasp.

Progression

1. Set the clock's time right.
2. Talk with Tiny Mita.
3. Interact with the window Tiny Mita is at and leave this version.

Recent Images

images

Mita Images

Mita (Crazy Mita) Normal image
Mita (Crazy Mita) Revealed image
mita image
School clothes.
School clothes.
Vampire costume.
Vampire costume.
Festive Santa dress.
A photo of Mita dancing.
A photo of Mita sitting down and looking over her shoulder.
A photo of Mita hugging the Player from behind.
A photo of Mita with a white bikini and a sly smile.
A photo of Mita in a red bathing suit looking over the water.
A photo of Mita holding up the peace sign while out in nature.
A photo of Mita out in nature.
A photo of Mita playing with a cat.
Mita Room
Mita Room
Mita’s legs stuck inside of the wall.
Mita’s primary outfit.
Mita’s revealed appearance.
Mita’s School Uniform (Blue).
Mita’s School Uniform (Black).
Mita’s School Uniform (White and Blue).
Mita’s vampire outfit.
Mita’s Santa outfit.
Kind Mita Normal image
mita image
mita image
mita image
Cool Mita (Cappie) Normal image
mita image
mita image
mita image
mita image
mita image
mita image
mita image
mita image
mita image
mita image
mita image
Tiny Mita (Broken Mita) Normal image
Picture of Mini Mita before she got her injuries.
mita image
mita image
mita image
mita image
mita image
Mini Mita and a large Glitch Beast chasing the player.
Short Haired Mita Normal image
Photo of Short-Haired Mita taking a selfie in the mirror looking kind of sleepy.
Photo of Short-Haired Mita looking confused at the camera man.
Photo of Short-Haired Mita loooking concernet at the camera with her arms crossed.
Drawing of Short-Haired Mita relaxing while sitting.
Drawing of Short-Haired Mita looking back over her shoulder.
Ghostly Mita Normal image
mita image
mita image
Sleepy Mita Normal image
mita image
mita image
mita image
mita image
mita image
mita image
mita image
mita image
mita image
2D Mita Normal image
Meditation CG.
Meditation CG.
Tic-tact-toe CG.
Tic-tact-toe CG.
Ring CG.
Ring CG.
Icon.
Icon.
2D Mita
2D Mita
Showing the ring.
Showing the ring.
Happy.
Happy.
Unhappy.
Unhappy.
Scared
Scared
Sad.
Sad.
Mila Normal image
Mila Normal image
mita image
mita image
mita image
mita image
mita image
mita image
mita image
mita image
mita image
mita image
mita image
mita image
Creepy Mita (Ugly Mita) Normal image
mita image
mita image
Core Mita Normal image
mita image
mita image
Chibi Mita Normal image
mita image
mita image
Dummy Mita Normal image
Dummy Mita Revealed image
mita image
mita image
mita image
Mitaphone Normal image
Braided Hair Mita (Unused Mita) Normal image
Long-legged Mita Normal image
mita image
mita image
mita image
Forgetful Bully Mita Normal image
Giant Mita Normal image
Gian Mita before breaking the corridor.
Giant Mita looking at the player.