Chapter 2: Together at Last

Together at Last is a chapter from the story of MiSide.

Plot Synopsis

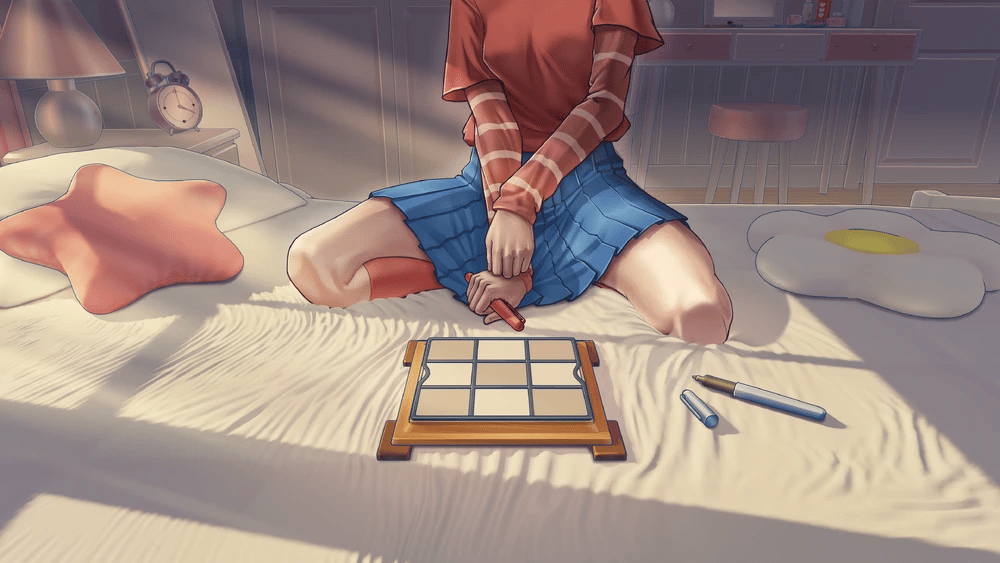
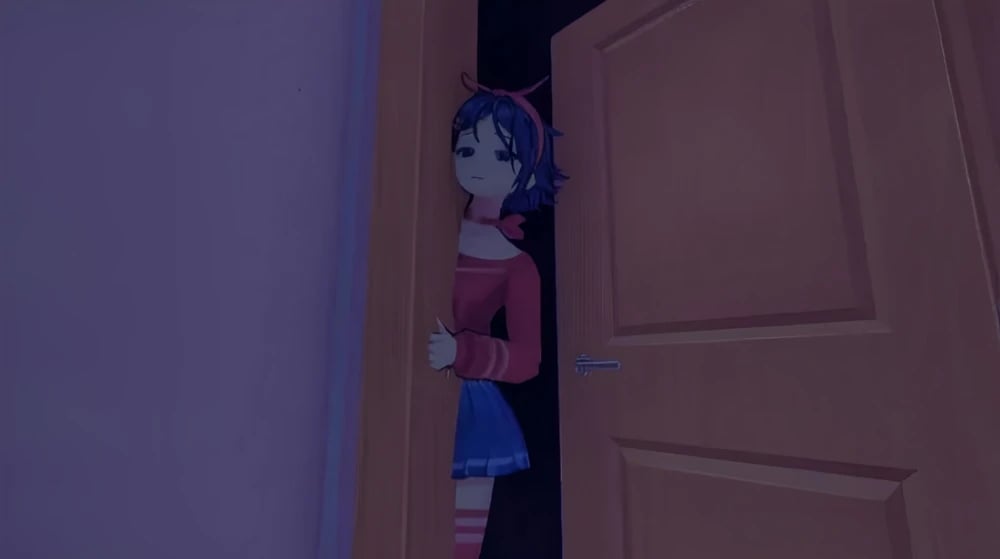
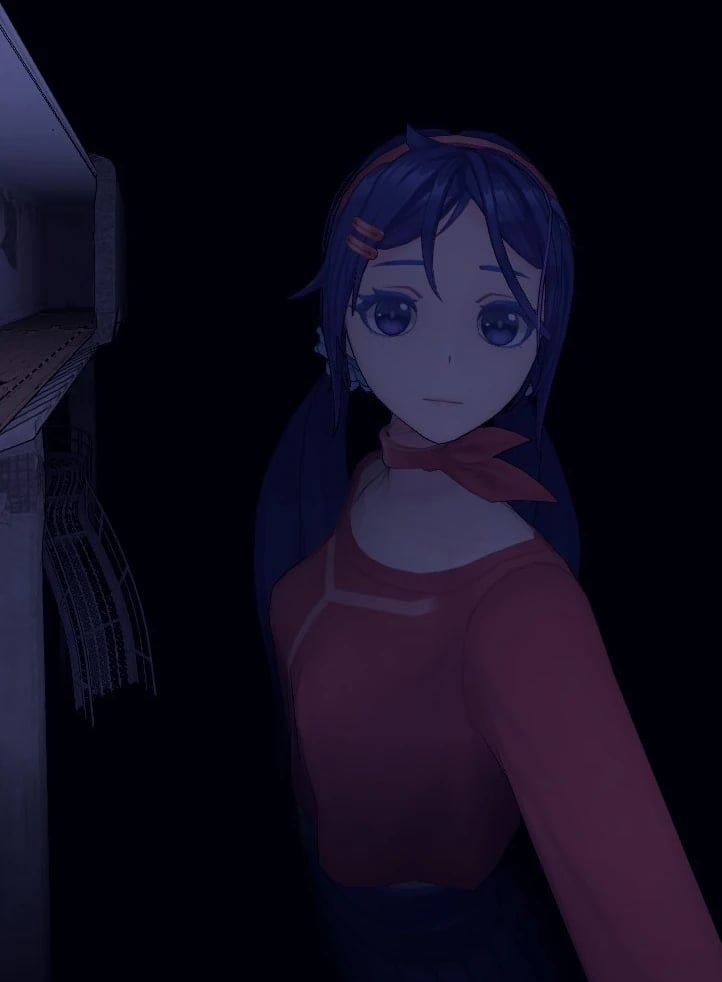
During his meeting, the player expresses a desire to ask questions about how Mita transported him into the game. Mita provides some answers but withholds a nebulous secret, swiftly shifting the conversation. The player is granted free time to explore the house, engage in discussions with Mita about the game's world and her possessions, and visit various locations, with Mita always in tow. Mita also showcases her reality-warping powers, such as "activating" the bathroom mirror and materializing a juice from a TV advertisement. When the player retrieves his smartphone from a table thought to be missing since entering the game, Mita suggests taking a selfie together, considering it a keepsake. The player proceeds to the kitchen and discovers a mysterious ring on the kitchen counter. Upon inspection, Mita hides behind a door and draws the player's attention to her, making him turn around as she redirects the conversation, assuming the player's hunger. The player agrees to cook with Mita, though questions about the game world linger. By the time the player turns back to the kitchen counter, the ring has mysteriously disappeared and there are multiple vegetables and kitchen utensils in the counter instead, along with a frying pan with chunks of meat in it.

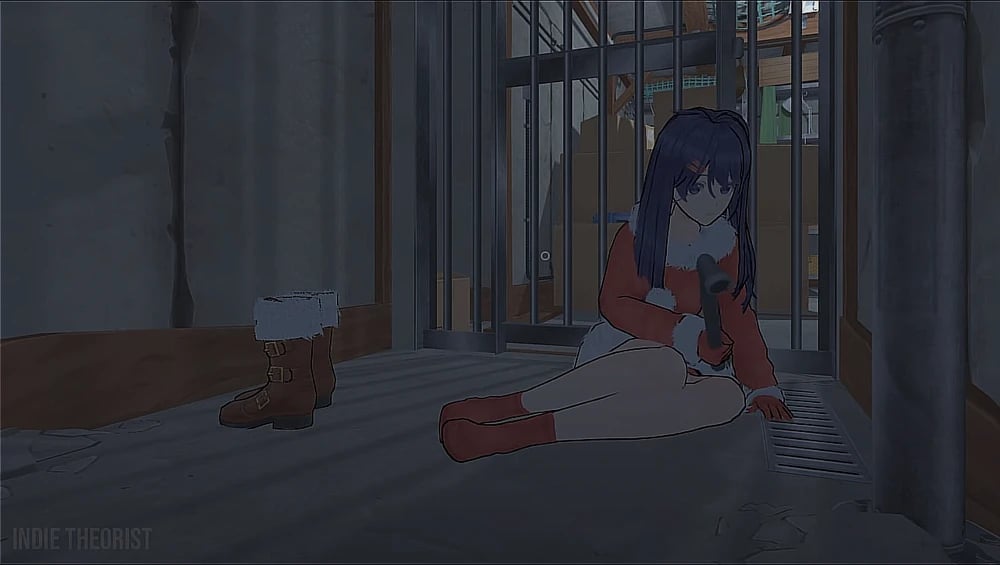
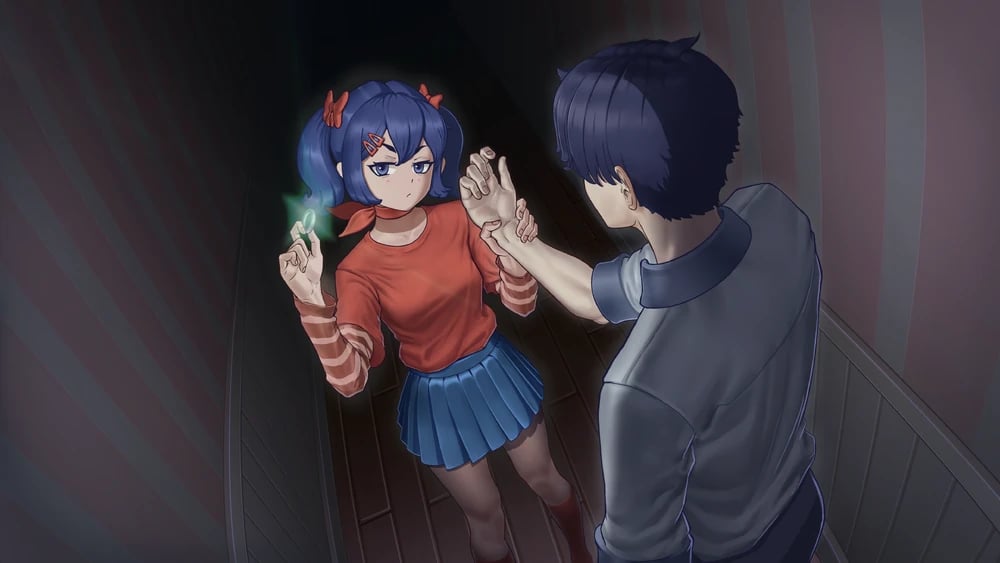
After cooking together, Mita instructs the player to retrieve scissors from the bathroom. In the bathroom, the player notices a partially open bathroom vent cover giving the option to peek inside. If the player chooses to peek inside, he discover cartridges labelled with names, strongly hinting at Mita's past lovers. Upon returning to the kitchen with the scissors, Mita has already prepared a meal for the player and herself. As he engage in conversation before eating, the player may raise a question about the cartridges (if he peeked), the white light outside the windows, and other aspects of Mita's world. After the conversation, he sit down to eat, with Mita suggesting to the player to try out the special love sauce. But as the player attempts to clear the dishes, he begin to feel unwell, experiencing visual disturbances. Recognizing the situation, Mita assists the player by taking him to the bathroom and providing medication. The visual disturbances could be triggered by the meal that Mita made. She gave the player the one that causes his vision to glitch while she eats the meal that doesn't have these effects. While Mita takes the player to the bathroom she has her creepy yandere grin. The player can't see it but she has it on. Mita gives the player 2 pills. It is very likely that the pills or at least one pill has something to do with the cartridges Mita uses to trap players.

Progression

1. Go to the kitchen.
2. Chop carrots.
3. Get the scissors from the bathroom.
4. Hand Mita the scissors.
5. Put the dishes in the sink.

Recent Images

images

Mita Images

Mita (Crazy Mita) Normal image
Mita (Crazy Mita) Revealed image
mita image
School clothes.
School clothes.
Vampire costume.
Vampire costume.
Festive Santa dress.
A photo of Mita dancing.
A photo of Mita sitting down and looking over her shoulder.
A photo of Mita hugging the Player from behind.
A photo of Mita with a white bikini and a sly smile.
A photo of Mita in a red bathing suit looking over the water.
A photo of Mita holding up the peace sign while out in nature.
A photo of Mita out in nature.
A photo of Mita playing with a cat.
Mita Room
Mita Room
Mita’s legs stuck inside of the wall.
Mita’s primary outfit.
Mita’s revealed appearance.
Mita’s School Uniform (Blue).
Mita’s School Uniform (Black).
Mita’s School Uniform (White and Blue).
Mita’s vampire outfit.
Mita’s Santa outfit.
Kind Mita Normal image
mita image
mita image
mita image
Cool Mita (Cappie) Normal image
mita image
mita image
mita image
mita image
mita image
mita image
mita image
mita image
mita image
mita image
mita image
Tiny Mita (Broken Mita) Normal image
Picture of Mini Mita before she got her injuries.
mita image
mita image
mita image
mita image
mita image
Mini Mita and a large Glitch Beast chasing the player.
Short Haired Mita Normal image
Photo of Short-Haired Mita taking a selfie in the mirror looking kind of sleepy.
Photo of Short-Haired Mita looking confused at the camera man.
Photo of Short-Haired Mita loooking concernet at the camera with her arms crossed.
Drawing of Short-Haired Mita relaxing while sitting.
Drawing of Short-Haired Mita looking back over her shoulder.
Ghostly Mita Normal image
mita image
mita image
Sleepy Mita Normal image
mita image
mita image
mita image
mita image
mita image
mita image
mita image
mita image
mita image
2D Mita Normal image
Meditation CG.
Meditation CG.
Tic-tact-toe CG.
Tic-tact-toe CG.
Ring CG.
Ring CG.
Icon.
Icon.
2D Mita
2D Mita
Showing the ring.
Showing the ring.
Happy.
Happy.
Unhappy.
Unhappy.
Scared
Scared
Sad.
Sad.
Mila Normal image
Mila Normal image
mita image
mita image
mita image
mita image
mita image
mita image
mita image
mita image
mita image
mita image
mita image
mita image
Creepy Mita (Ugly Mita) Normal image
mita image
mita image
Core Mita Normal image
mita image
mita image
Chibi Mita Normal image
mita image
mita image
Dummy Mita Normal image
Dummy Mita Revealed image
mita image
mita image
mita image
Mitaphone Normal image
Braided Hair Mita (Unused Mita) Normal image
Long-legged Mita Normal image
mita image
mita image
mita image
Forgetful Bully Mita Normal image
Giant Mita Normal image
Gian Mita before breaking the corridor.
Giant Mita looking at the player.