الفصل 9: الدمى والألغاز المنسية

الدمى والألغاز المنسية هو فصل من قصة مي سايد.

ملخص القصة

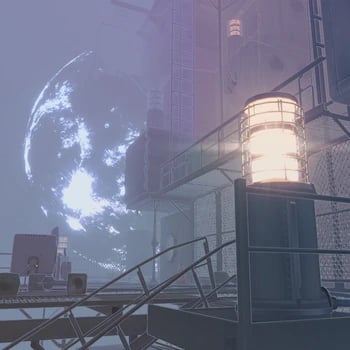
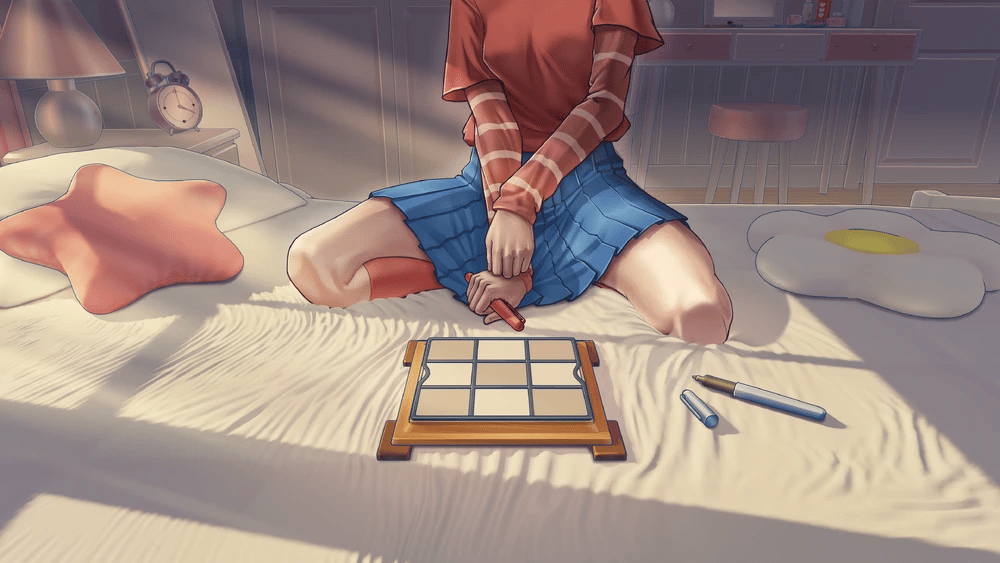
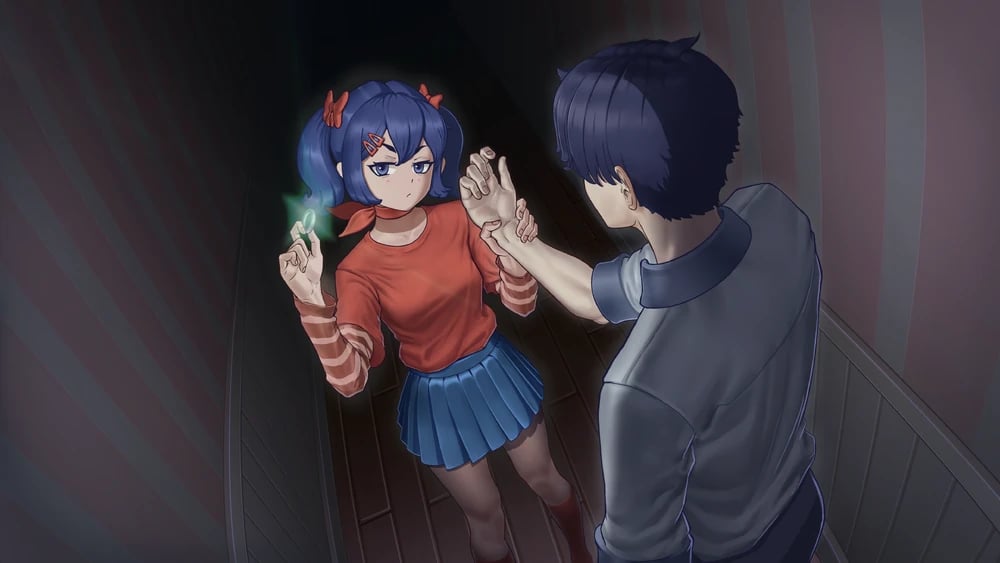
عند دخول الباب، سيتقدم اللاعب عبر العديد من الغرف التي تشبه مستويات مختلفة من الغرف الخلفية بينما يتم مطاردته بواسطة نماذج ميتا الفاسدة، حتى يصل إلى باب آخر ويدخله، مما يقوده إلى عالم مفتوح سريالي مذهل بصريًا حيث يستطيع رؤية ما يبدو أنه القمر. يبدو هذا العالم نسخة ضبابية للغاية من الفضاء. في هذا العالم، يجب على اللاعب السير فقط على الممرات والحواجز، وحل الألغاز لفتح العديد من الأبواب المعدنية المغلقة. عند إكمال اللغز الثاني وسحب رافعة لفتح باب، ستسقط ثلاجة من السماء وتضرب الأرض، مارة بجانب اللاعب بفارق ضئيل. عند المزيد من التحقيق، سيرى اللاعب ميتا واقفة على ممر فوقه، التي ستتظاهر بعدم المعرفة وتزعم أنها لم يكن لها علاقة بسقوط الثلاجة قبل أن تمازح اللاعب بشكل مغازل وتخبره أن هذه المنطقة خطيرة، وأن عليه المضي قدمًا.

بينما يتقدم اللاعب، يدخل نفقًا ضخمًا يشبه الفراغ حيث تطير العديد من العناصر والأشياء العشوائية في اللعبة بجانبه. وعندما يمر عبره ويصل إلى مخرج النفق، تعلق كرسي طائر ويتكرر تكراره بطريقة مريبة.

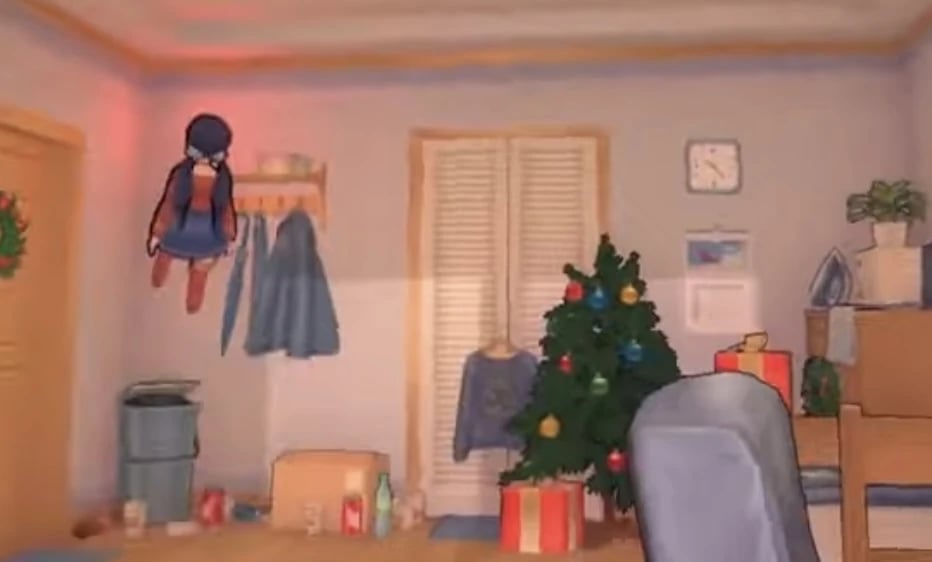
عند الخروج من النفق، يصل اللاعب إلى محطة قطار حيث تخرج تشيبي ميتا من القطار وتطلب بشكل وقح من اللاعب أن يتحرك قبل أن تهرب. عند ركوب القطار، يلتقي اللاعب بميتافون، السائق المدمج في القطار، الذي يخبر اللاعب باستخدام المدفع المثبت على القطار لإطلاق النار على الوحوش الطائرة بينما يتحرك القطار للأمام. عند الوصول إلى الوجهة، يودع ميتافون اللاعب ويخرج اللاعب من القطار، ليجد آلة ألعاب يمكنه اللعب بها اختيارياً. بعد العثور على صورة وفحصها، يُرسل اللاعب إلى غرفة ميتا الشبحية.

التقدم

1. تجول حول المكان.
2. انتقل إلى آلة الأركيد.
3. تحقق من جميع نماذج ميتا.
4. عد إلى الطابق السفلي.

صور حديثة

images

صور ميتا

Mita (Crazy Mita) Normal image
Mita (Crazy Mita) Revealed image
mita image
School clothes.
School clothes.
Vampire costume.
Vampire costume.
Festive Santa dress.
A photo of Mita dancing.
A photo of Mita sitting down and looking over her shoulder.
A photo of Mita hugging the Player from behind.
A photo of Mita with a white bikini and a sly smile.
A photo of Mita in a red bathing suit looking over the water.
A photo of Mita holding up the peace sign while out in nature.
A photo of Mita out in nature.
A photo of Mita playing with a cat.
Mita Room
Mita Room
Mita’s legs stuck inside of the wall.
Mita’s primary outfit.
Mita’s revealed appearance.
Mita’s School Uniform (Blue).
Mita’s School Uniform (Black).
Mita’s School Uniform (White and Blue).
Mita’s vampire outfit.
Mita’s Santa outfit.
Kind Mita Normal image
mita image
mita image
mita image
Cool Mita (Cappie) Normal image
mita image
mita image
mita image
mita image
mita image
mita image
mita image
mita image
mita image
mita image
mita image
Tiny Mita (Broken Mita) Normal image
Picture of Mini Mita before she got her injuries.
mita image
mita image
mita image
mita image
mita image
Mini Mita and a large Glitch Beast chasing the player.
Short Haired Mita Normal image
Photo of Short-Haired Mita taking a selfie in the mirror looking kind of sleepy.
Photo of Short-Haired Mita looking confused at the camera man.
Photo of Short-Haired Mita loooking concernet at the camera with her arms crossed.
Drawing of Short-Haired Mita relaxing while sitting.
Drawing of Short-Haired Mita looking back over her shoulder.
Ghostly Mita Normal image
mita image
mita image
Sleepy Mita Normal image
mita image
mita image
mita image
mita image
mita image
mita image
mita image
mita image
mita image
2D Mita Normal image
Meditation CG.
Meditation CG.
Tic-tact-toe CG.
Tic-tact-toe CG.
Ring CG.
Ring CG.
Icon.
Icon.
2D Mita
2D Mita
Showing the ring.
Showing the ring.
Happy.
Happy.
Unhappy.
Unhappy.
Scared
Scared
Sad.
Sad.
Mila Normal image
Mila Normal image
mita image
mita image
mita image
mita image
mita image
mita image
mita image
mita image
mita image
mita image
mita image
mita image
Creepy Mita (Ugly Mita) Normal image
mita image
mita image
Core Mita Normal image
mita image
mita image
Chibi Mita Normal image
mita image
mita image
Dummy Mita Normal image
Dummy Mita Revealed image
mita image
mita image
mita image
Mitaphone Normal image
Braided Hair Mita (Unused Mita) Normal image
Long-legged Mita Normal image
mita image
mita image
mita image
Forgetful Bully Mita Normal image
Giant Mita Normal image
Gian Mita before breaking the corridor.
Giant Mita looking at the player.